Create your account
Open and verify your account and start growing your business.
Creating a PayMongo account takes a few minutes. You can start exploring and testing right away with limited access, then verify your business when you're ready to unlock disbursements, faster settlement, online payments, and more. This page walks through both phases — the sign-up itself, and the optional business verification that comes after.
Before you start
Have a working email address and a password manager handy. To verify your identity (KYC), you'll also need a valid government-issued ID and a working camera. Business verification (KYB), when you're ready for it, asks for your business registration, TIN, and business address.
The journey at a glance
flowchart LR
  A[Sign up] --> B[Verify your email]
  B --> C[Verify your identity - KYC]
  C --> D[Account ready - limited access]
  D -.optional.-> E[Verify your business - KYB]
  E --> F[Full PayMongo access]
1. Sign up
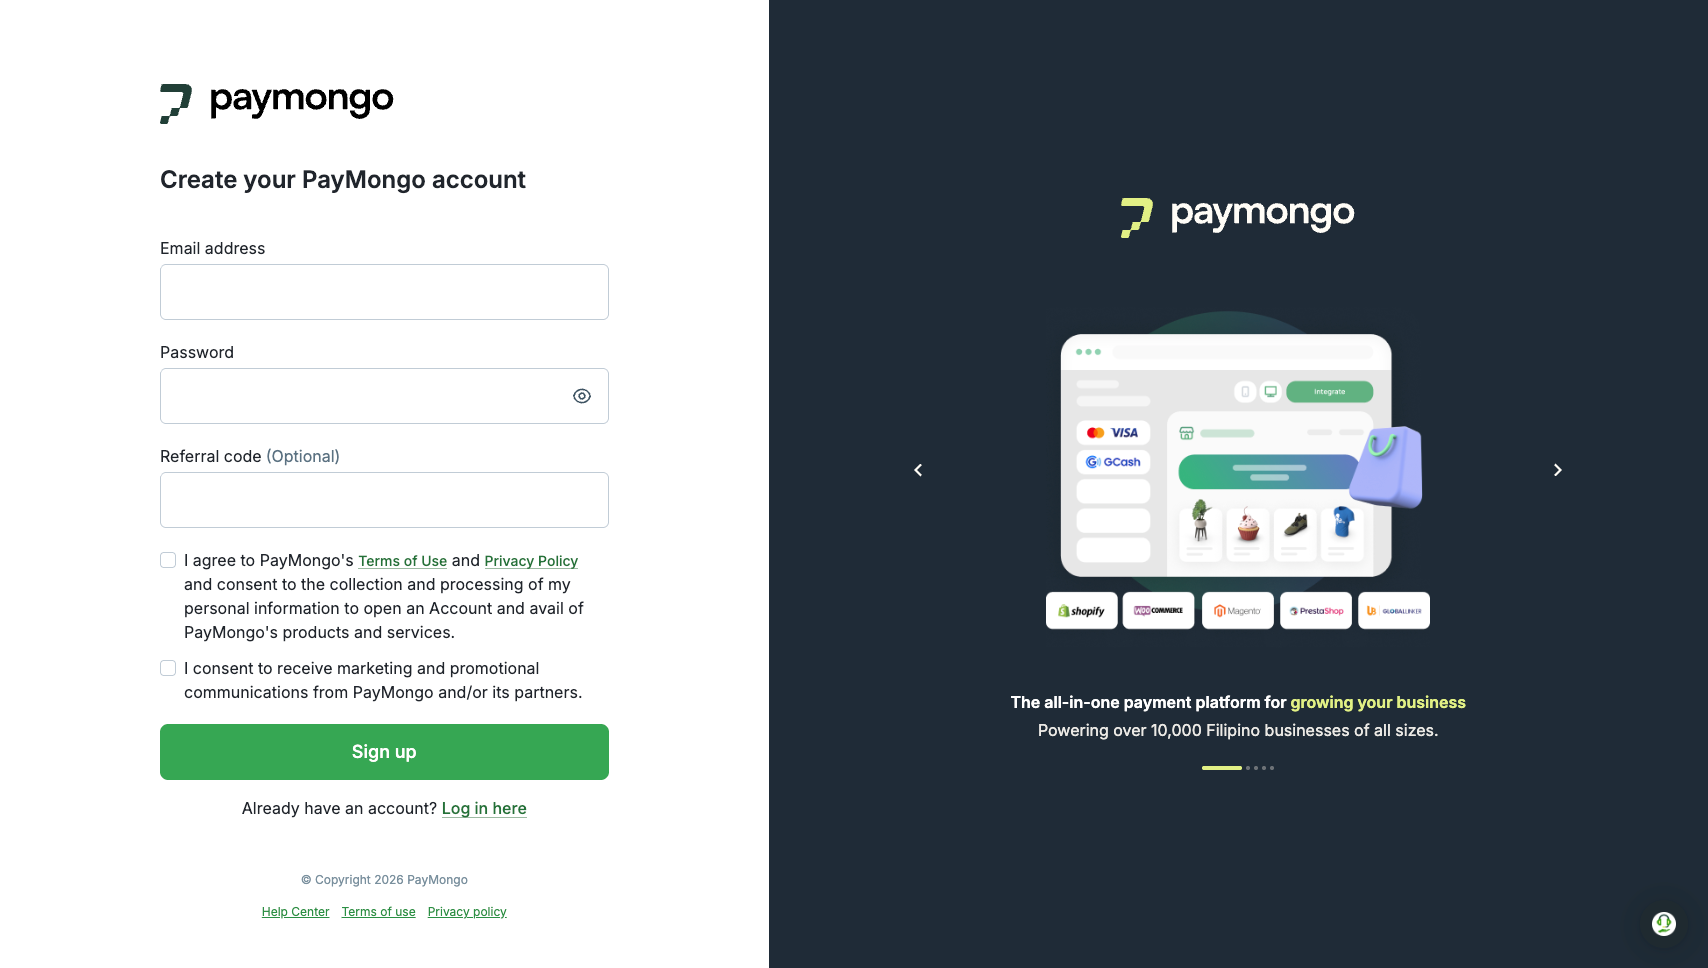
Start at dashboard.paymongo.com/signup. The form asks for:
- Email address.
- Password.
- Referral code (optional).
- Consent to PayMongo's Terms of Use and Privacy Policy.
- Optionally, consent to receive marketing communications.
Submit the form. PayMongo sends a one-time password (OTP) to the email address you registered.
2. Verify your email
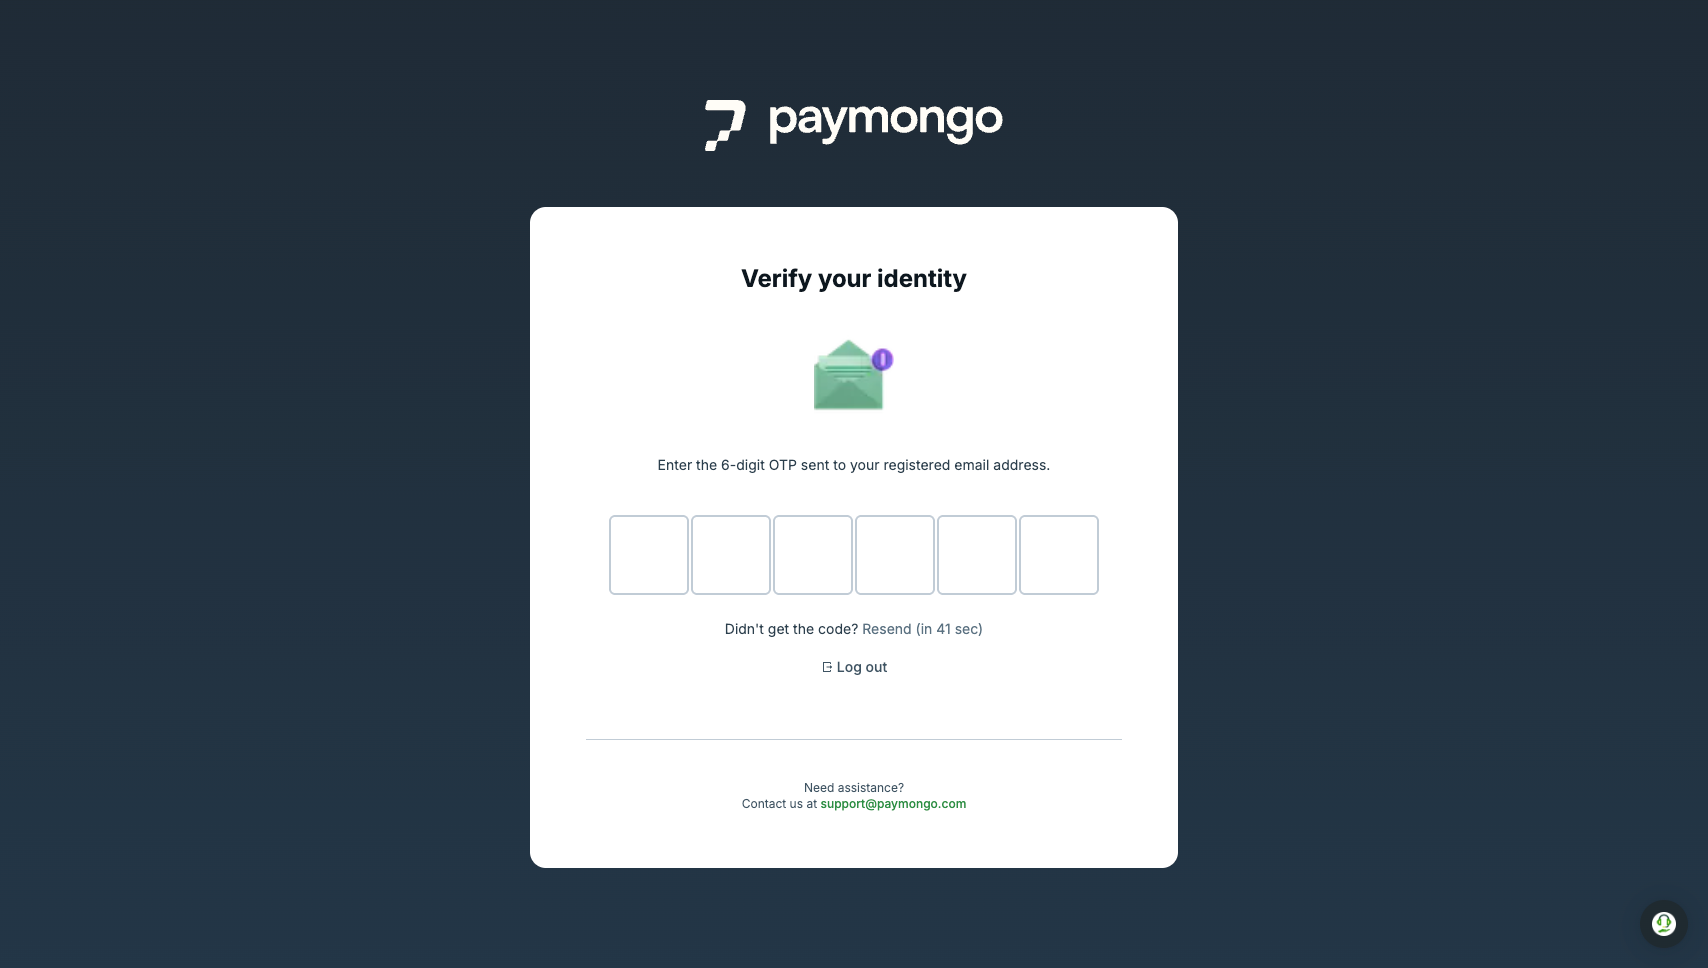
Enter the 6-digit OTP sent to your registered email address to confirm you have access to it. You can request a new code if it doesn't arrive within a minute.
After verification, you're routed into the identity verification flow.
3. Verify your identity (KYC)
Identity verification confirms you are who you say you are. This is required before any account is activated. The flow has three parts:
- Liveness check — a short, camera-based check that verifies a real person is on the other side of the screen. You'll need a working webcam and good lighting.
- Government ID — capture a clear photo of a valid, physical government ID. PayMongo accepts a wide range of primary and secondary IDs; the on-screen list confirms which apply to you. See KYC accepted IDs for the full list.
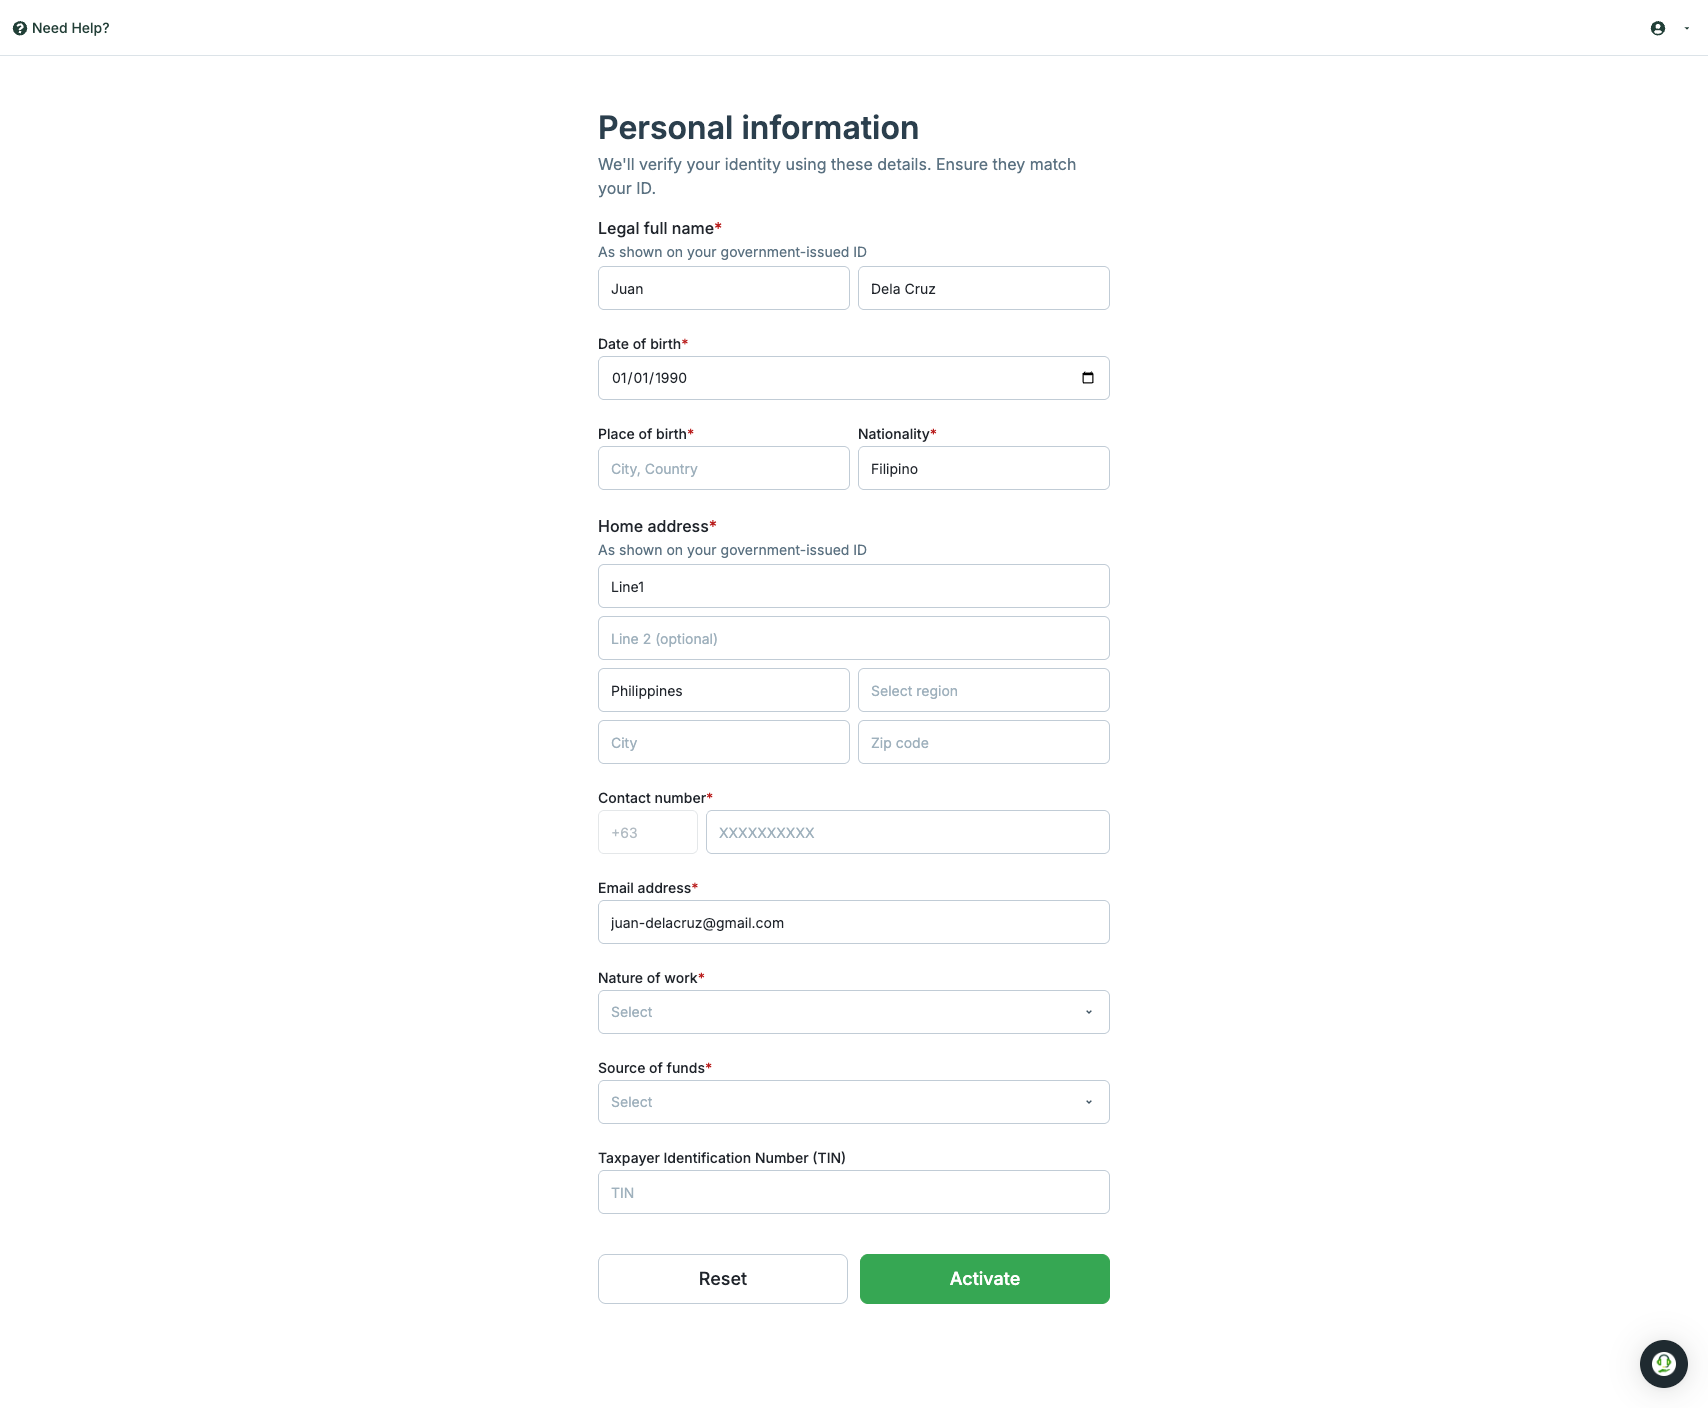
- Personal information — fill in the personal details PayMongo uses to match against your ID and complete the regulatory profile.
The personal information form asks for:
- Legal full name (as shown on your government-issued ID).
- Date of birth.
- Place of birth and nationality.
- Home address (as shown on your ID).
- Contact number.
- Email address.
- Nature of work.
- Source of funds.
- Taxpayer Identification Number (TIN), if available.
Tips for a clean KYC submission
Use the original, physical ID — not a photocopy or a photo of a screen. Keep your face clear during the liveness check. Make sure the details on the ID match exactly what you enter on the form. Mismatches are the most common reason a submission is sent back for resubmission.
After you submit, PayMongo confirms it received your verification and starts processing in the background. Once your account is ready, you can log in to the dashboard, generate API keys, accept QR Ph payments, and run end-to-end tests.
If something in your submission needs a closer look, your application moves to manual review. PayMongo emails you with next steps if you need to retry the KYC.

4. Completed KYC
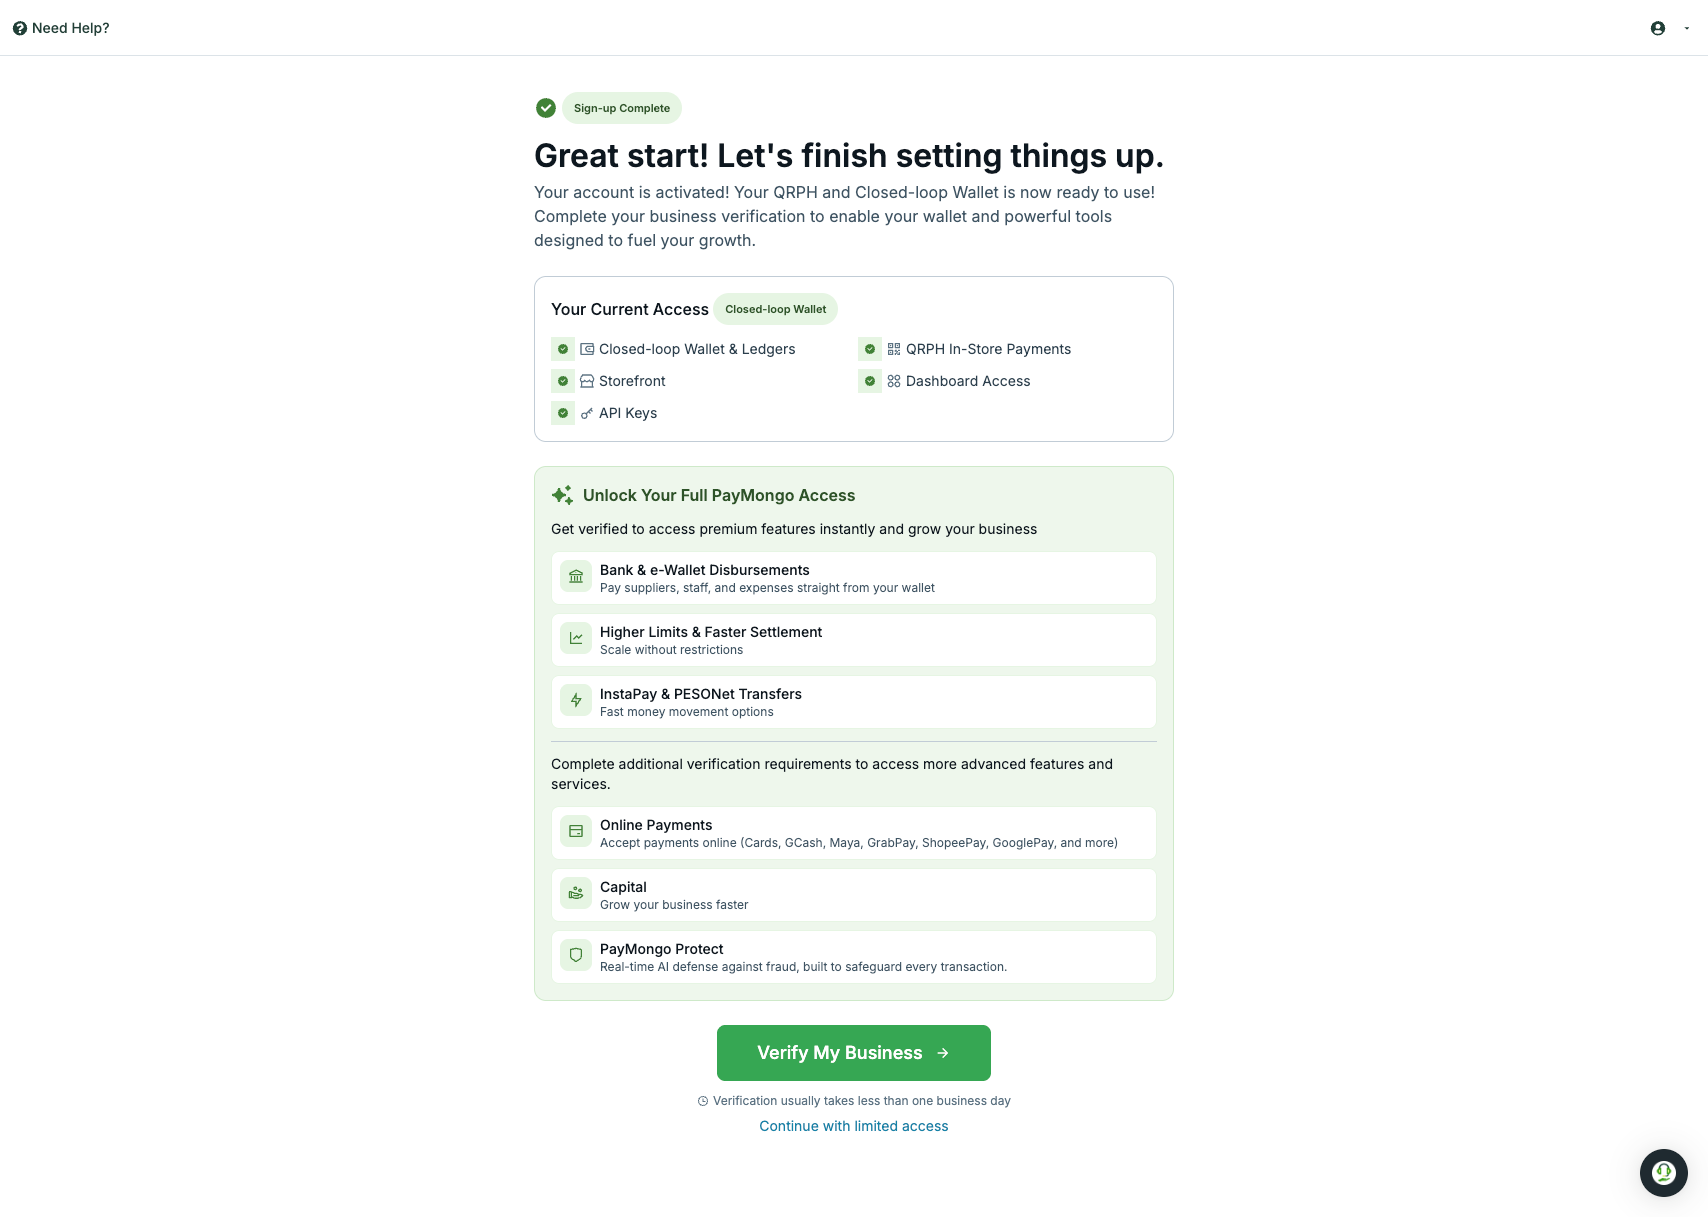
Sign-up is complete! If you stop here, you'll keep using PayMongo with limited access — enough to explore the platform, build your integration, and test the flows you care about. For the full breakdown of what's available before and after business verification, see Account setup.
5. Verify your business (KYB) — optional
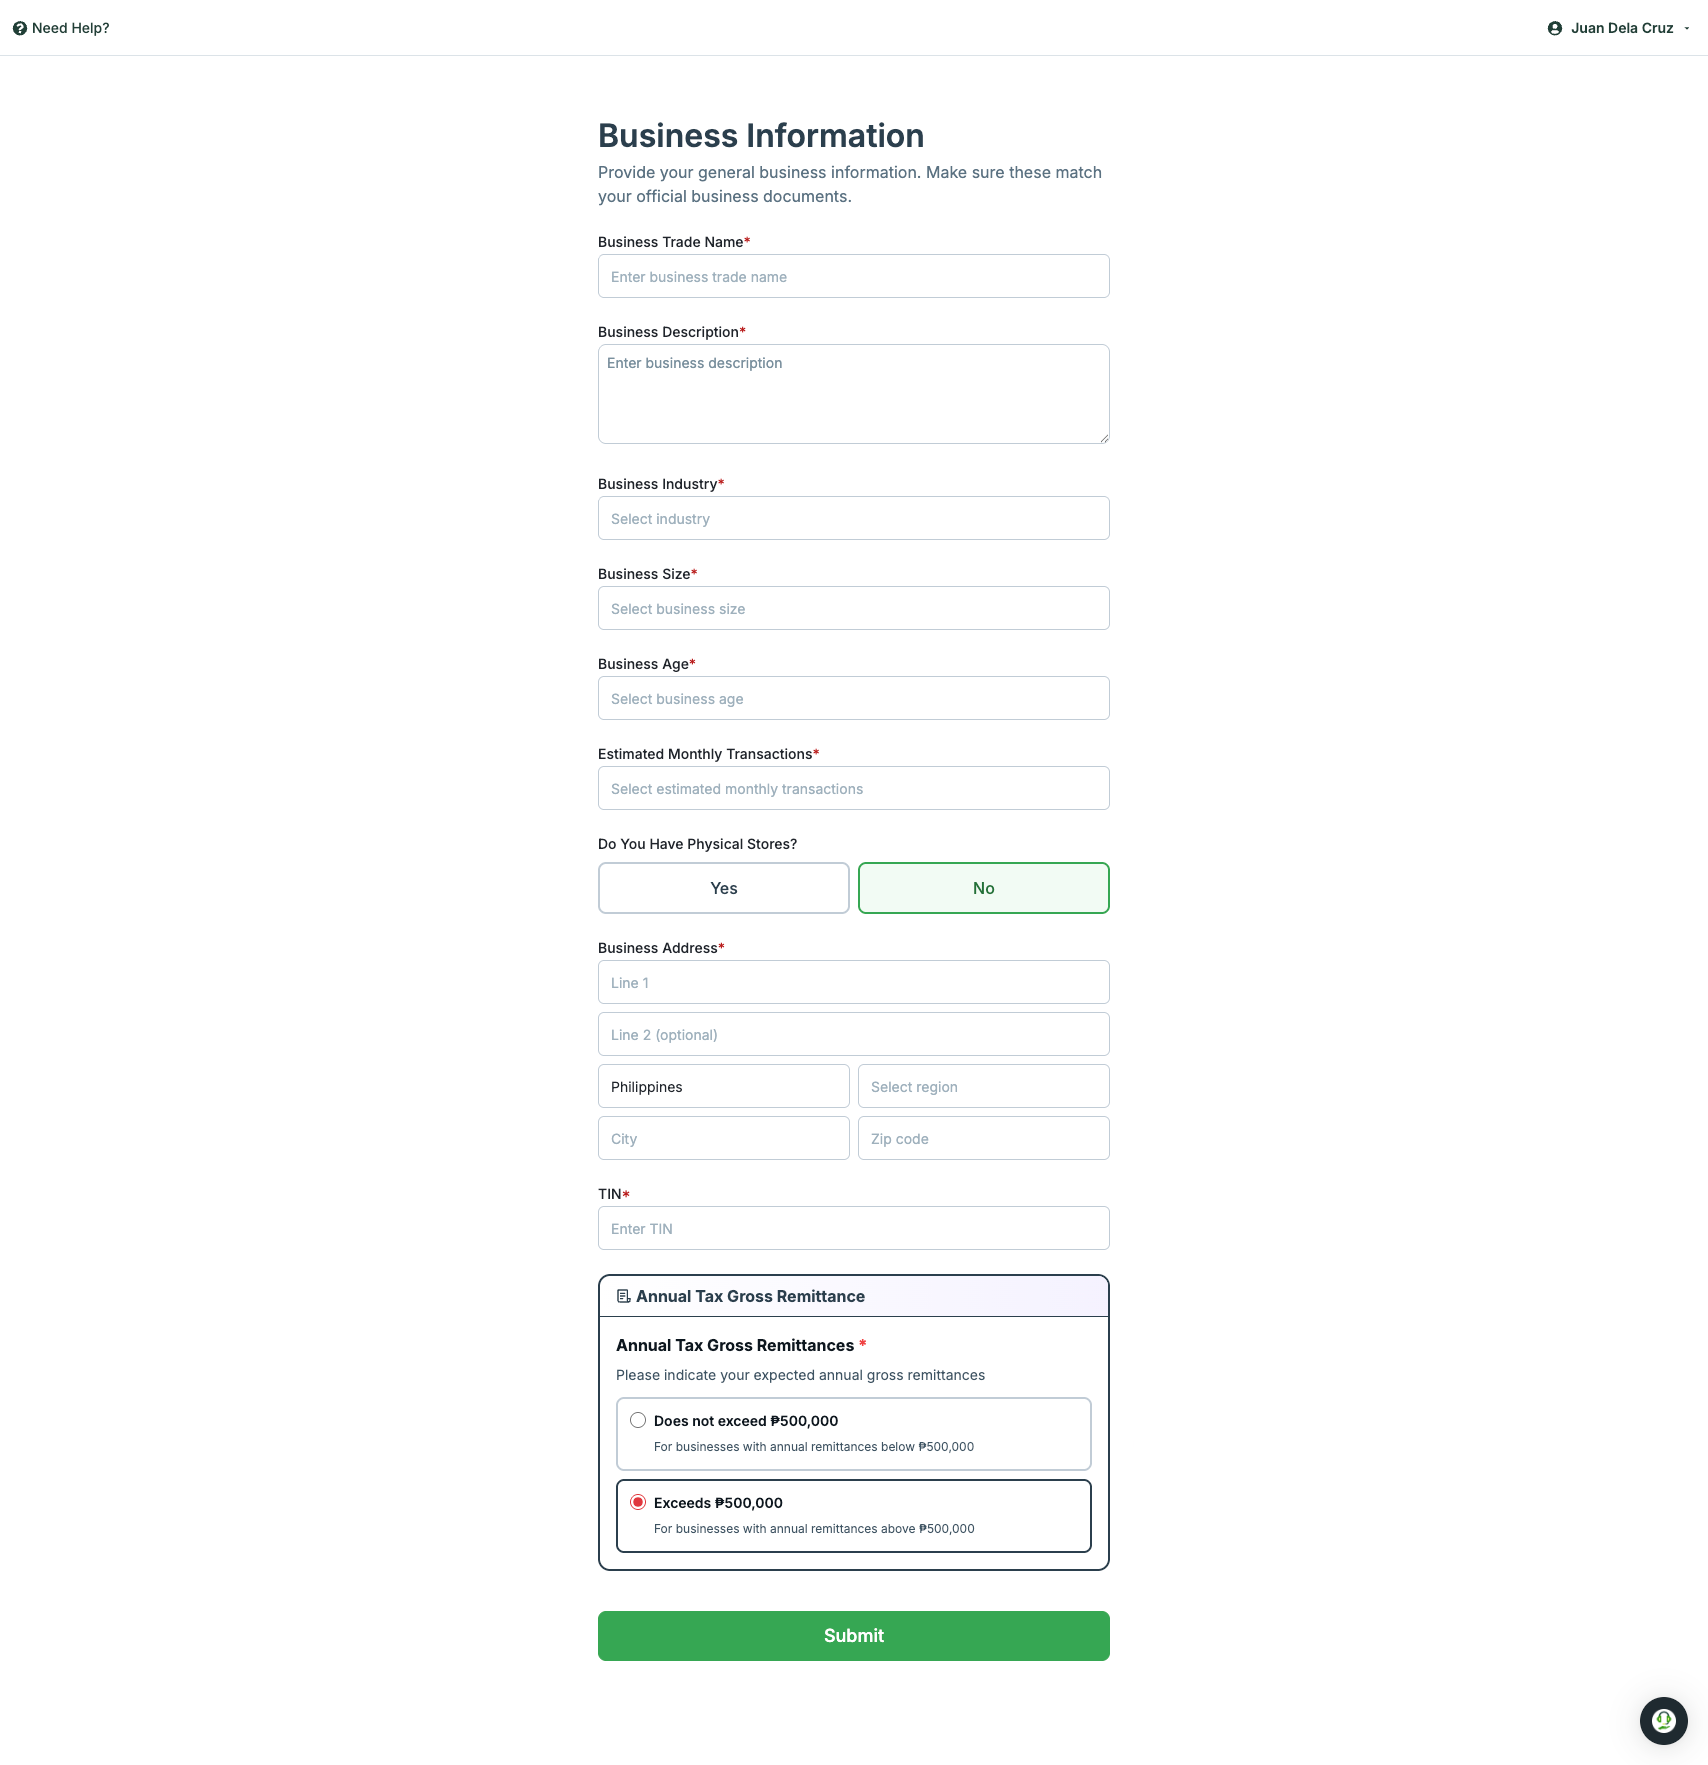
When you're ready to unlock the rest of PayMongo, run business verification from the dashboard. The flow asks for your business profile:
- Business trade name.
- Business description.
- Industry and business size.
- Business age and estimated monthly transactions.
- Whether you operate physical stores.
- Business address.
- TIN.
- Annual tax gross remittance — whether your expected annual gross remittance is at or above ₱500,000.
Some capabilities (for example specific payment methods, higher limits, or PayMongo Capital) require additional documents based on your entity type. The dashboard shows the right list once you request a capability. For the full list of capabilities and what each one needs, see Account capabilities.
What happens after you submit
Your account activates automatically and you're routed to the dashboard. From there, you can start exploring PayMongo through the dashboard or the API.
Quick links to start with:
- Payment Acceptance — accept payments online and in-store across cards, e-wallets, online banking, and more.
- Payment Channels — pre-built and custom surfaces for collecting payments without writing your own checkout.
- Money Movement — wallets, ledgers, and transfers for moving funds programmatically.
- Developer Tools — API keys, webhooks, test mode, and the full API reference.
Where to go next
- What do you want to build — pick the use case closest to yours and follow the linked product paths.
- Product overview — review the full platform map.
- Go live — when you're ready, test your integration and run through the go-live checklist.
Updated about 3 hours ago