Payment Links
Learn what PayMongo Payment Links are, when to use them instead of Payment Pages, and how to create, share, track, or manage payment links through the API.
Use Payment Links to create a Hosted checkout page for a specific payment, share it with your customer, and confirm the payment in real time from your PayMongo Dashboard.
Payment Links work well when you want to collect payments without building a website. Each link gives your customer a checkout page where they can pay using supported payment methods such as e-wallets, cards, QR Ph, online banking, and BNPL.
Because each payment is recorded directly in PayMongo and tied to a unique reference, Payment Links can reduce the manual work of collecting screenshots and checking transfers one by one. Customers also receive an email receipt after a successful payment.
When to use
Choose Payment Links when you need to request payment for a specific order, customer, or transaction.
Payment Links are a good fit when you:
- Sell through chat, social media, or messaging apps and want to send a checkout link quickly
- Need to collect payment without building a website
- Want to confirm payment from your dashboard instead of relying on screenshot proof of payment
- Want one checkout link that already supports multiple payment methods
Choose Payment Pages instead when you want one reusable payment page that you can keep sharing. Payment Pages are better for cases where you need a permanent URL or QR code, want customers to enter a custom amount, or want to offer a lightweight product catalog that customers can browse and check out from on their own.
Before you start
You'll need:
- An activated PayMongo merchant account with a Closed-loop wallet, which is automatically activated once you've completed KYC. Check your wallet status at Money Movement → Wallets.
- Your API keys (find them in the dashboard under Settings → Developers).
How to use
-
Create Payment Link
Sign in to your PayMongo Dashboard and open Payment Channel → Payment Links. Create a new link, enter the payment details for the transaction, and generate the checkout link for your customer.
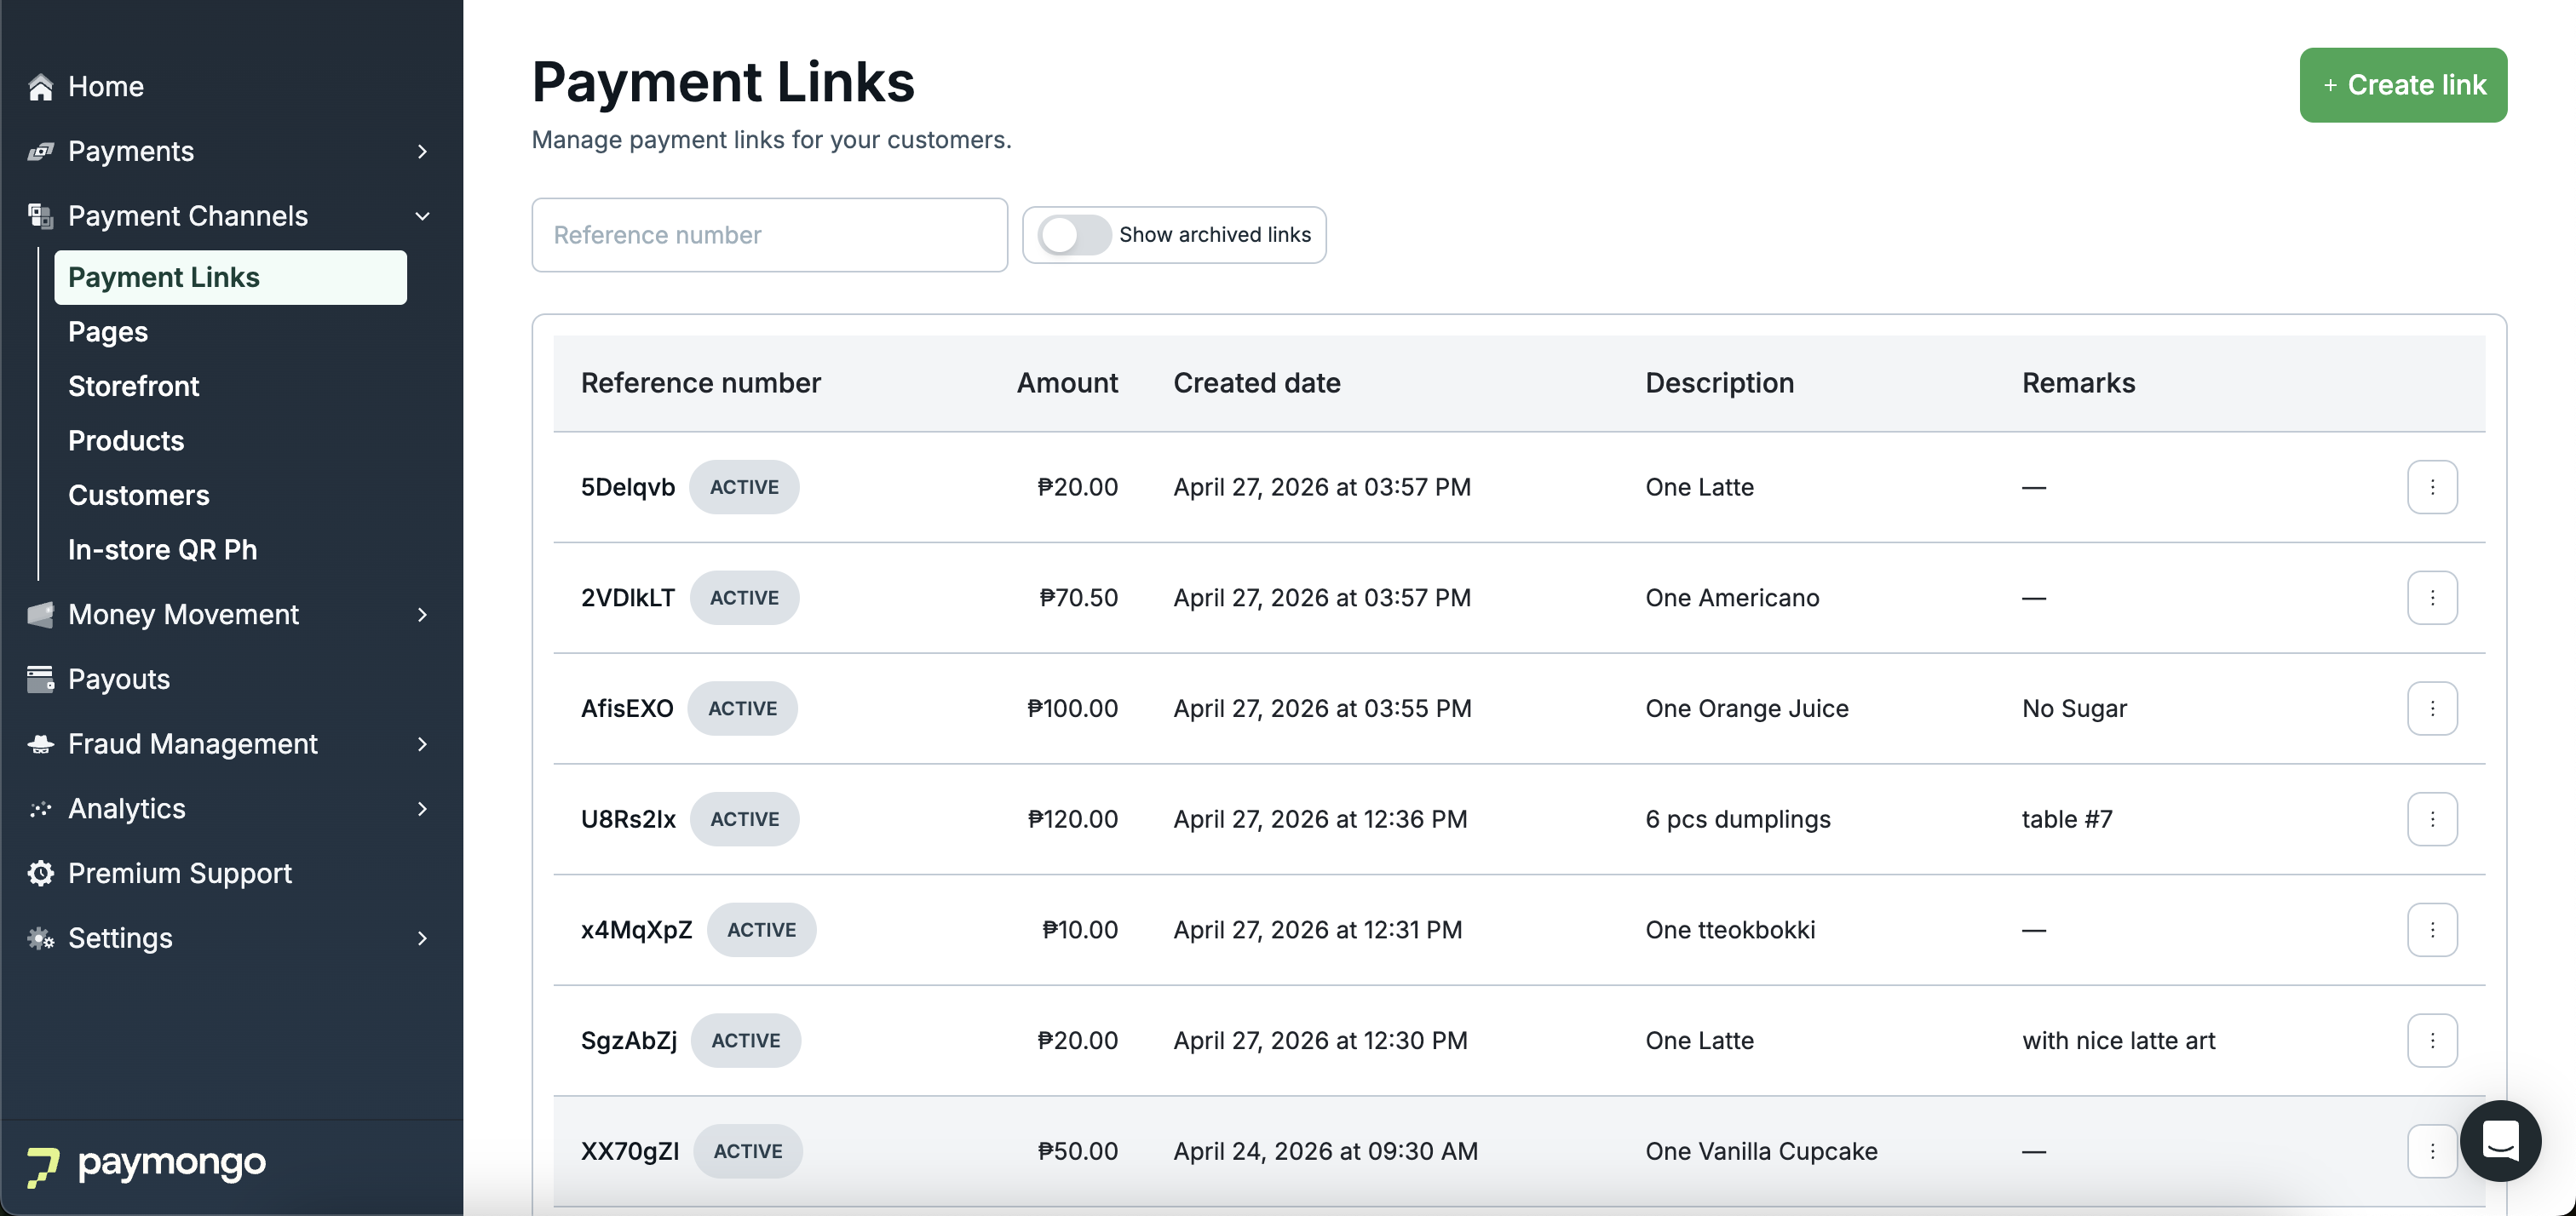
Payment Links List Page
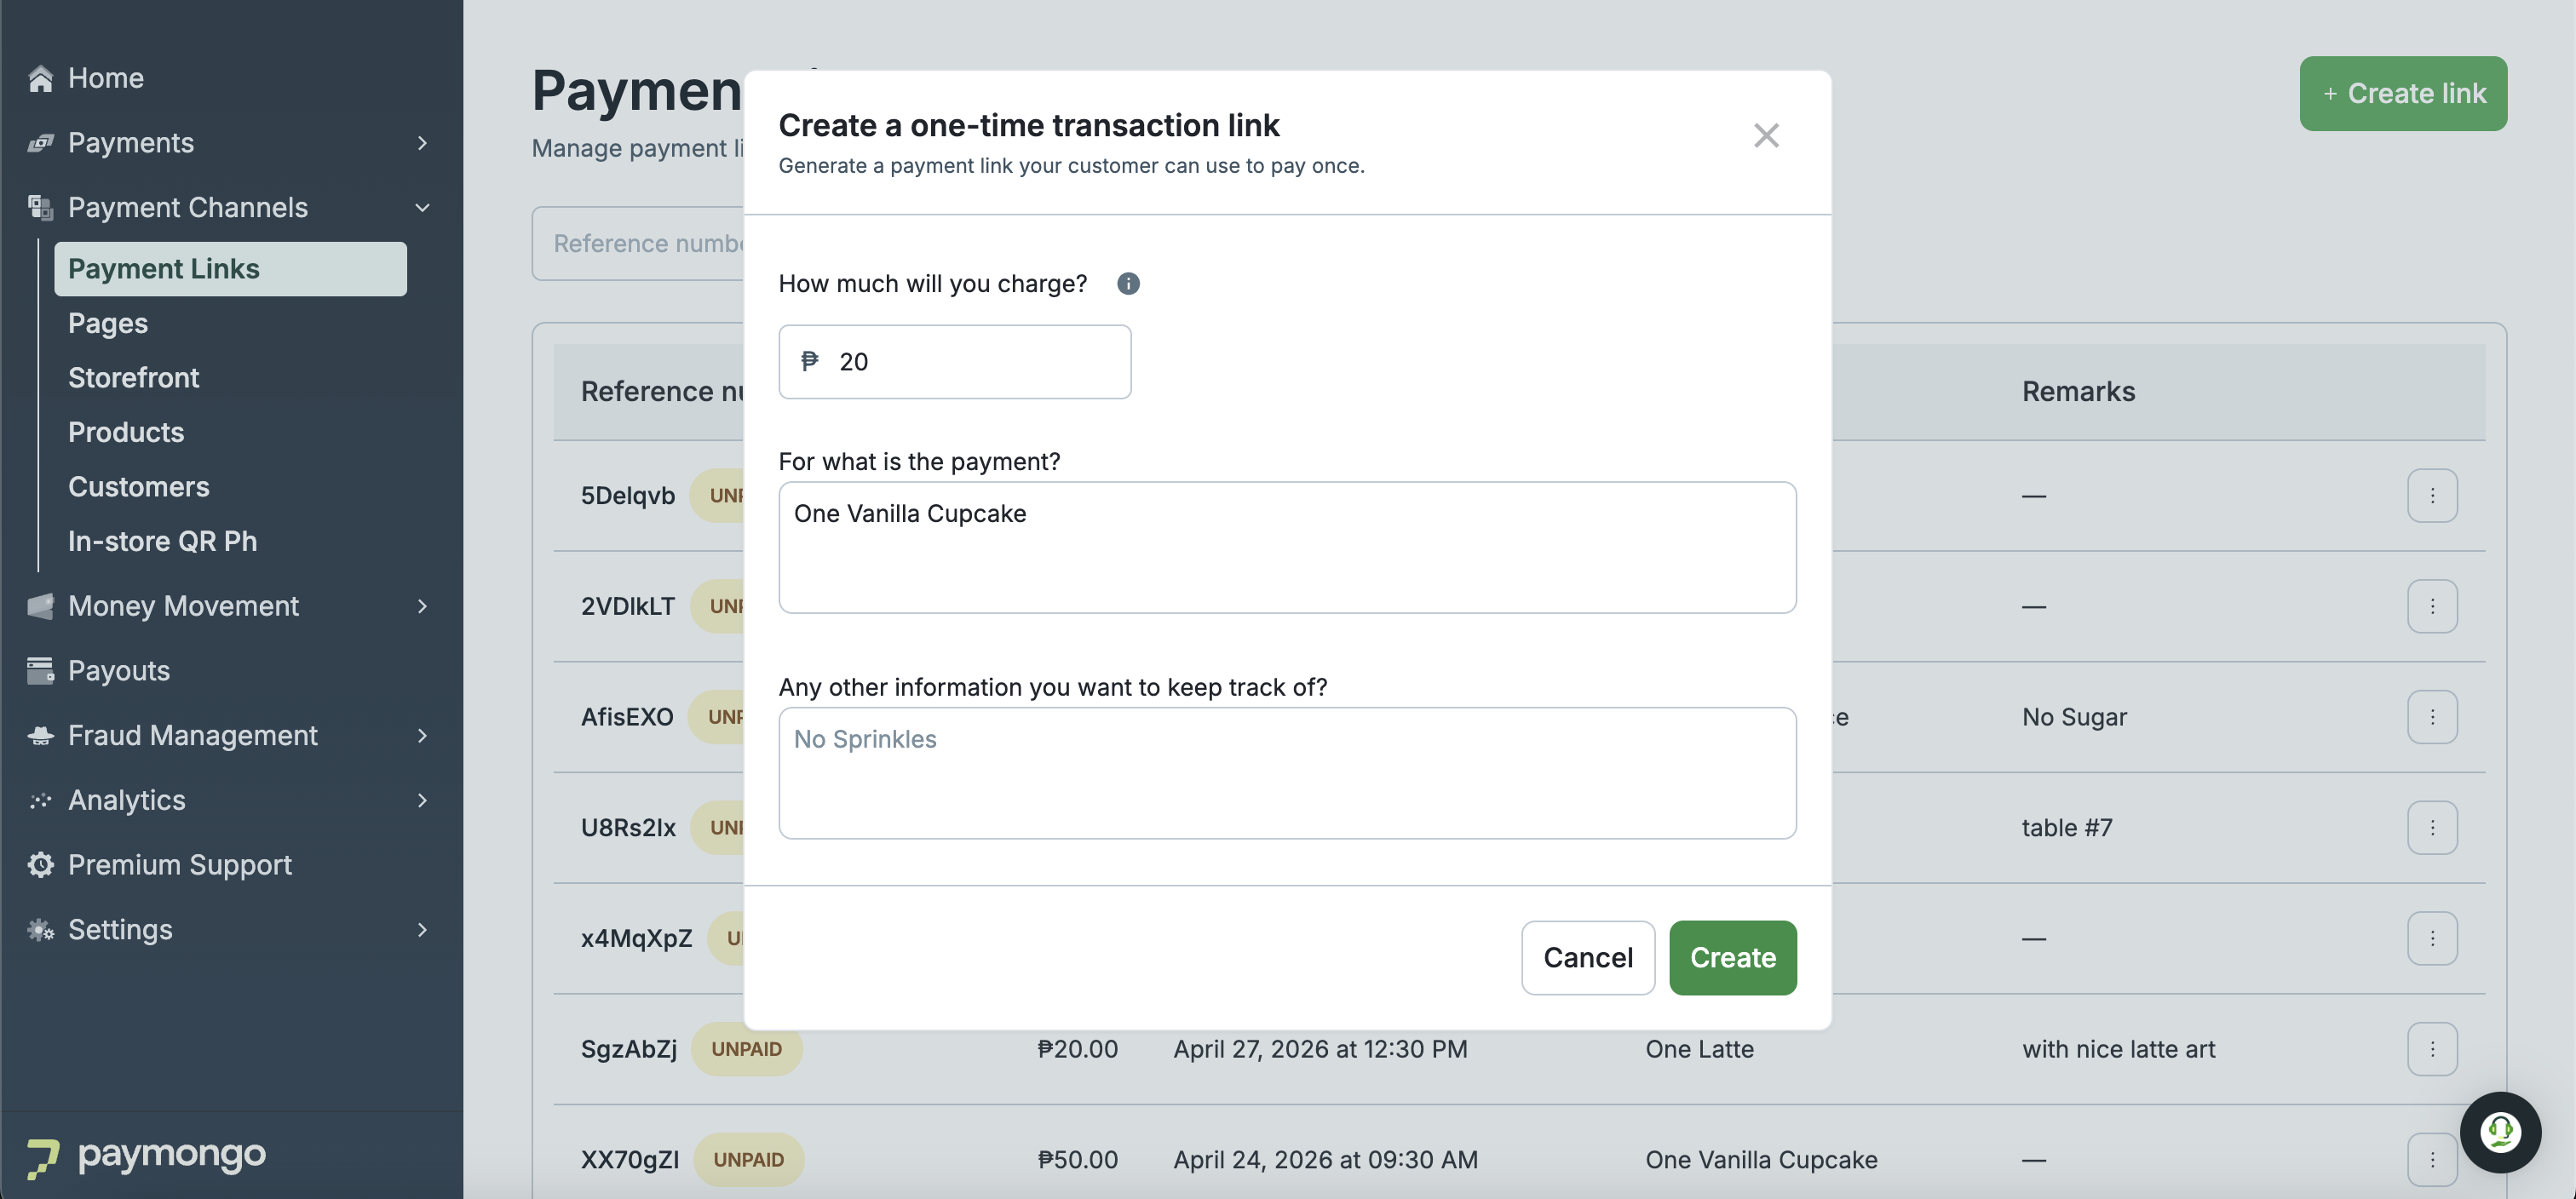
Payment Links Form
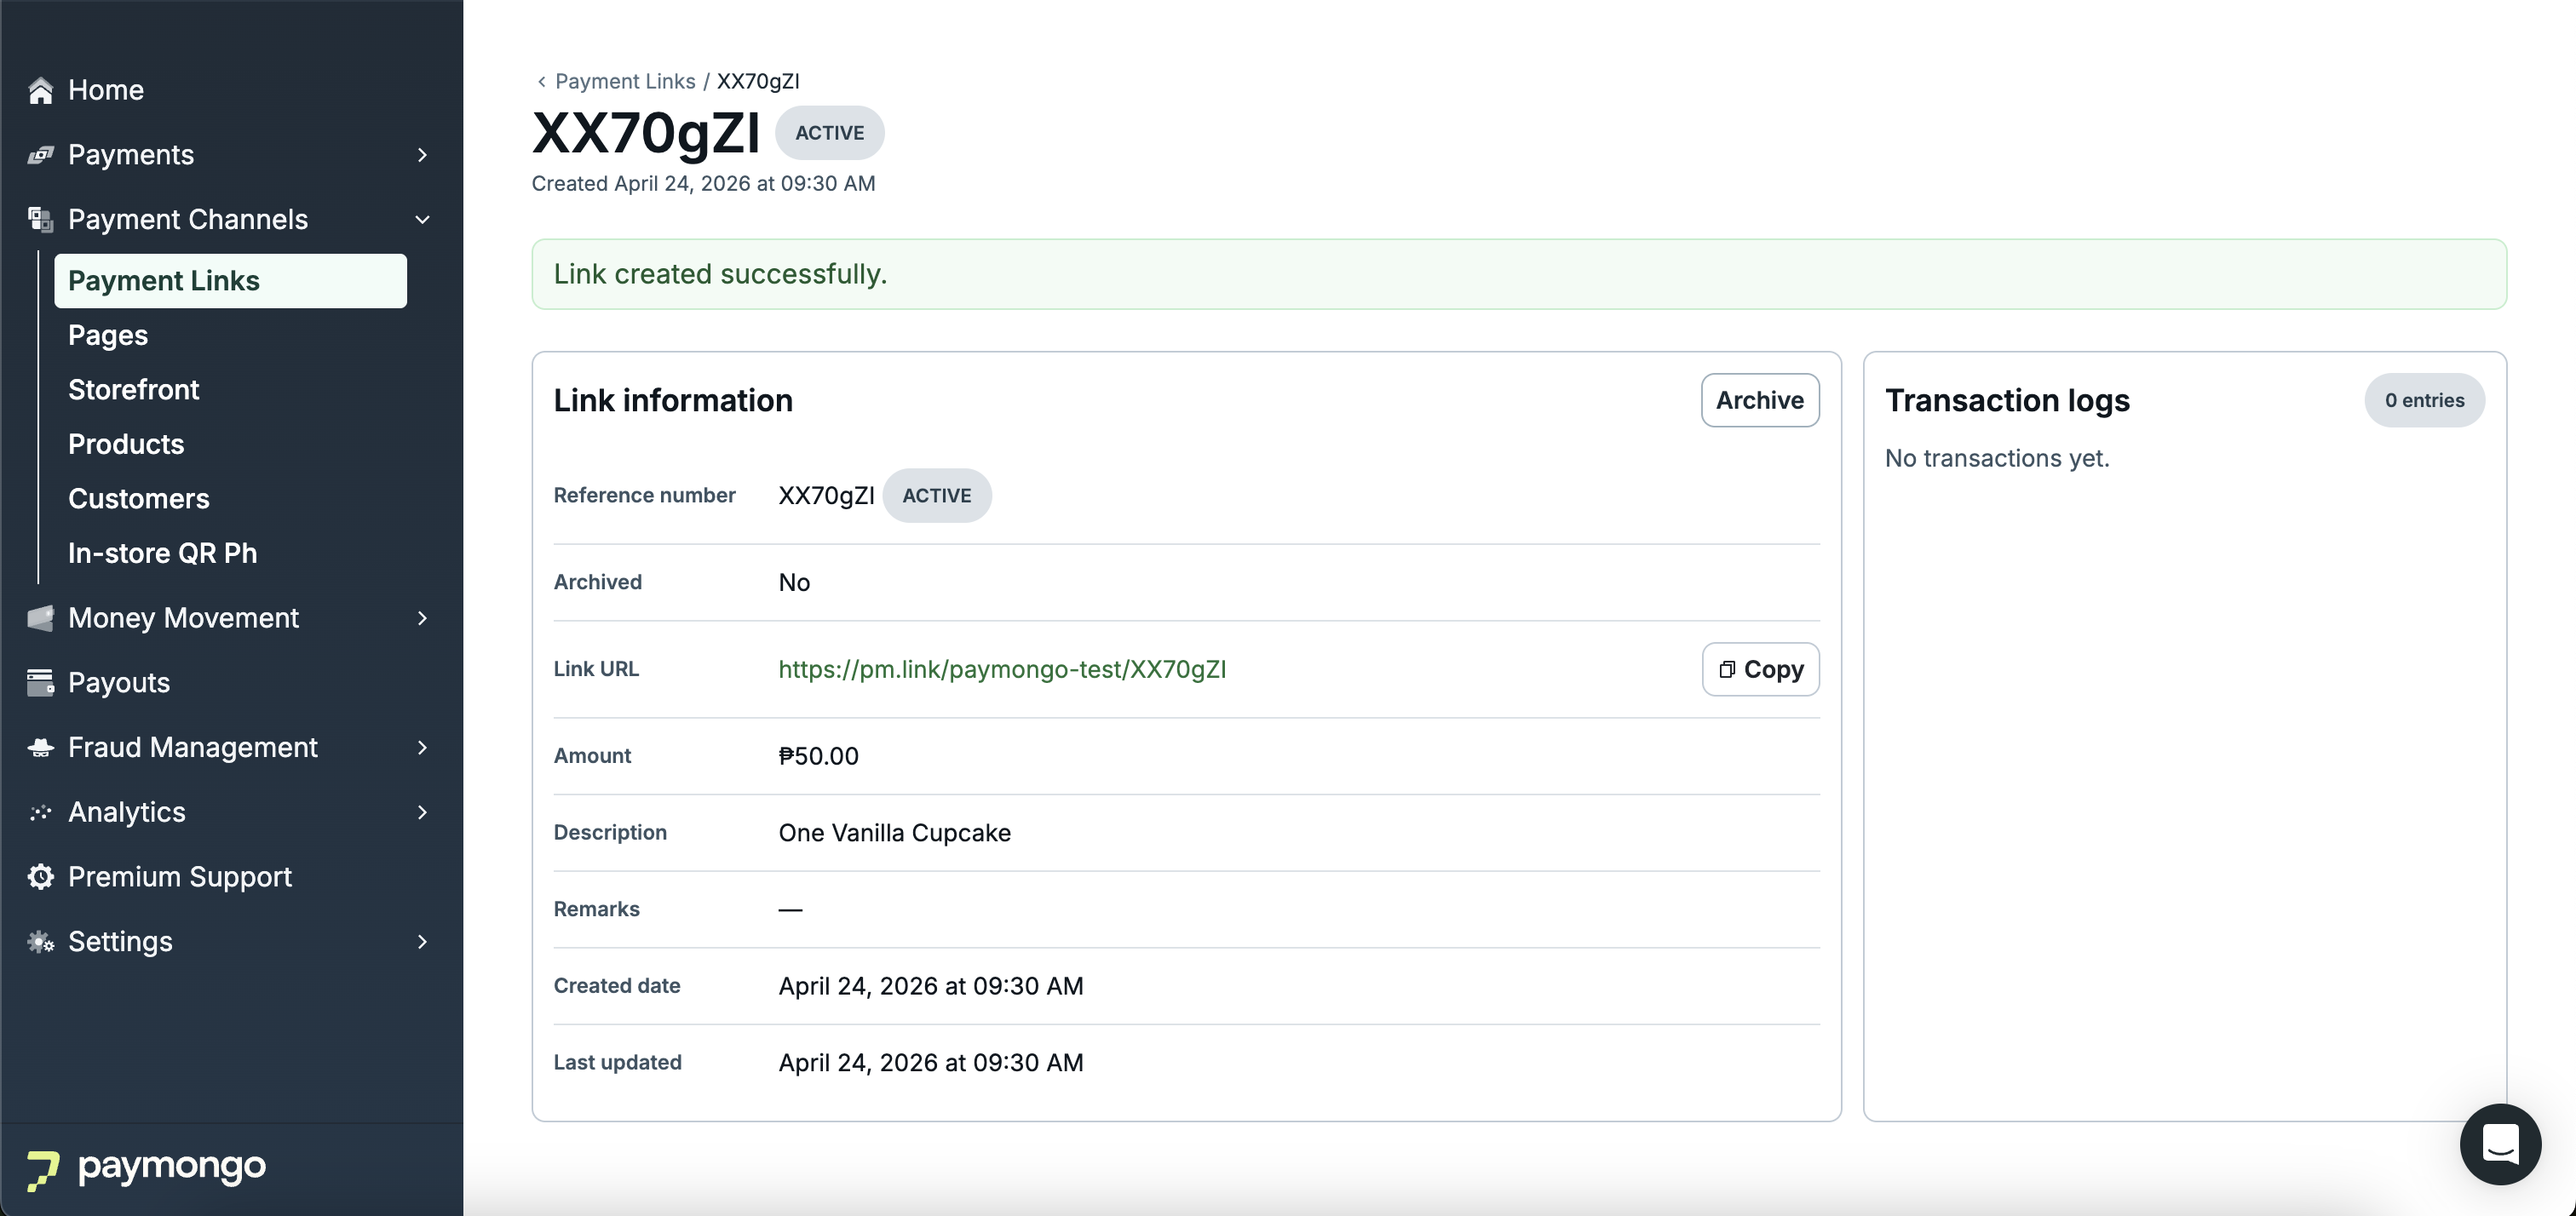
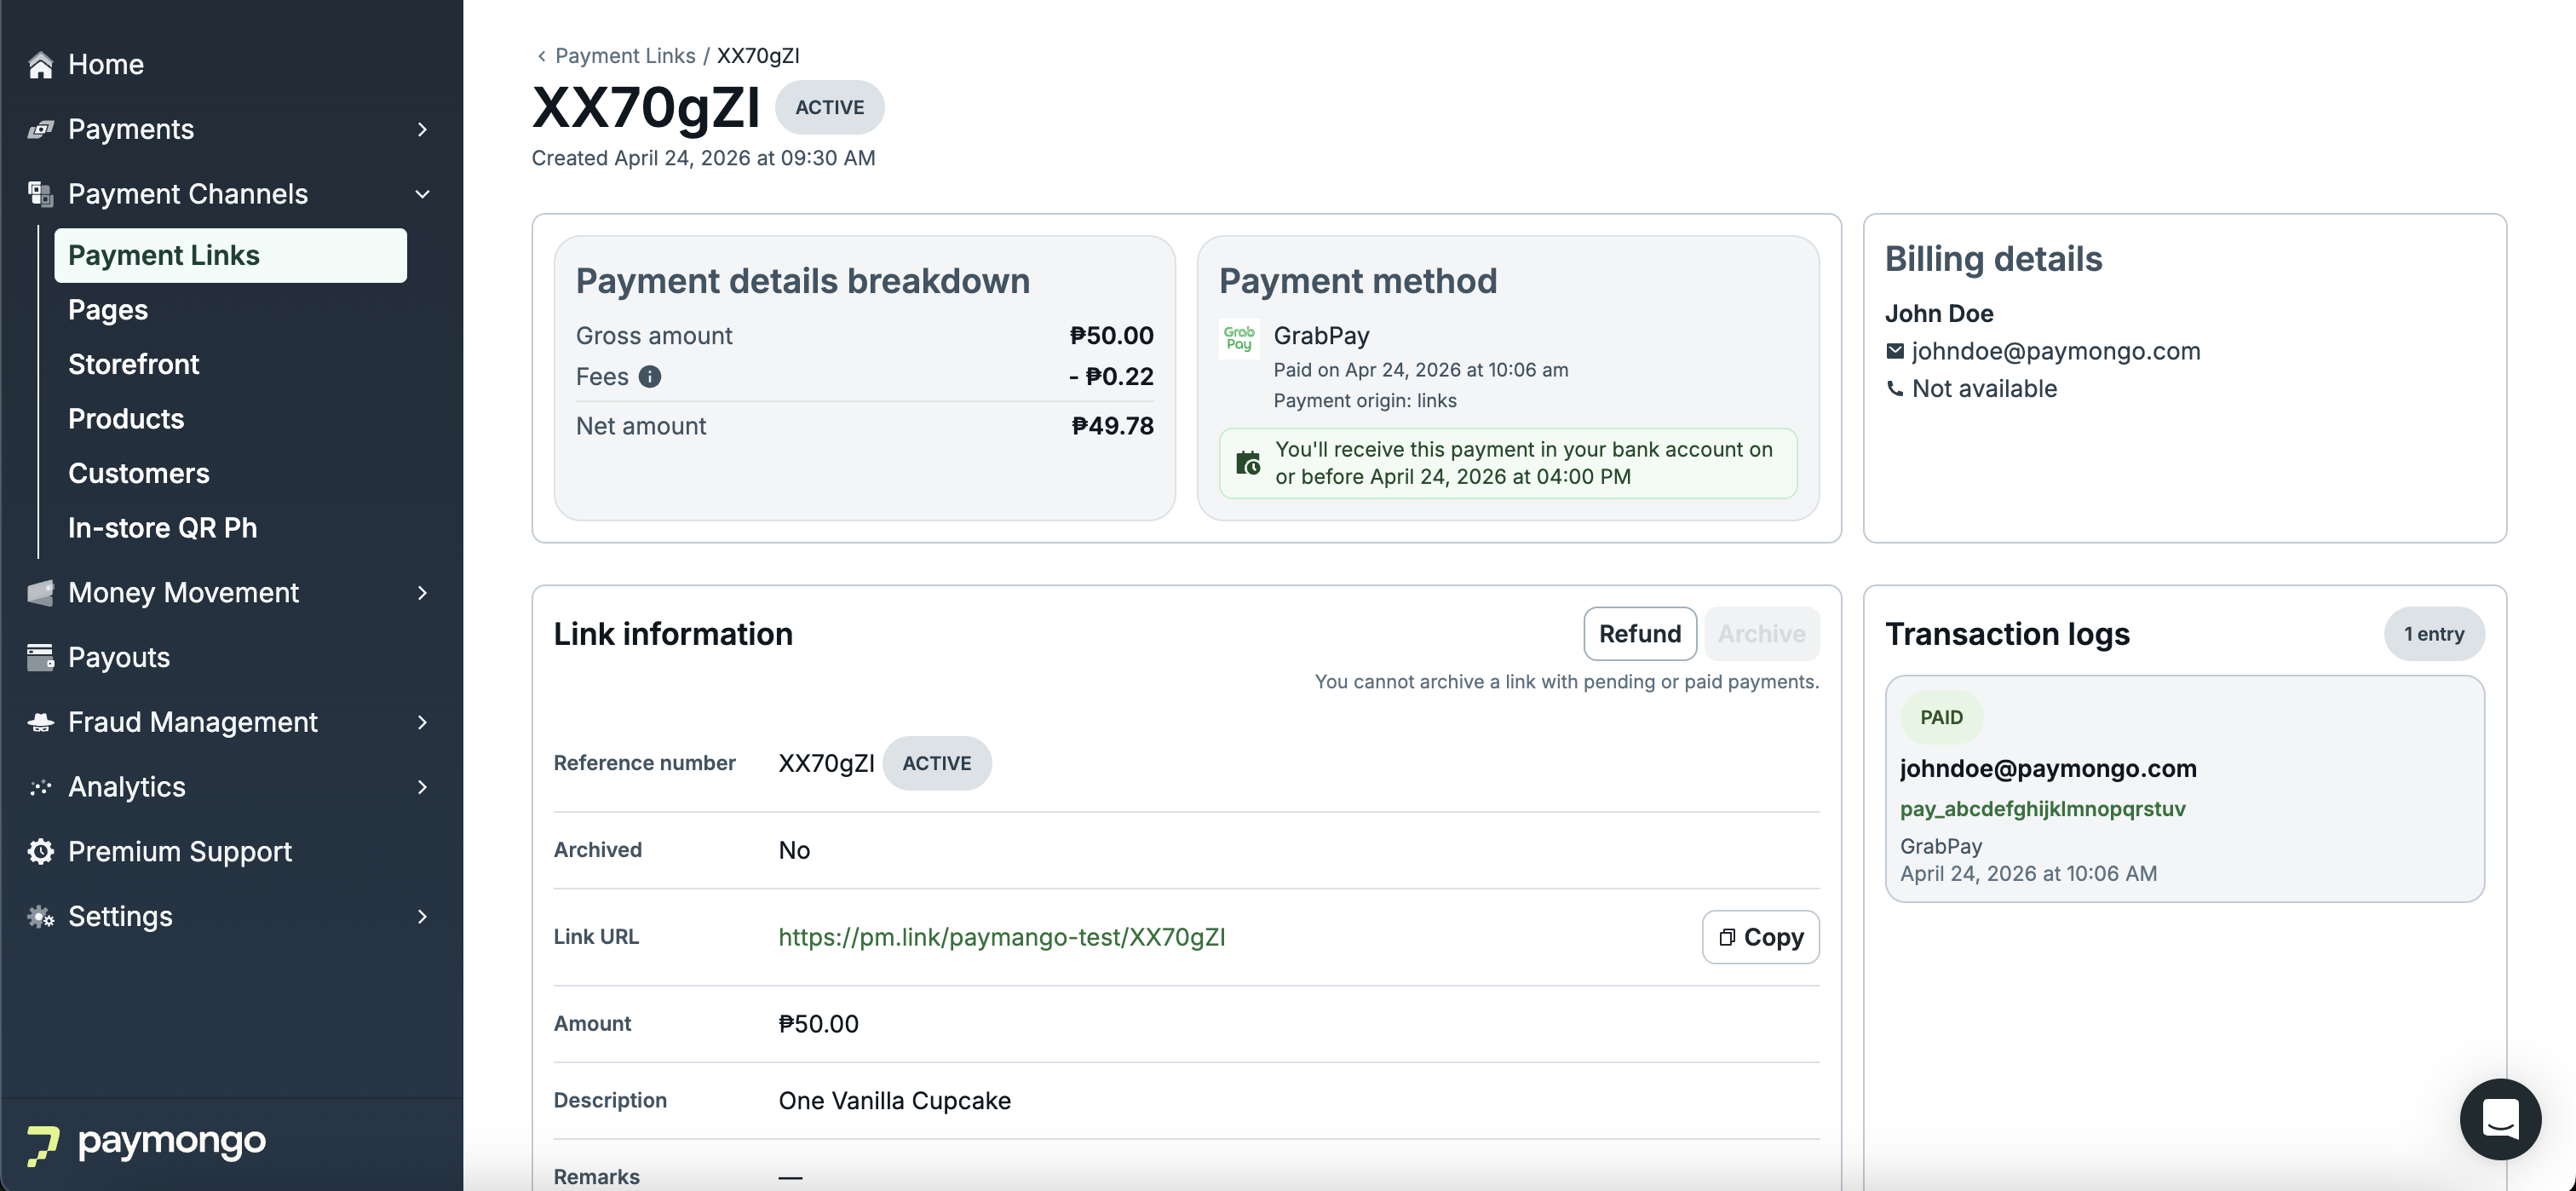
Payment Links Detail Page
-
Send Payment Link
Copy the payment link and share it through the channel you already use with your customer, such as Messenger, Instagram, Whatsapp, or email. Your customer opens the link and completes the payment using one of the available payment methods.
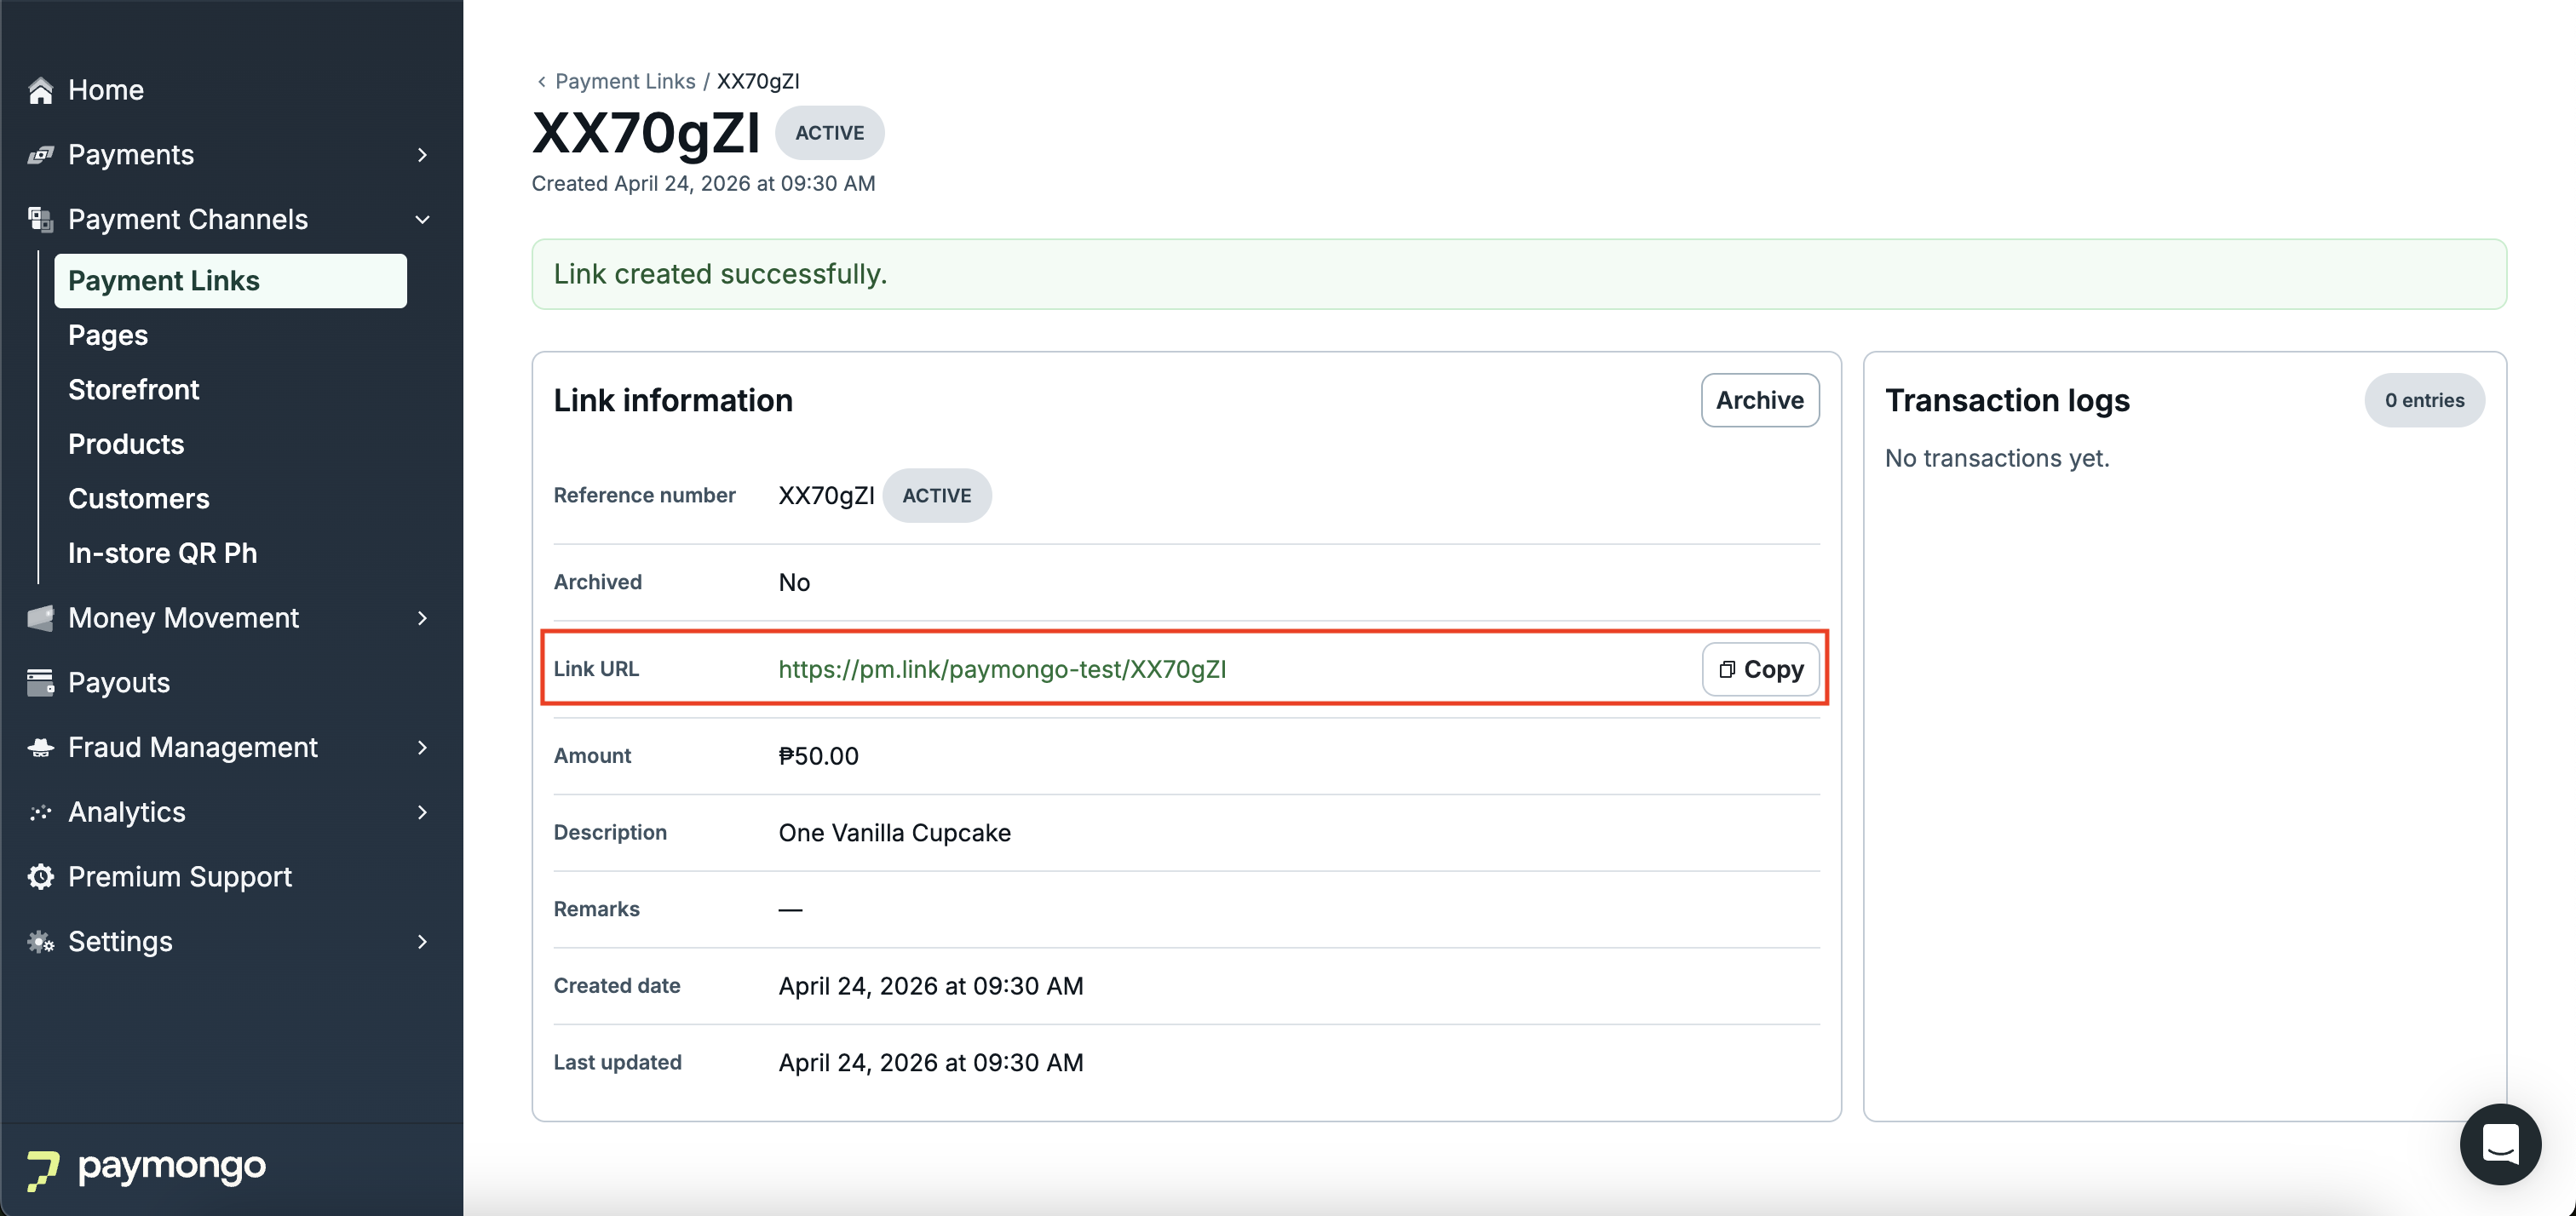
Copy Payment Links URL
-
Track Payment Link from Dashboard
Monitor the payment in your Payment Channel → Payment Links after you send the link. When your customer completes the payment, refresh the page to see the updated status. the transaction is recorded in your dashboard, and the customer receives an email receipt.
Manage Payment Links through the API
You can manage Payment Links from the PayMongo Dashboard or through the API. Use the API if you need to create, list, or retrieve Payment Link details from your own order management system, website, or internal tools.
Use the following API path to work with Payment Links programmatically:
/v1/payment-linksFor endpoint details, see the Payment Links API reference.
Payment confirmation
You can confirm a Payment Link payment in two ways:
-
Check the payment status in the PayMongo Dashboard
Open the payment from your Payment Channel → Payment Links to review its current status. This lets you confirm whether the payment is successful or not based on statuses such as
paidandrefund. -
Receive a webhook event when using Payment Links via API
If you create or manage Payment Links through the API, configure a webhook endpoint and listen for the
link.payment.paidevent type to receive payment confirmation programmatically. You can manage webhook endpoints in the Settings → Webhooks.
Updated 3 days ago