Storefront
Learn what PayMongo Storefront is, what it can do in beta, how it differs from Payment Pages, and how to build your store from the dashboard.
Storefront still in Beta
To get access, sign in to your PayMongo Dashboard and join the beta from there. You should expect the current access path to start with beta enrollment in the dashboard rather than a standard public rollout.
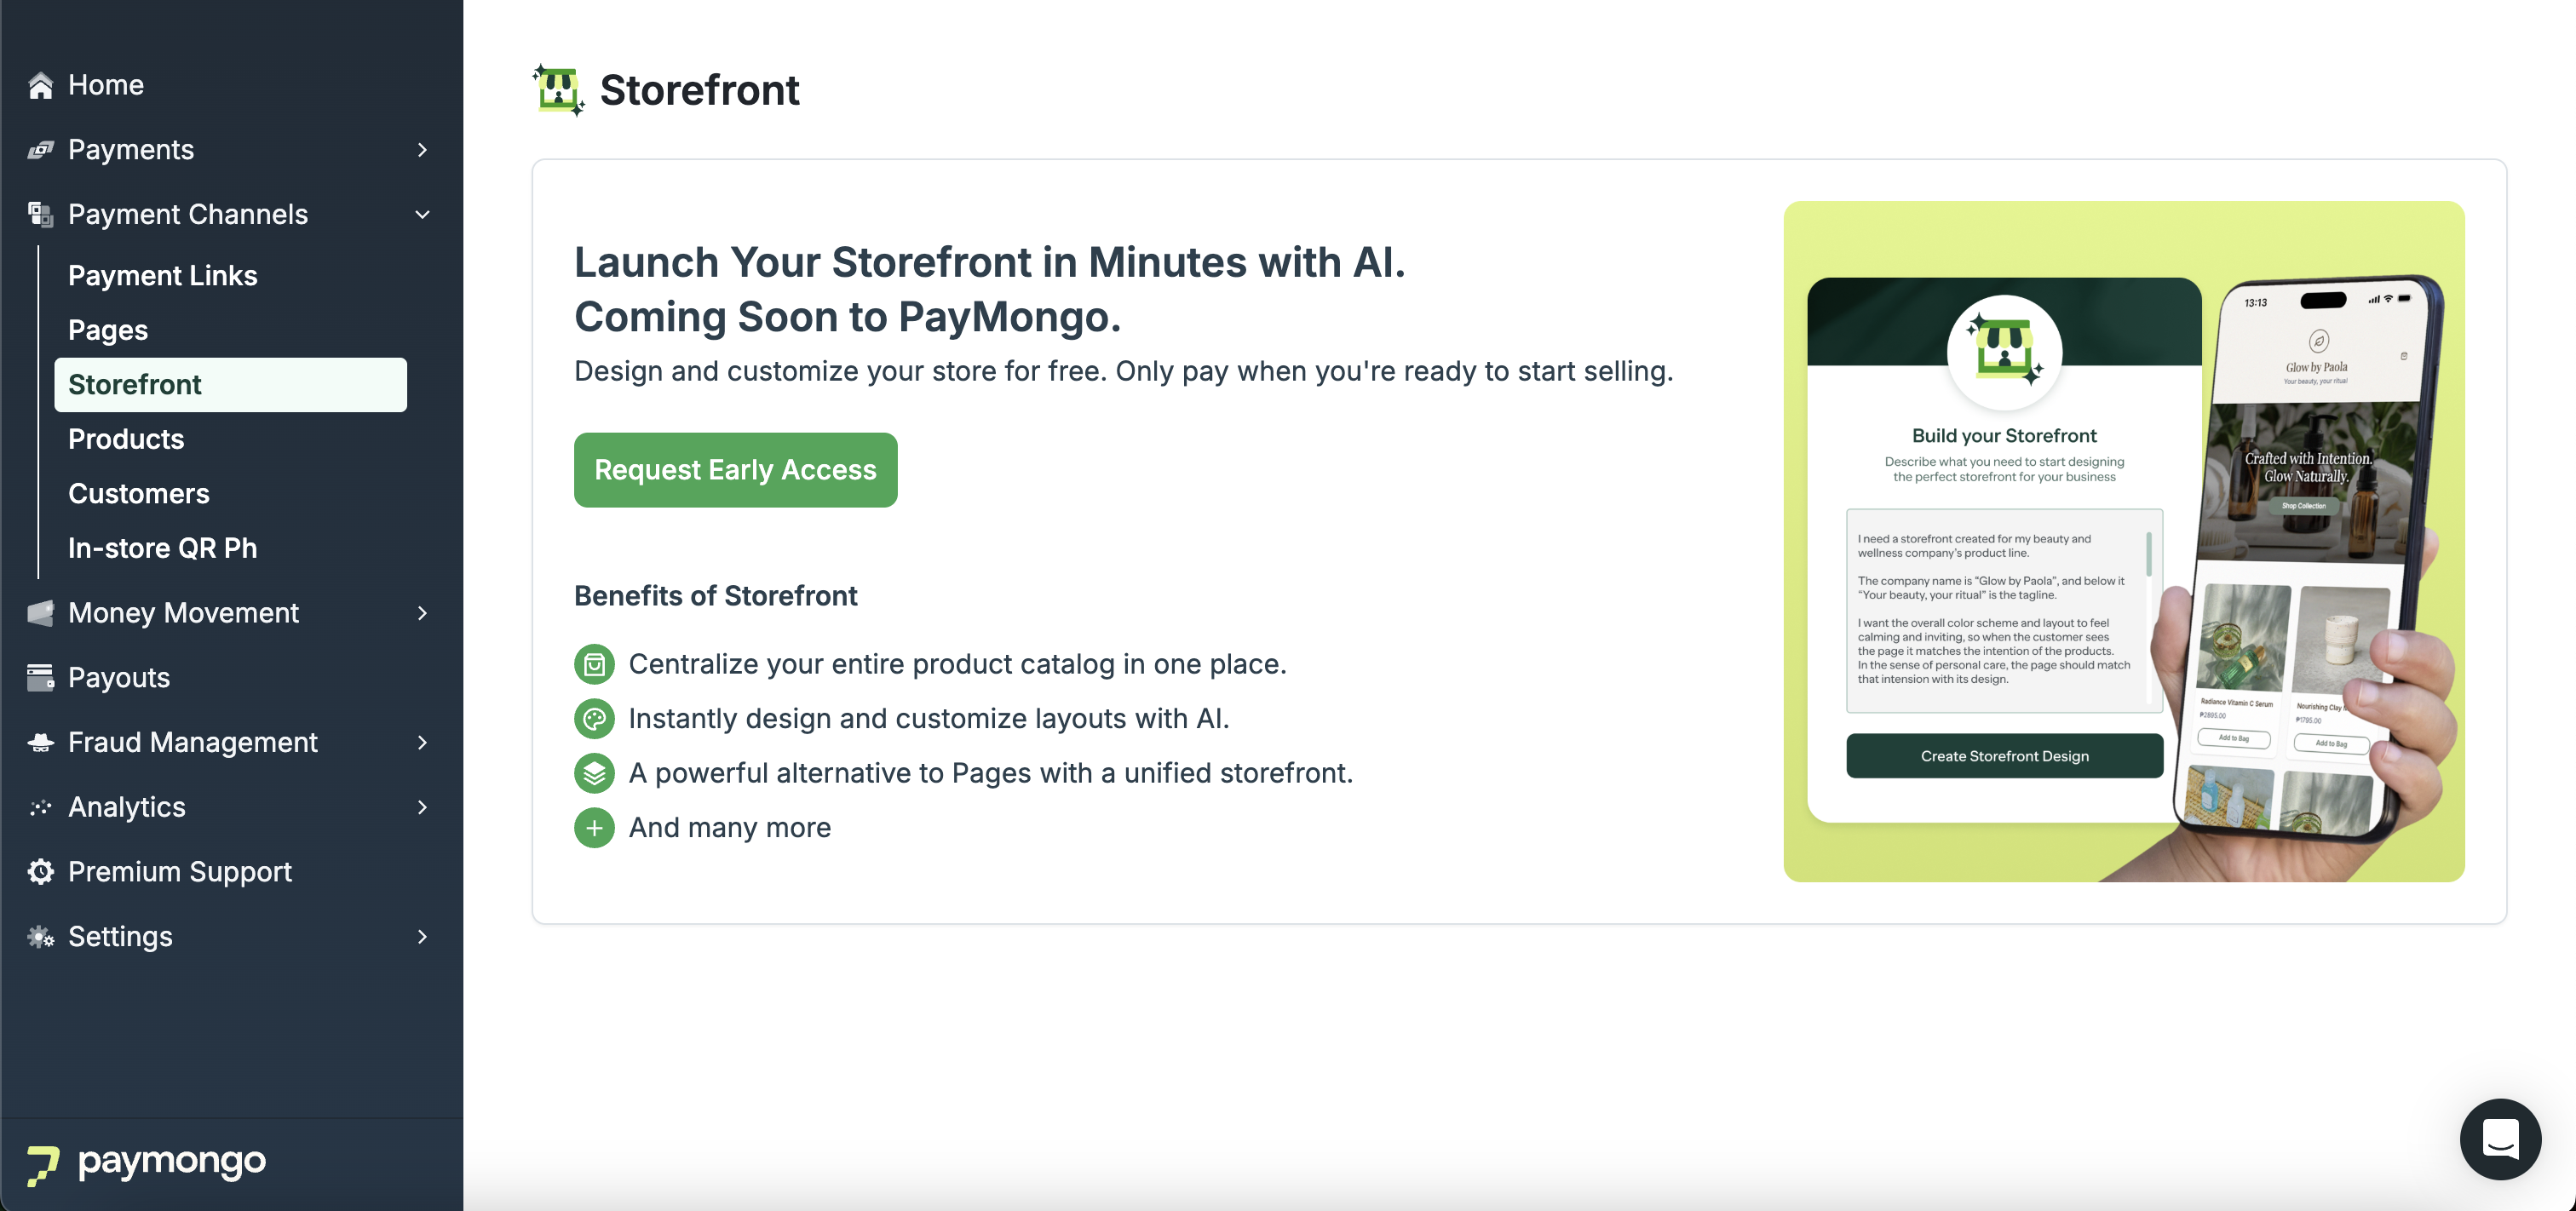
Use Storefront to generate a hosted online store from a text prompt, customize its look, and start accepting payments through Hosted Checkout.
Storefront is currently in beta. It is designed for businesses that want to move beyond selling through DMs, chat, or other manual workflows and launch a storefront without building a site from scratch or writing code.
Unlike Payment Pages, which provide a reusable hosted payment page, Storefront gives you a more customizable storefront experience through AI prompting, storefront themes, and store design controls. Use Storefront when you want customers to browse a hosted store experience before checking out.
When you create a store with Storefront, payments are already integrated through PayMongo Hosted Checkout. Based on the product page, customers can pay using cards, e-wallets, QR Ph, BNPL, and major Philippine online banks.
What you can do with Storefront
Storefront helps you create an online store in the PayMongo Dashboard by describing your business in natural language and using AI to generate the storefront design.
Storefront can help you:
- Set up your store details from the dashboard
- Generate a storefront design with AI from your business description
- Customize the look of your storefront without coding
- Preview the generated storefront before publishing
- Regenerate the design if you want a different result
- Publish a storefront with Hosted Checkout already built in
This makes Storefront a good fit if you want a faster way to launch a storefront and start collecting payments without using a separate website builder or marketplace setup.
Before you start
You'll need:
- An activated PayMongo merchant account with a Closed-loop wallet, which is automatically activated once you've completed KYC. Check your wallet status at Money Movement → Wallets.
- Your API keys (find them in the dashboard under Settings → Developers).
How to build your store
-
Open Storefront in your dashboard
Sign in to your PayMongo Dashboard and go to Payment Channel → Storefront. Because the product is currently in beta, start by joining the beta.
-
Add your store details and products
Enter the details needed to describe your business and prepare your storefront content. Use this step to define what you sell so Storefront can generate a store that matches your business.

Create Storefront Details
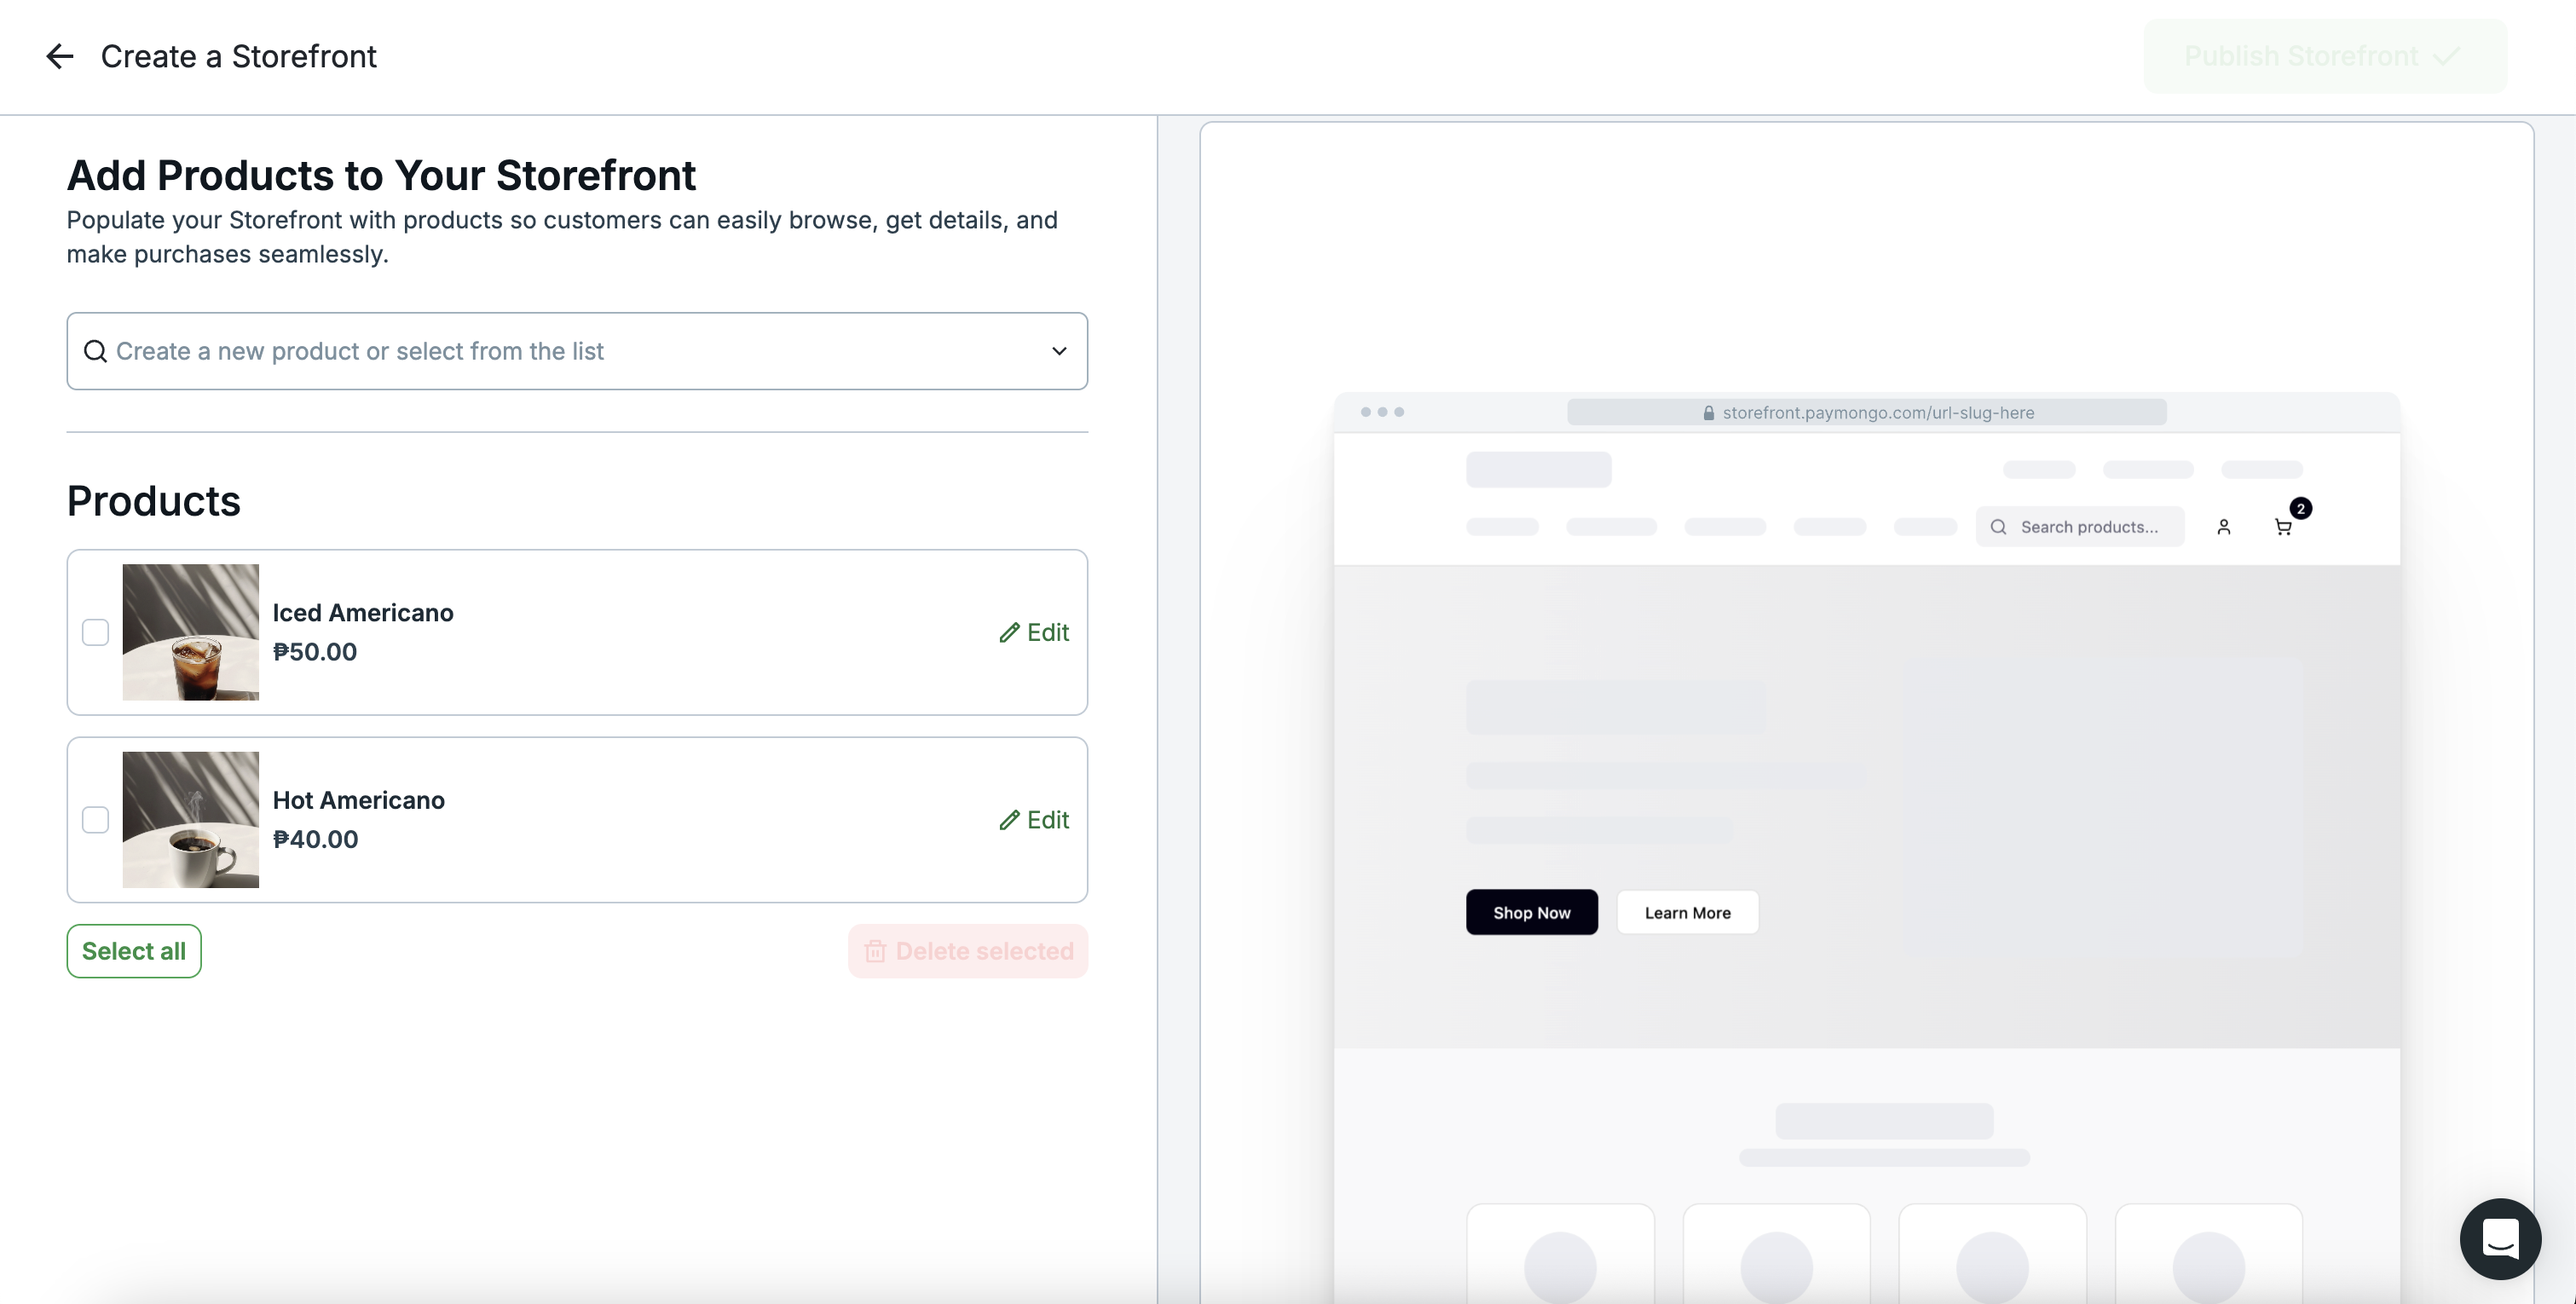
Add Product to Storefront
-
Generate your storefront design with AI
Use AI to generate the storefront design from your business description. This gives you a starting storefront without manually building each page from scratch. Review the generated storefront in preview mode. If the result does not match what you want, regenerate the design.
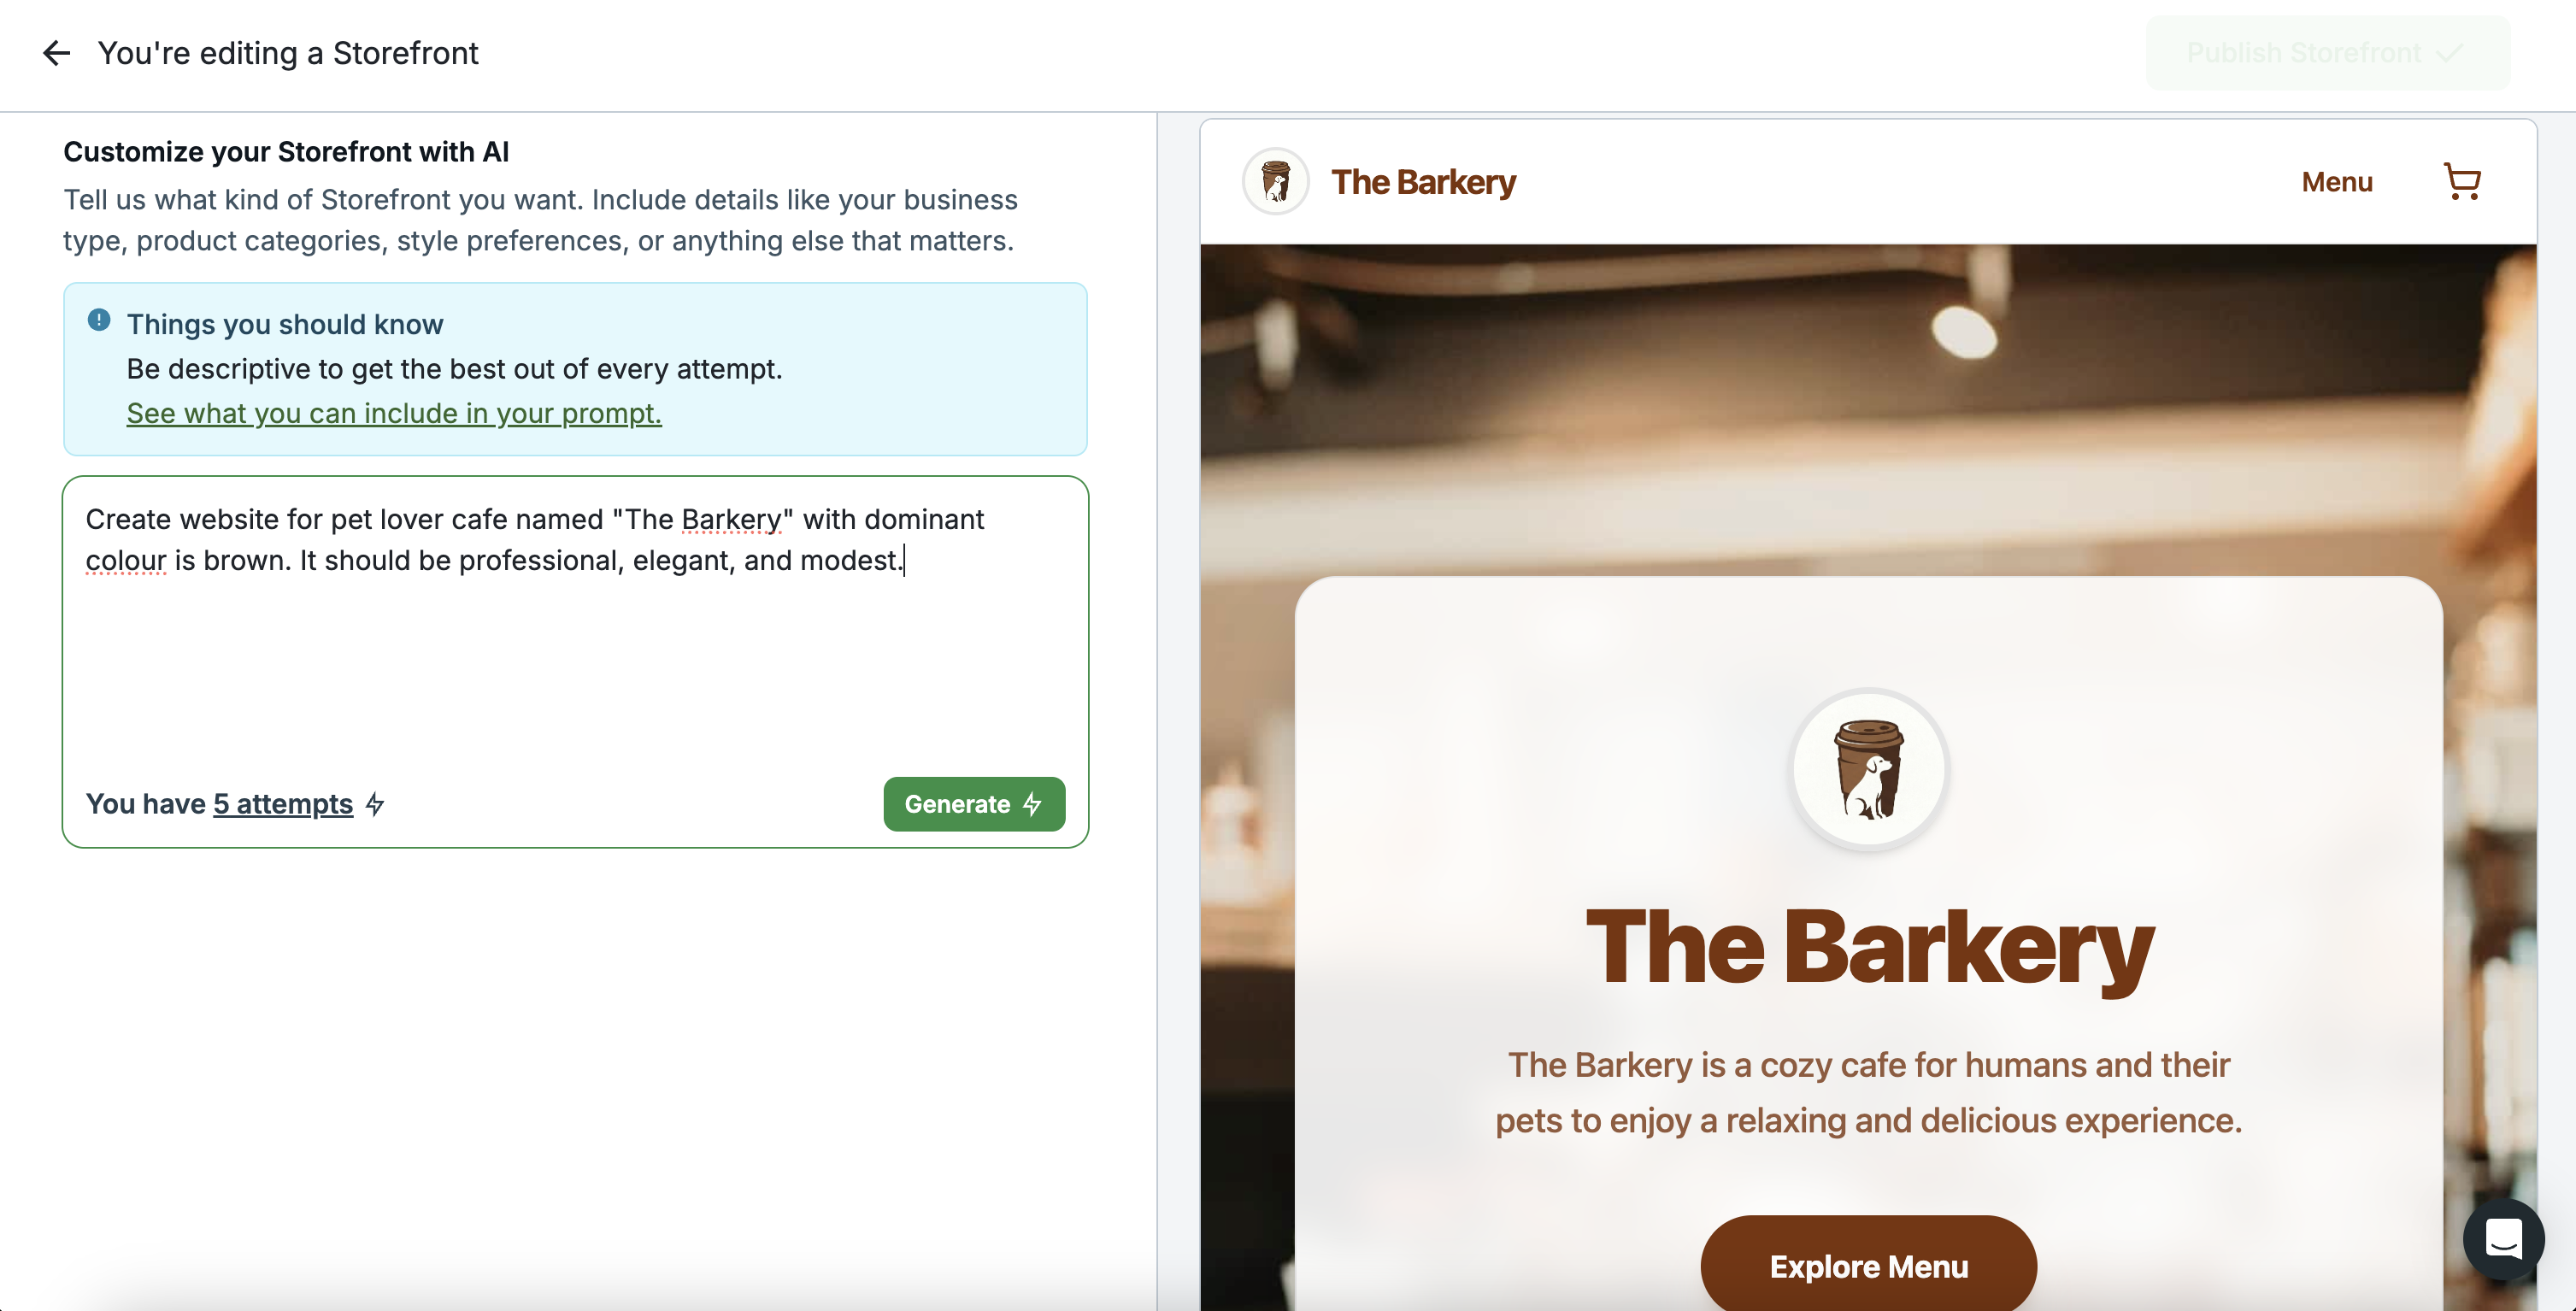
Storefront Prompt Preview
-
Publish your store
Publish the storefront when you are ready to make it available to customers. Your store uses Hosted Checkout for payments, so customers can complete purchases using the supported payment methods listed on the product page. No extra checkout integration is required.

Publish Storefront Button Active
-
Continue customizing your store design
After previewing or publishing, continue refining the storefront so it better reflects your business. Storefront is designed to help you reach a usable storefront faster, then improve it as needed.
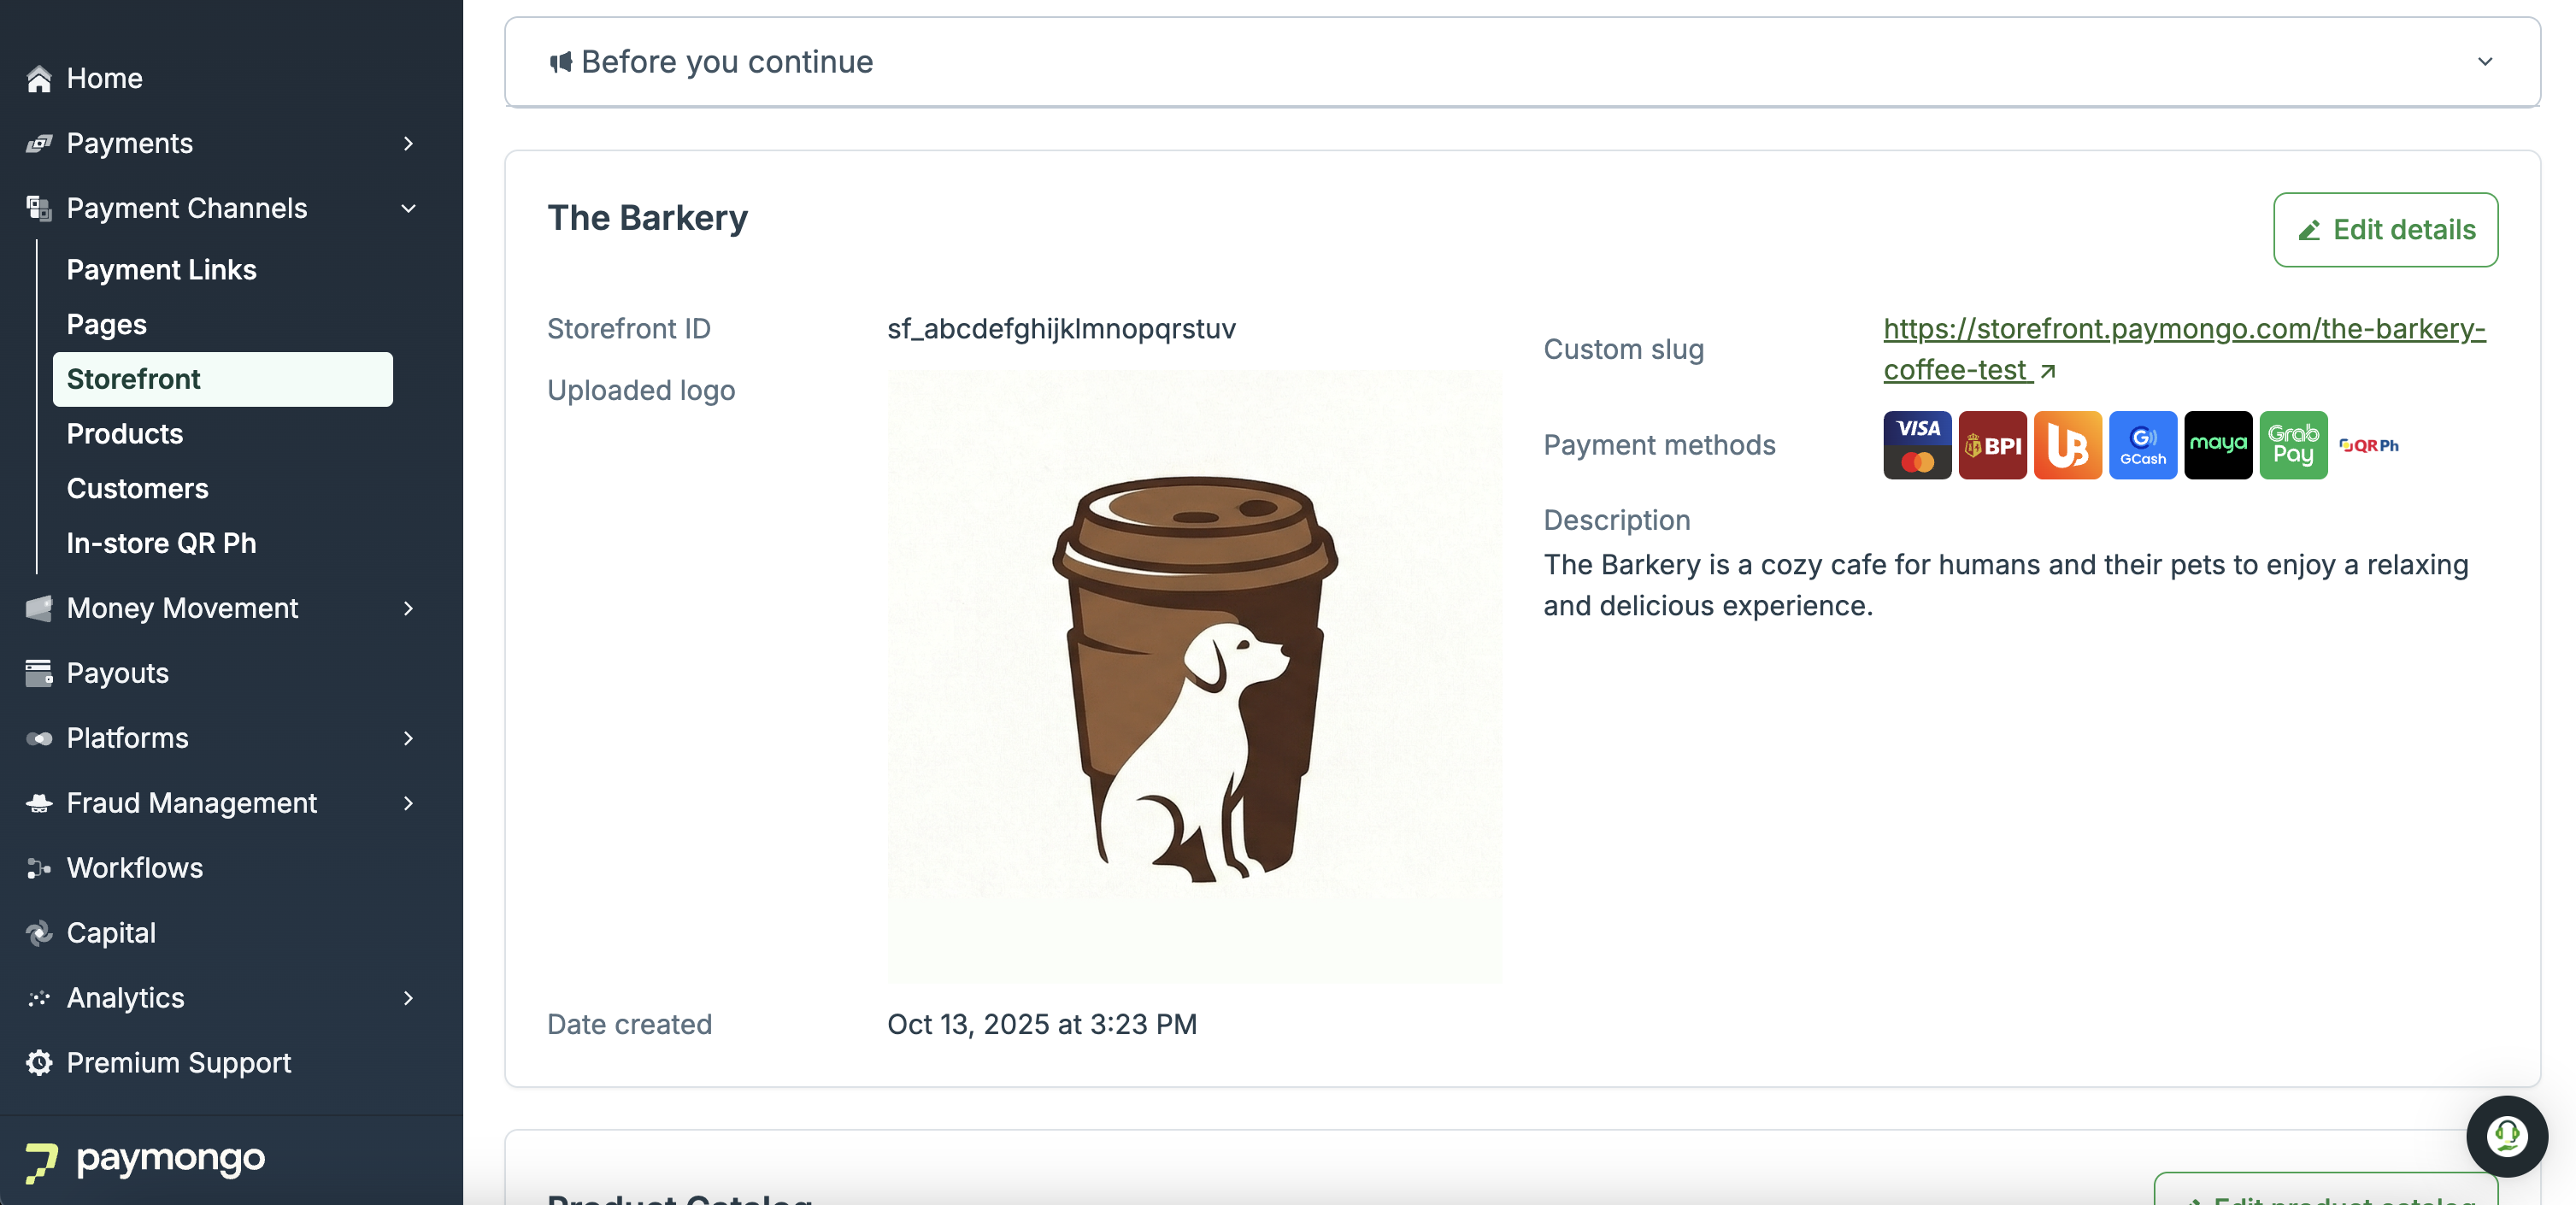
Storefront Created
Published Storefront
Prompting Guide
Use a prompt (the instruction you give to the AI) that clearly describes the type of storefront you want to generate. Storefront works best when your prompt states the page type, the purpose of the page, your target audience, your design preferences, and the key sections you want included.
Start with this structure:
Create a [page type] for my [industry/business type] that [main purpose].
Target audience: [your customers].
Style: [design preferences].
Include: [key elements or sections].
When writing your prompt:
- State the page type and the main purpose clearly
- Include your business context and target audience
- Describe the style, colors, and layout you want
- List the sections or elements you want the page to include
- Reference assets already uploaded to your storefront, such as your logo and product images
- Keep the prompt concise, ideally around 50 to 80 words
You can use prompts to guide Storefront on:
- Theme, style, colors, and layout
- Business type or industry
- Image direction using the assets already uploaded to your storefront
Good prompt example:
Create a modern website for a skincare company primarily targeting women ages 25-40. Use a clean, minimalist style with black, white, and teal accents. Include a hero section with my Storefront description and a product showcase grid.
Less effective prompt:
Make me a website that looks good.
Updated about 4 hours ago