Quick start
Create your first Checkout Session, redirect the customer, and confirm payment via webhook.
This walks through the full Hosted Checkout integration: create a session, redirect the customer, and confirm payment via webhook.
You'll need a PayMongo account with KYC completed and a test mode secret key (sk_test_...) from Settings → Developers in the dashboard.
1. Create a Checkout Session
Call the Checkout API from your backend. Authenticate with your secret key as the HTTP basic auth username (note the trailing colon — there's no password):
curl https://api.paymongo.com/v2/checkout_sessions \
  -u sk_test_xxxxxxxxxxxx: \
  -H "Content-Type: application/json" \
  -d '{
    "data": {
      "attributes": {
        "line_items": [
          {
            "name": "Test order",
            "amount": 10000,
            "currency": "PHP",
            "quantity": 1
          }
        ],
        "payment_method_types": ["qrph"],
        "success_url": "https://example.com/success",
        "cancel_url": "https://example.com/cart",
        "reference_number": "ORDER-001"
      }
    }
  }'
const secretKey = 'sk_test_xxxxxxxxxxxx';
const response = await fetch('https://api.paymongo.com/v2/checkout_sessions', {
method: 'POST',
headers: {
'Authorization': `Basic ${Buffer.from(`${secretKey}:`).toString('base64')}`,
'Content-Type': 'application/json',
},
body: JSON.stringify({
data: {
attributes: {
line_items: [
{
name: 'Test order',
amount: 10000,
currency: 'PHP',
quantity: 1,
},
],
payment_method_types: ['qrph'],
success_url: 'https://example.com/success',
cancel_url: 'https://example.com/cart',
reference_number: 'ORDER-001',
},
},
}),
});
const json = await response.json();
console.log(json);Never call this endpoint from your frontend — your secret key must stay on your backend.
2. Redirect the customer
The response includes data.attributes.checkout_url.
{
  "data": {
    "id": "cs_xxxxxxxxxxxx",
    "type": "checkout_session",
    "attributes": {
      "checkout_url": "https://checkout.paymongo.com/xxxxxxxxxxxx",
      "livemode": false,
      "created_at": 1767225600,
      "updated_at": 1767225600
    }
  }
}
Redirect the customer's browser to the provided checkout URL:
const json = await response.json();
const checkoutUrl = json.data.attributes.checkout_url;

// Redirect to provided checkout URL
window.location.href = checkoutUrl;
The customer completes payment on PayMongo's hosted page, then is redirected to your success_url or cancel_url.
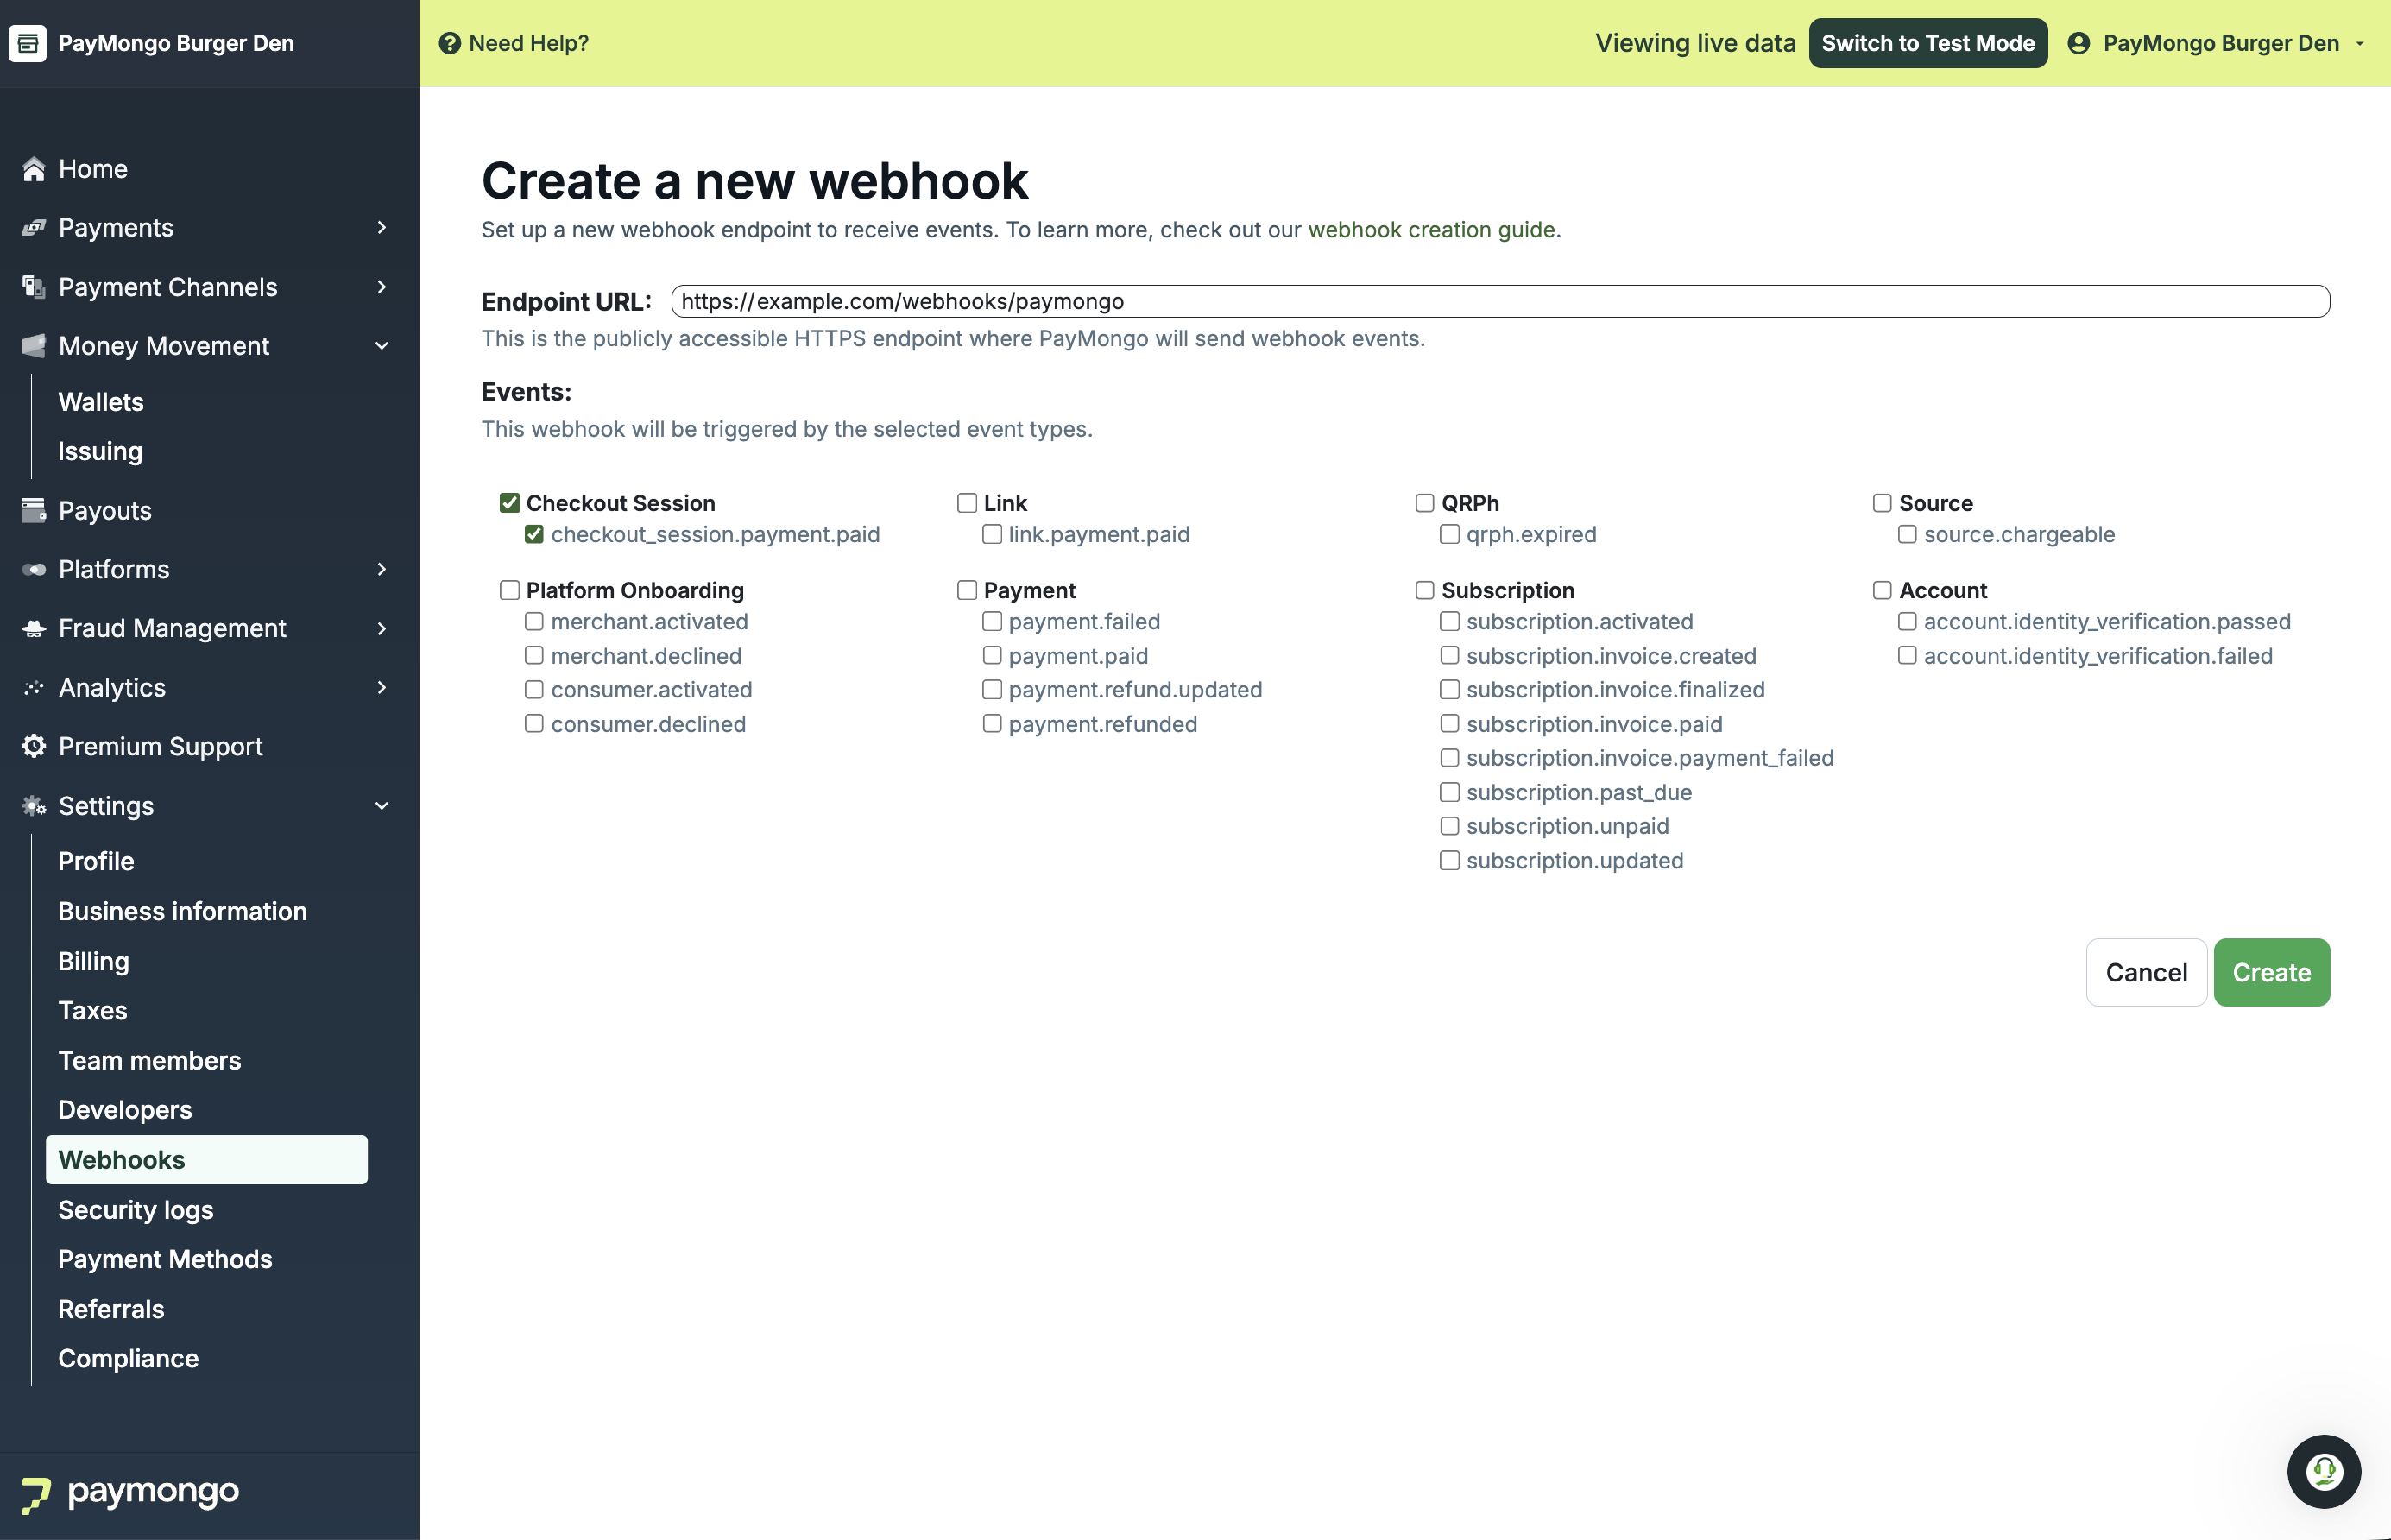
3. Set up a webhook
In the dashboard, go to Settings → Webhooks and add an endpoint pointing to your server (e.g. https://example.com/webhooks/paymongo). Subscribe to checkout_session.payment.paid.
4. Listen for the webhook and update the order
When PayMongo sends checkout_session.payment.paid, look up the order by the session's id or reference_number and mark it paid. Treat the webhook as the source of truth.
// Example: Express handler
app.post("/webhooks/paymongo", (req, res) => {
  const event = req.body.data;

  if (event.type === "checkout_session.payment.paid") {
    const session = event.data;
    const referenceNumber = session.attributes.reference_number;

    // Mark the order paid in your database
    fulfillOrder(referenceNumber, session);
  }

  res.sendStatus(200);
});
Next steps
- Add more payment methods to
payment_method_types— see Settings → Payment Methods . - Charge transaction fees to the customer — see Pass-on Fees.
Updated 3 days ago