Payment Pages
Learn what PayMongo Payment Pages are, when to use them instead of Payment Links, and how to create, customize, share, and track a reusable payment page from your dashboard.
Use Payment Pages to create a reusable hosted payment page that you can customize, share with customers, and track from your PayMongo Dashboard.
Payment Pages work well when you want one payment page that stays available for multiple customers instead of creating a new link for every transaction. You can set up a permanent page URL, share it through social media, messaging apps, print materials, or QR codes, and let customers complete payment without building a website.
Depending on your setup, you can create a Fixed Amount page, a Custom Amount page, or a Product Catalog page. Customers can pay using available payment methods on the hosted page, and successful payments appear in your dashboard in real time. Customers also receive an email receipt after payment.
When to use
Choose Payment Pages when you want one payment page that you can keep reusing for different customers.
Payment Pages are a good fit when you:
- Want a permanent page URL or QR code that you can share repeatedly
- Need a payment page that customers can revisit on their own
- Want customers to enter a custom amount
- Want to show a simple product catalog so customers can browse, add items to cart, and check out
- Sell through social media, chat, or offline channels but want a more structured payment experience without building a full website
Choose Payment Links instead when you need to request payment for one specific customer, order, or transaction. Payment Links are better when you want to create and send a separate checkout link for each payment request, while Payment Pages are better when you want one reusable page that stays available for ongoing sharing.
Before you start
You'll need:
- An activated PayMongo merchant account with a Closed-loop wallet, which is automatically activated once you've completed KYC. Check your wallet status at Money Movement → Wallets.
- Your API keys (find them in the dashboard under Settings → Developers).
How to use
-
Open Payment Pages in your dashboard
Sign in to your PayMongo Dashboard and open Payment Channel → Payment Pages. Start a new page and choose the page type that matches how you want to collect payment: Fixed Amount, Custom Amount, or Product Catalog.
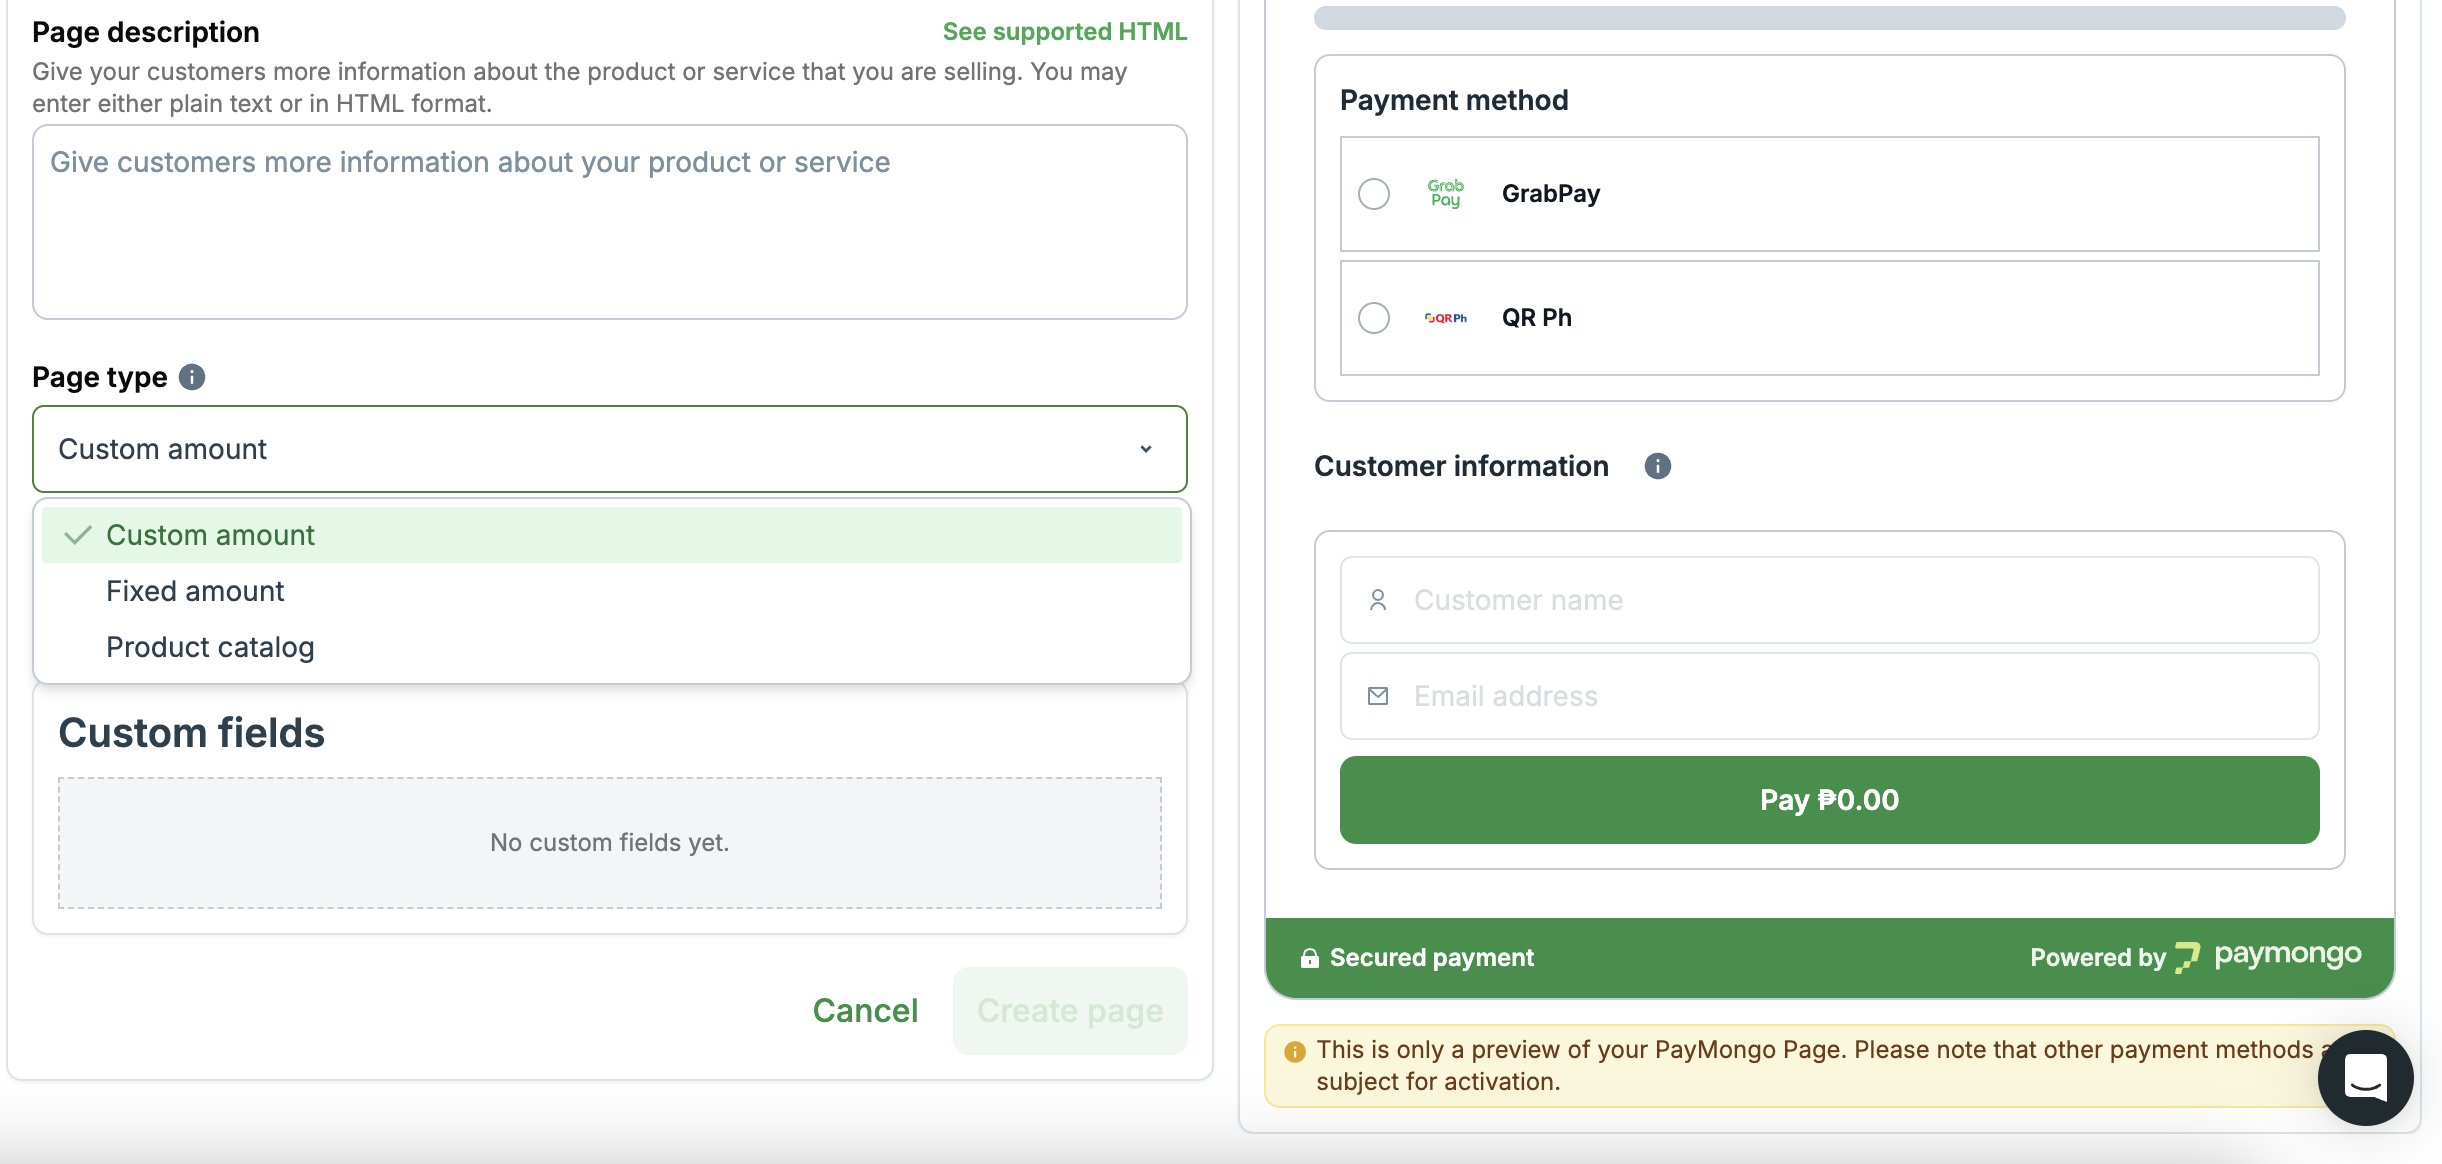
Select Page Type
-
Customize your payment page
Set up the details for your page before sharing it with customers. Depending on your setup, you can customize elements such as your business name, logo, page title, URL slug, accepted payment methods, and page content for the type of page you selected.
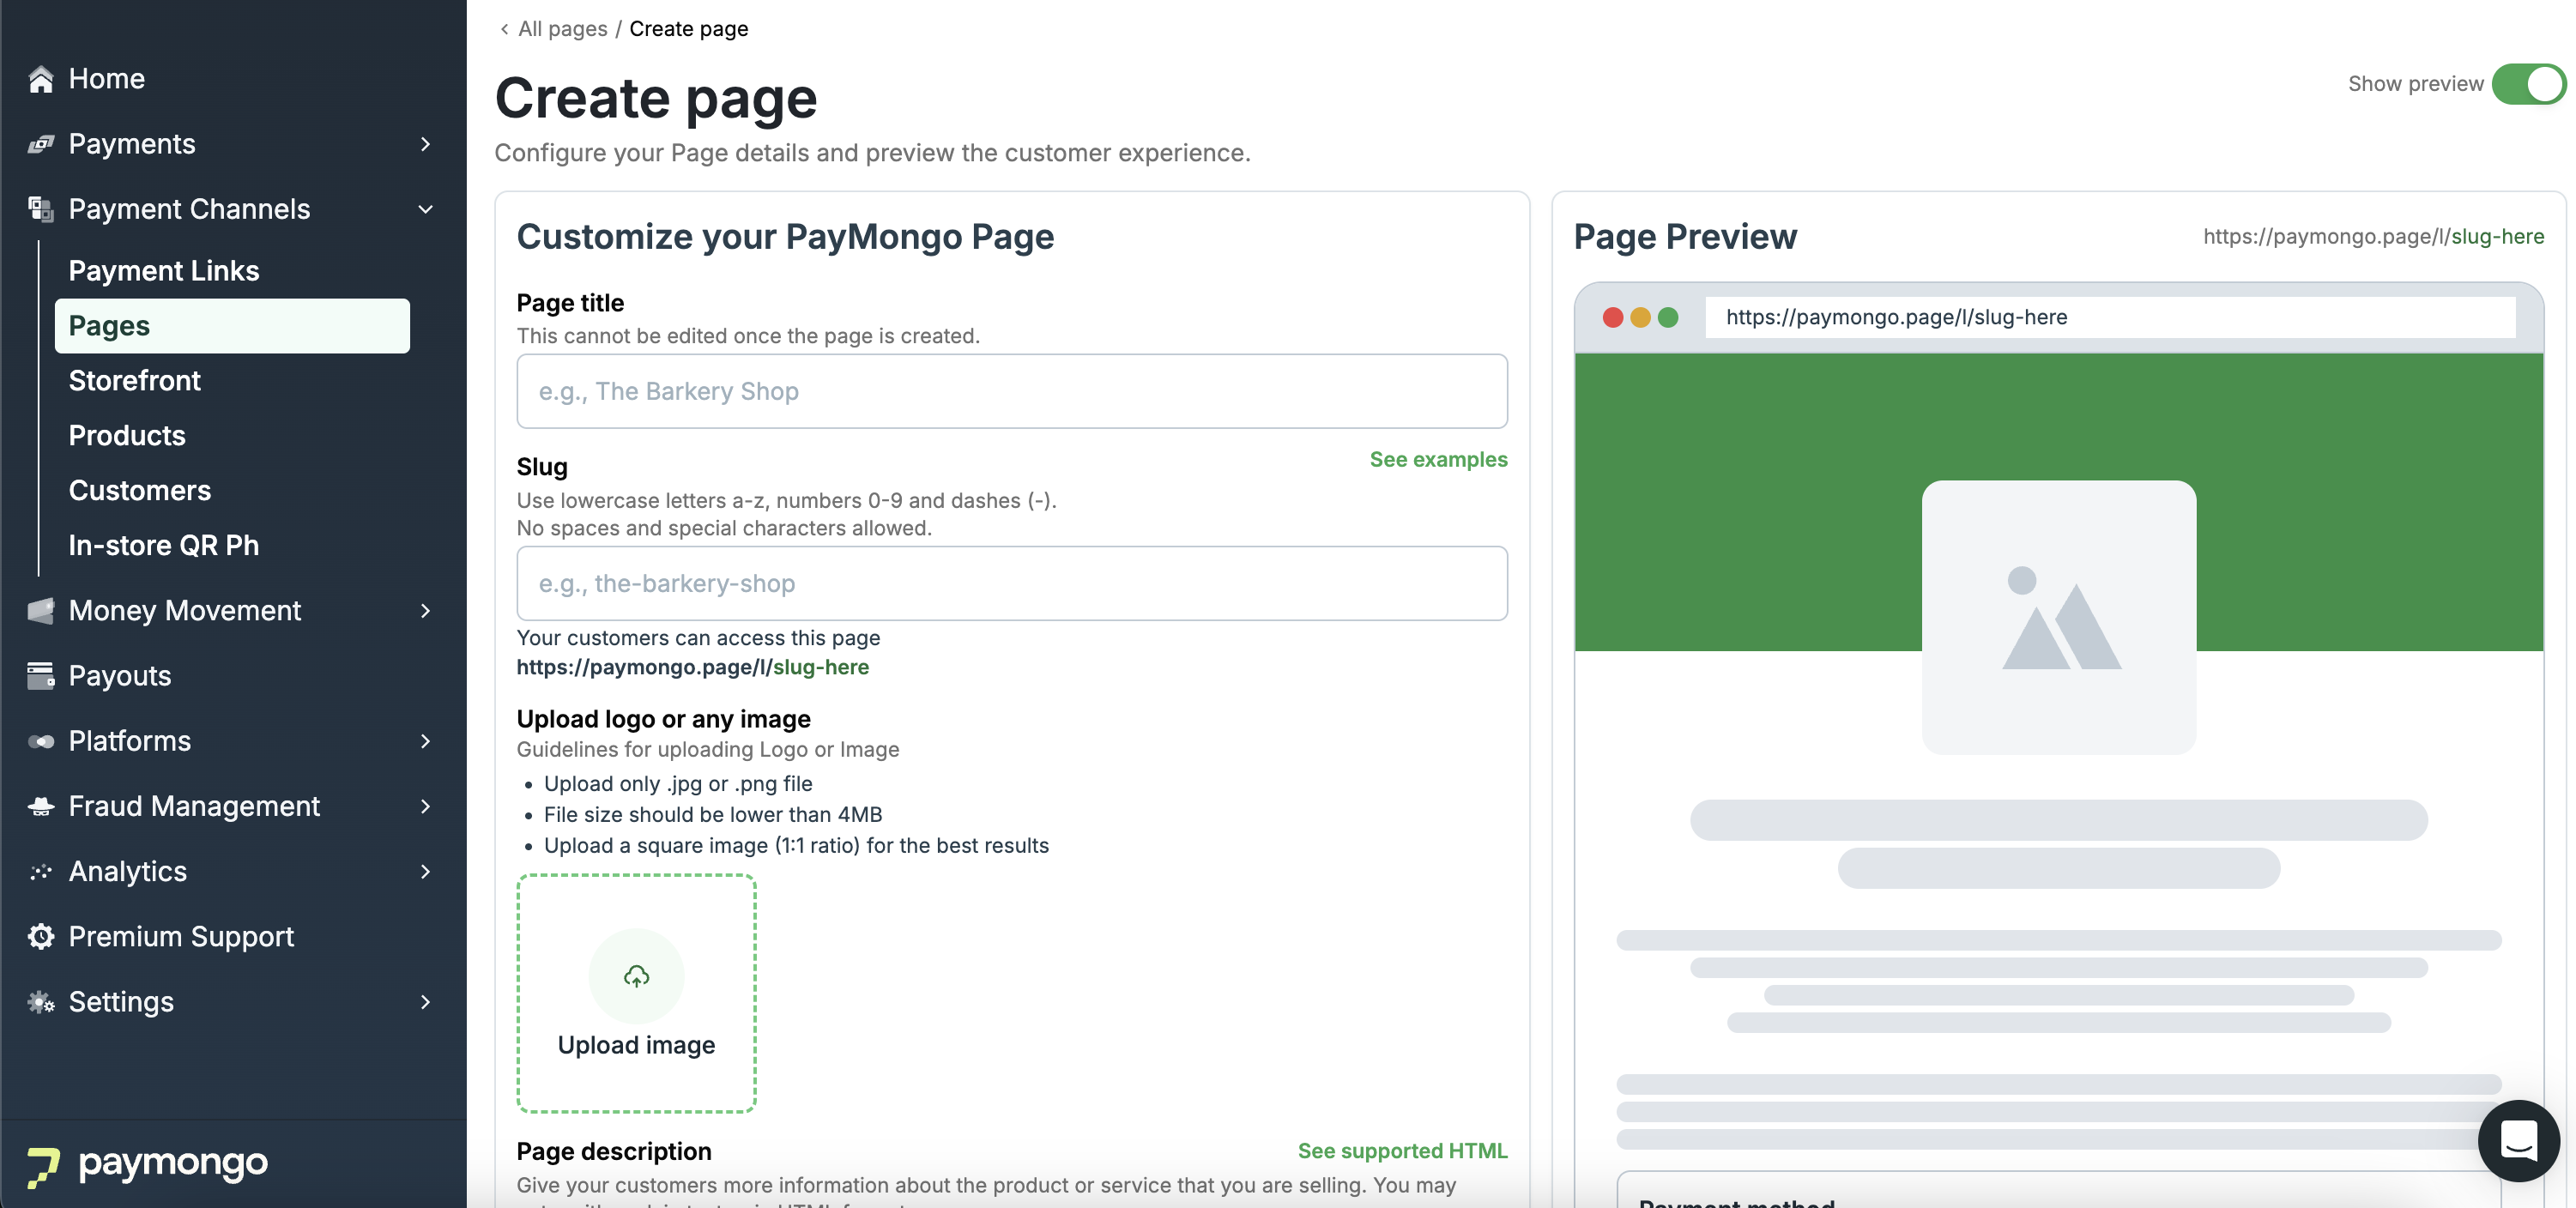
Customize your page
-
Create your page
Review your page details, then save the page from the dashboard. Once saved, your Payment Page is ready to use. You can also return to Payment Pages later to update the page details, payment methods, or content as your business needs change.
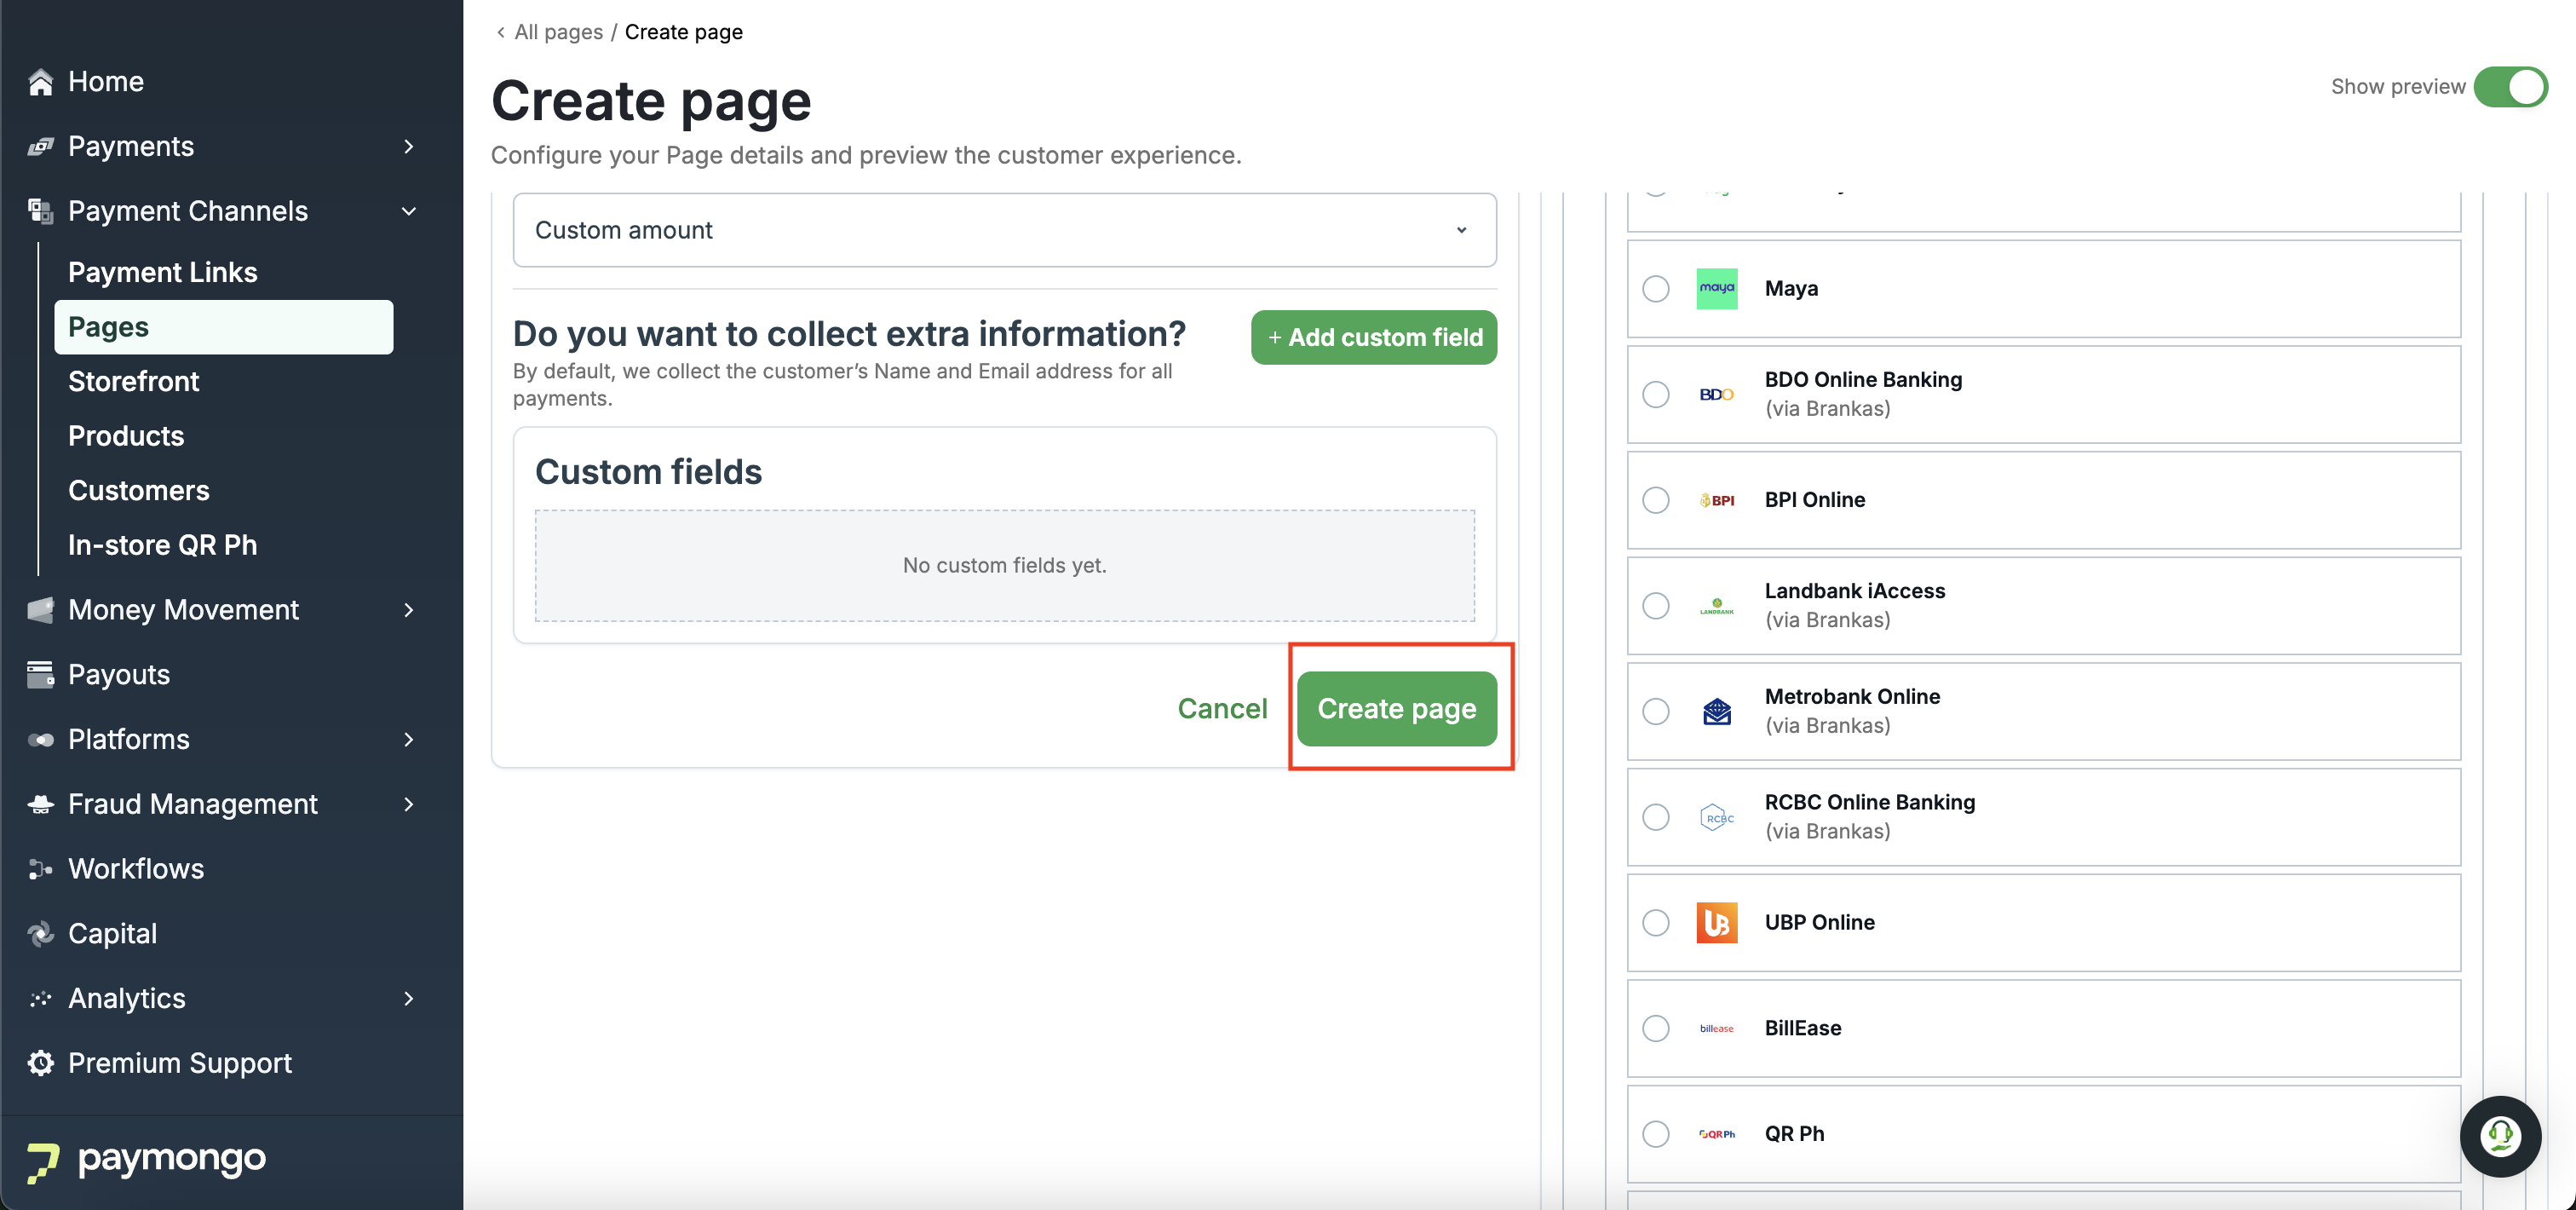
Create Page
-
Share your payment page with customers
Copy the page URL or use its QR code and share it anywhere your customers already interact with your business, such as Facebook, Instagram, Messenger, SMS, email, or printed materials. Because the page is reusable, you can continue sharing the same page instead of creating a new one for every customer.
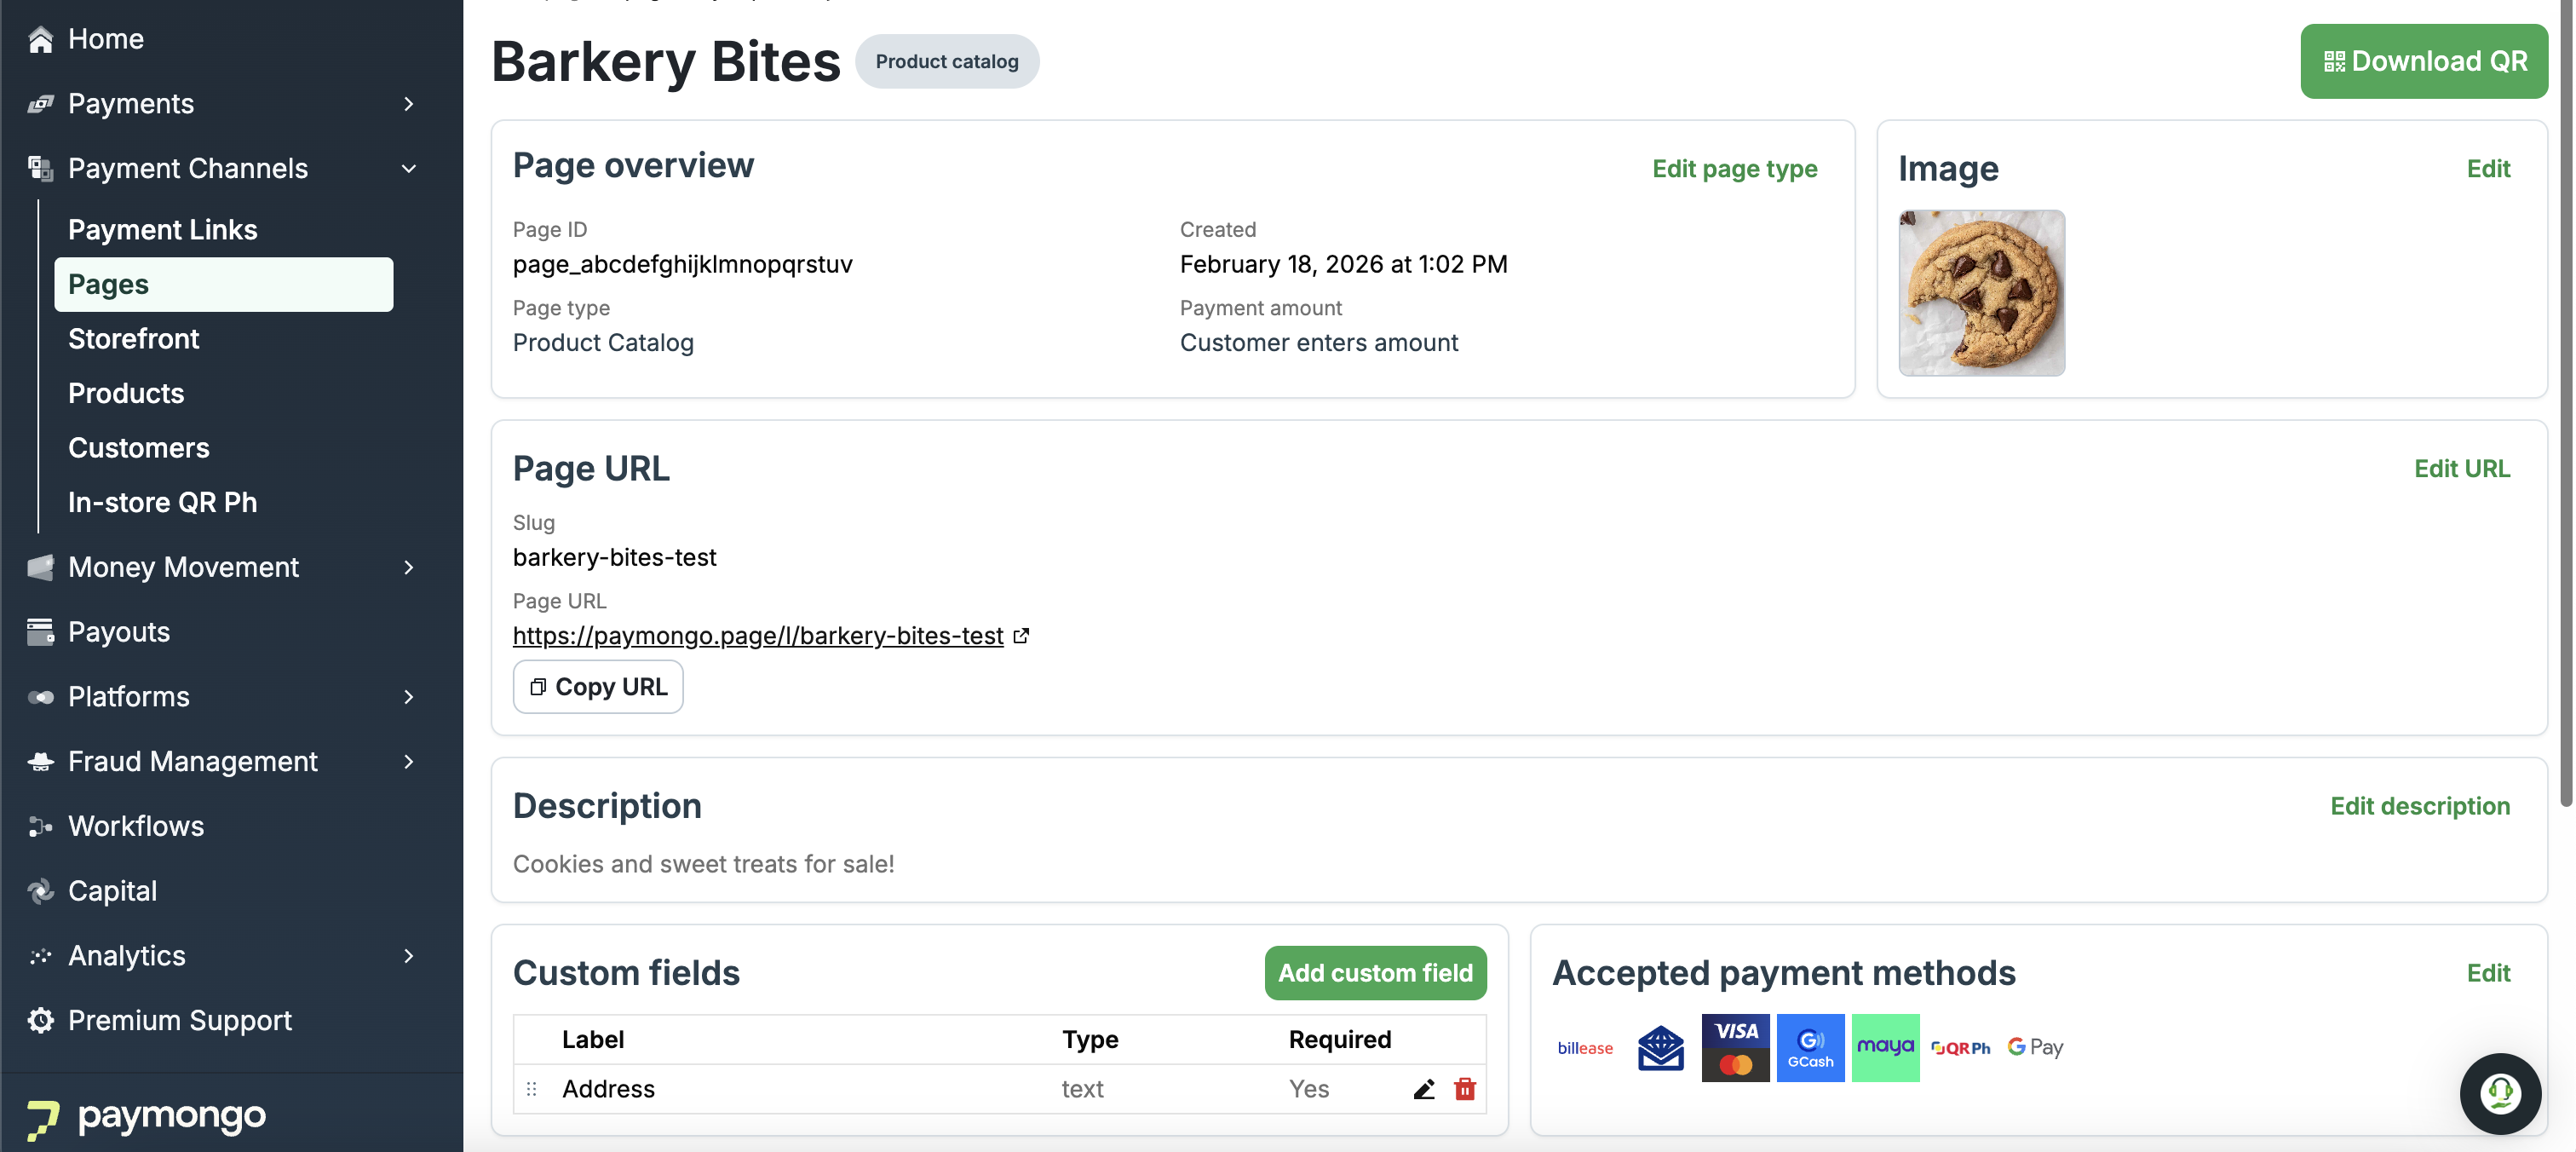
Page Created in Dashboard
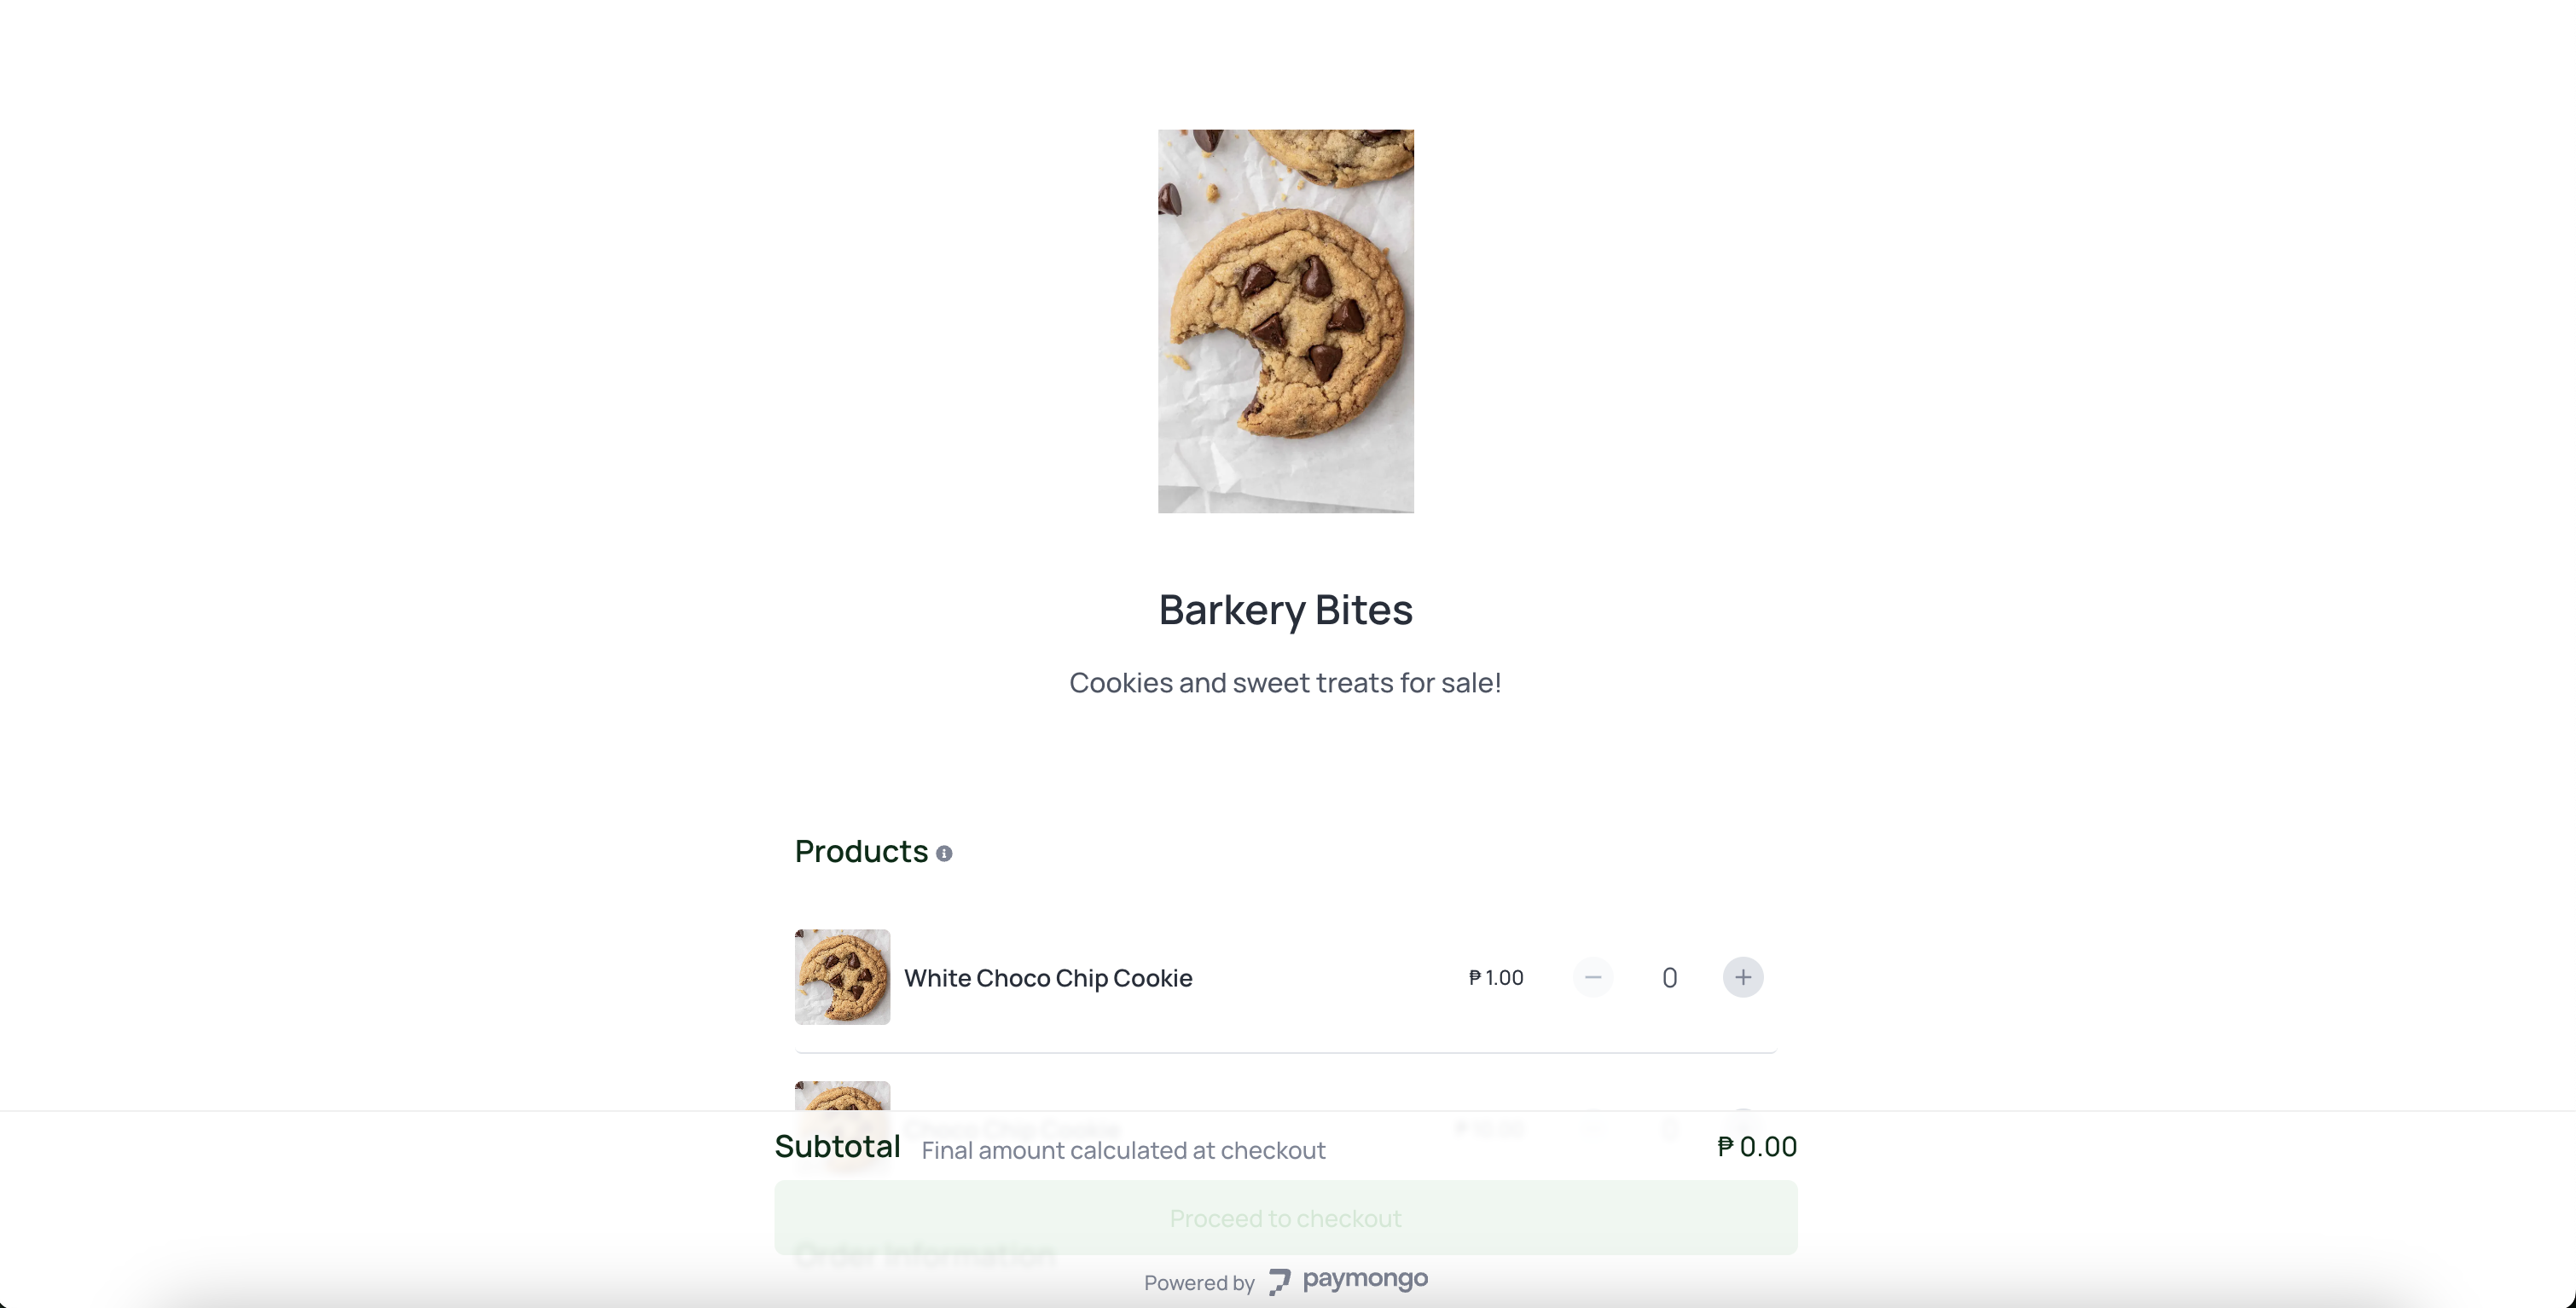
Your Page in Website
-
Track payments from your dashboard
Monitor payments from your Payment → All Payments after the page is live. When a customer completes payment, the transaction appears in real time, and the customer receives an email receipt.
Updated 3 days ago