Move money using your Paymongo Dashboard
Send your first disbursement on PayMongo without writing any code. This guide walks through the live dashboard, but the same flow works in test mode — switch the mode toggle in the header to send a sandboxed transfer first.
1. Choose your mode
Use the Test / Live toggle in the top bar to pick which environment you want to send from. Test mode uses sandbox rails and sandbox funds; nothing real moves.
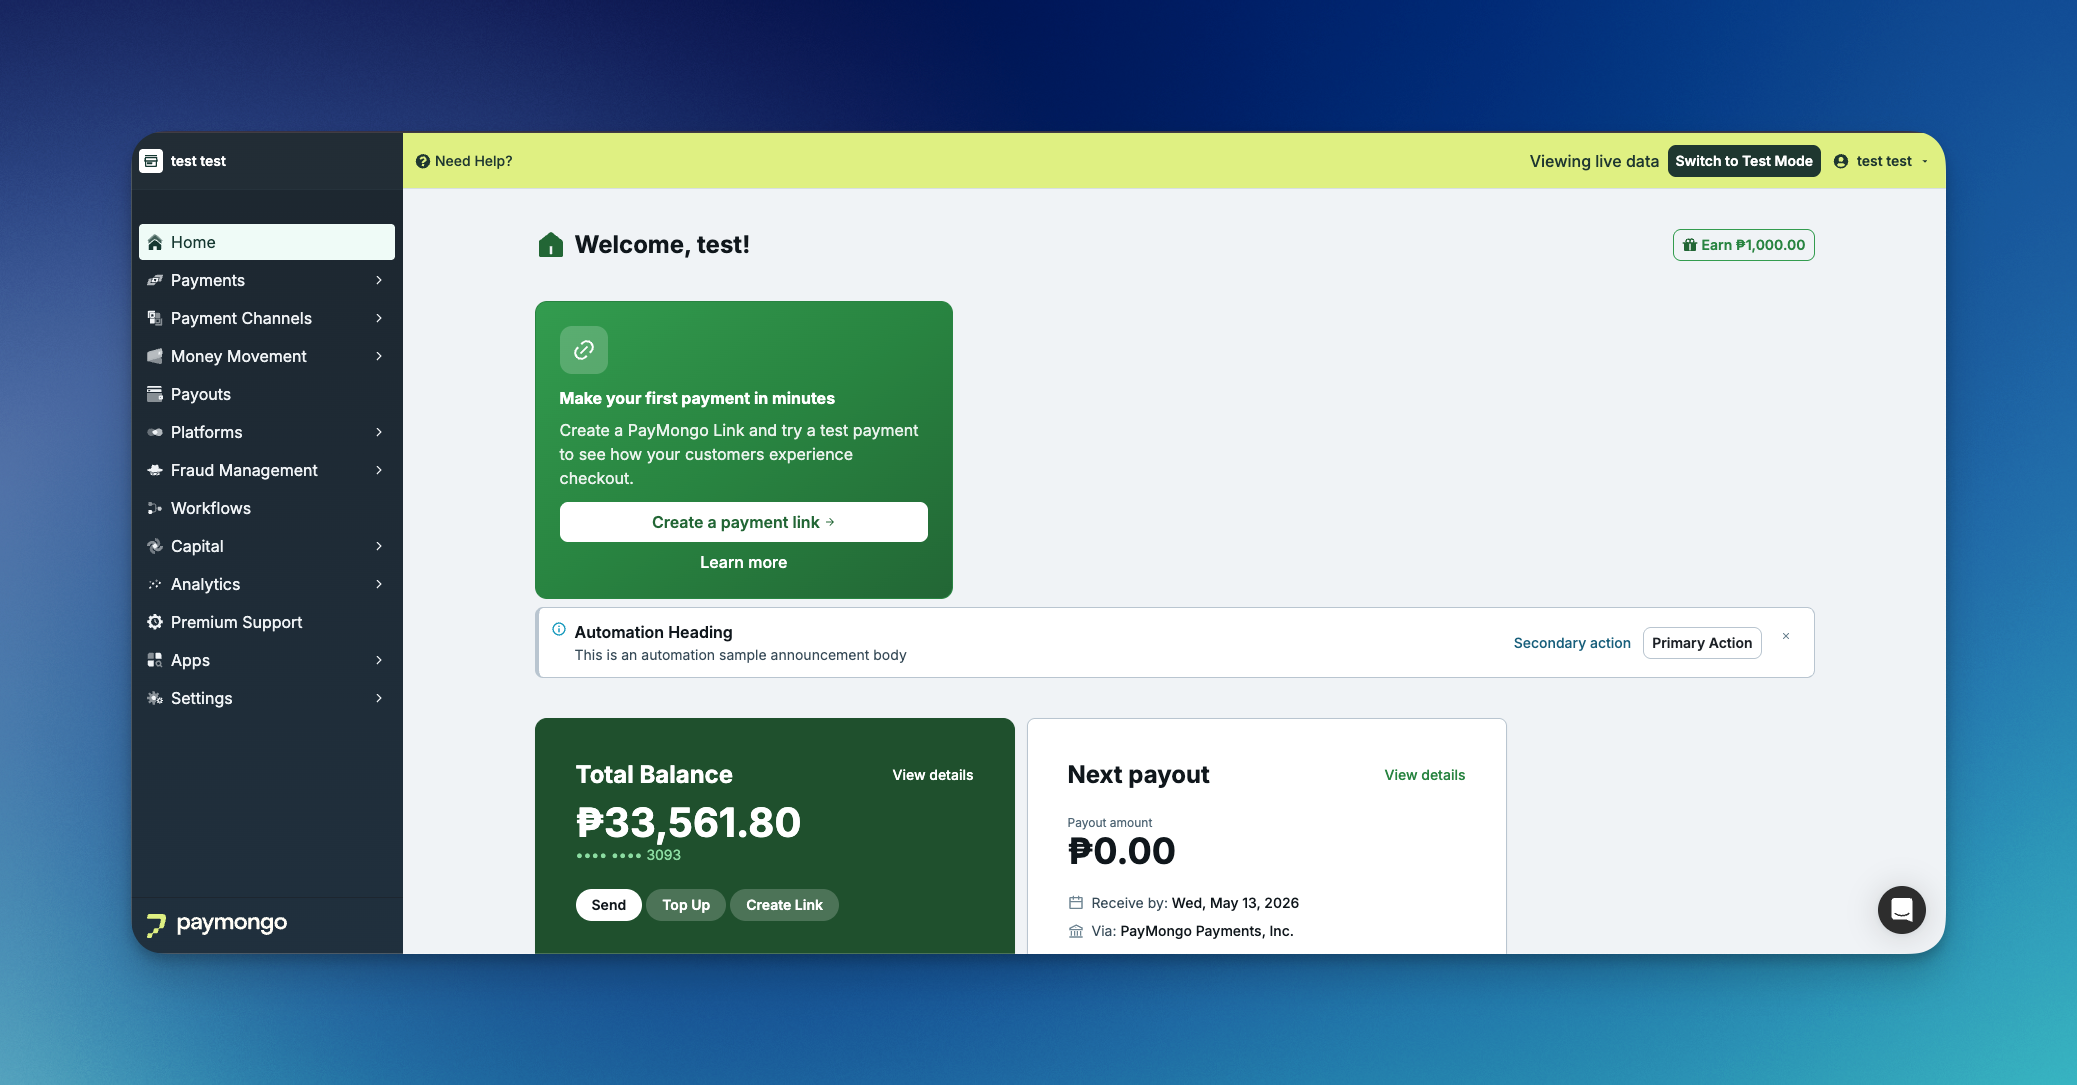
2. Open your wallet
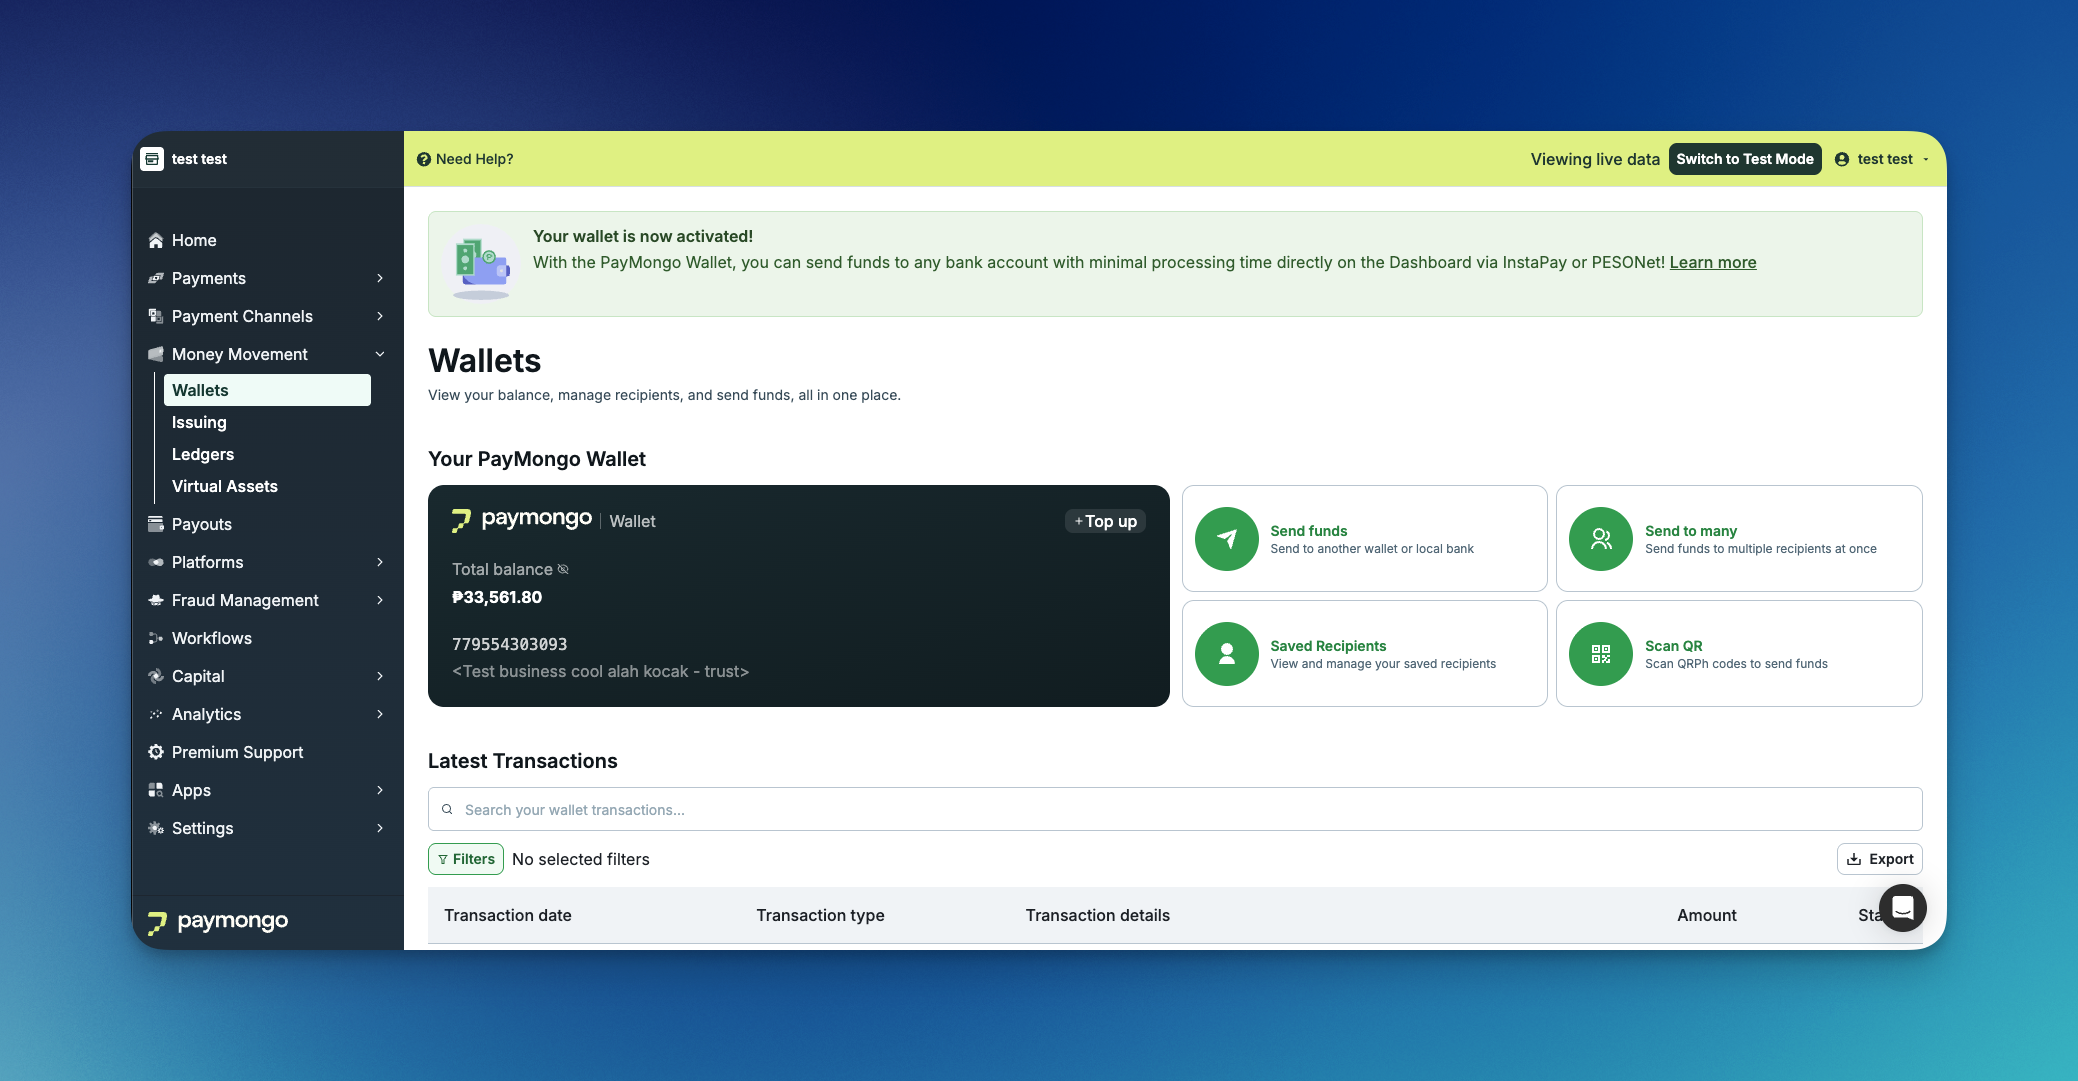
From the left navigation, go to [Money Movement → Wallets]. Pick the wallet you want to send from. The wallet detail page shows your current balance and the source account details (account number, account name) that PayMongo will use as the sender on the transfer.
3. Choose how to send
From the wallet, click [Send Funds] to open the disbursement launcher. You'll see four ways to send money, plus shortcuts to anyone you've sent to before.
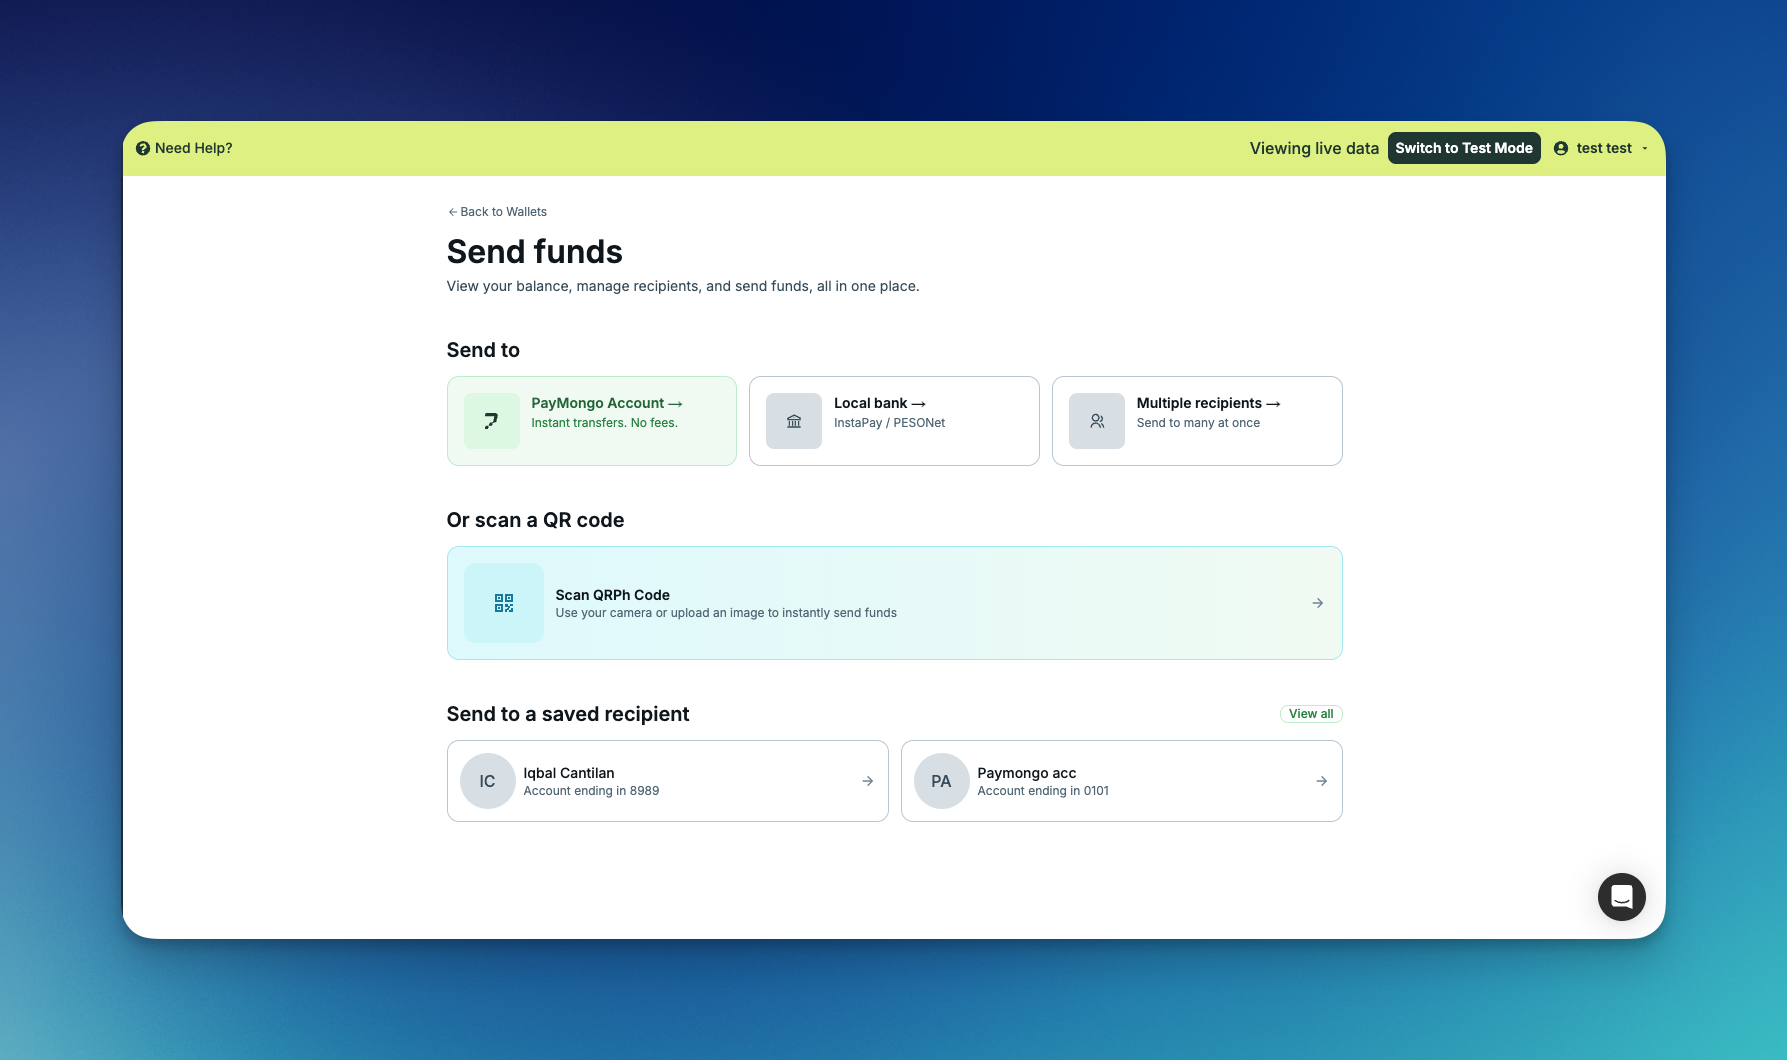
- PayMongo Account — instant, no-fee transfer to another PayMongo wallet over our internal rail. Use this when both sender and recipient are on PayMongo.
- Local bank — transfer to any Philippine bank account over InstaPay or PESONet. You pick the rail on the form.
- Multiple recipients — upload a list of transfers and submit them as one batch. Best for payroll, vendor runs, and contractor disbursements.
- Scan QRPh Code — point your camera or upload a QR Ph image; the recipient details autofill from the QR.
Under Send to a saved recipient, click any saved contact to skip straight to a prefilled form.
The rest of this guide uses Local bank → single recipient as the worked example, the most common path. The other three options use the same shape (recipient details, amount, review, submit) with the field-level differences called out at the end of this guide. Click [Local bank →] to continue.
4. Fill in the disbursement (Local bank)
The Send funds to Local Bank page collects the recipient details, the rail, and a transaction summary on a single screen. Fill in, top to bottom:
- Send amount — Your available wallet balance is shown right below the field.
- Account name — The recipient's account name
- Bank name — pick from the dropdown. It lists every Philippine bank and e-wallet reachable on InstaPay or PESONet.
- Account number — the recipient's account number at that bank or e-wallet.
- Send via — pick the rail. The dashboard shows the trade-off inline so you can compare before choosing:
- InstaPay — Send instantly, 24/7, with a ₱10 fee.
- PESONet — Free transfers. Same day if before 3 PM, next banking day after cut-off.
- Purpose of transfer — pick from the dropdown. Required by the rail; this label appears on the recipient's bank statement.
- Remarks — optional. Click + Add remarks if you want to attach a note to your own viewing
5. Confirm transaction with OTP
Click [Send Funds] to submit. PayMongo emails a one-time password to the address on your user account — enter it on the OTP screen to authorize the disbursement.
Once the OTP is accepted, the disbursement is on its way. That's it! you've sent your first disbursement on PayMongo from the dashboard.
Updated about 4 hours ago