Create account
How to get started with PayMongo?
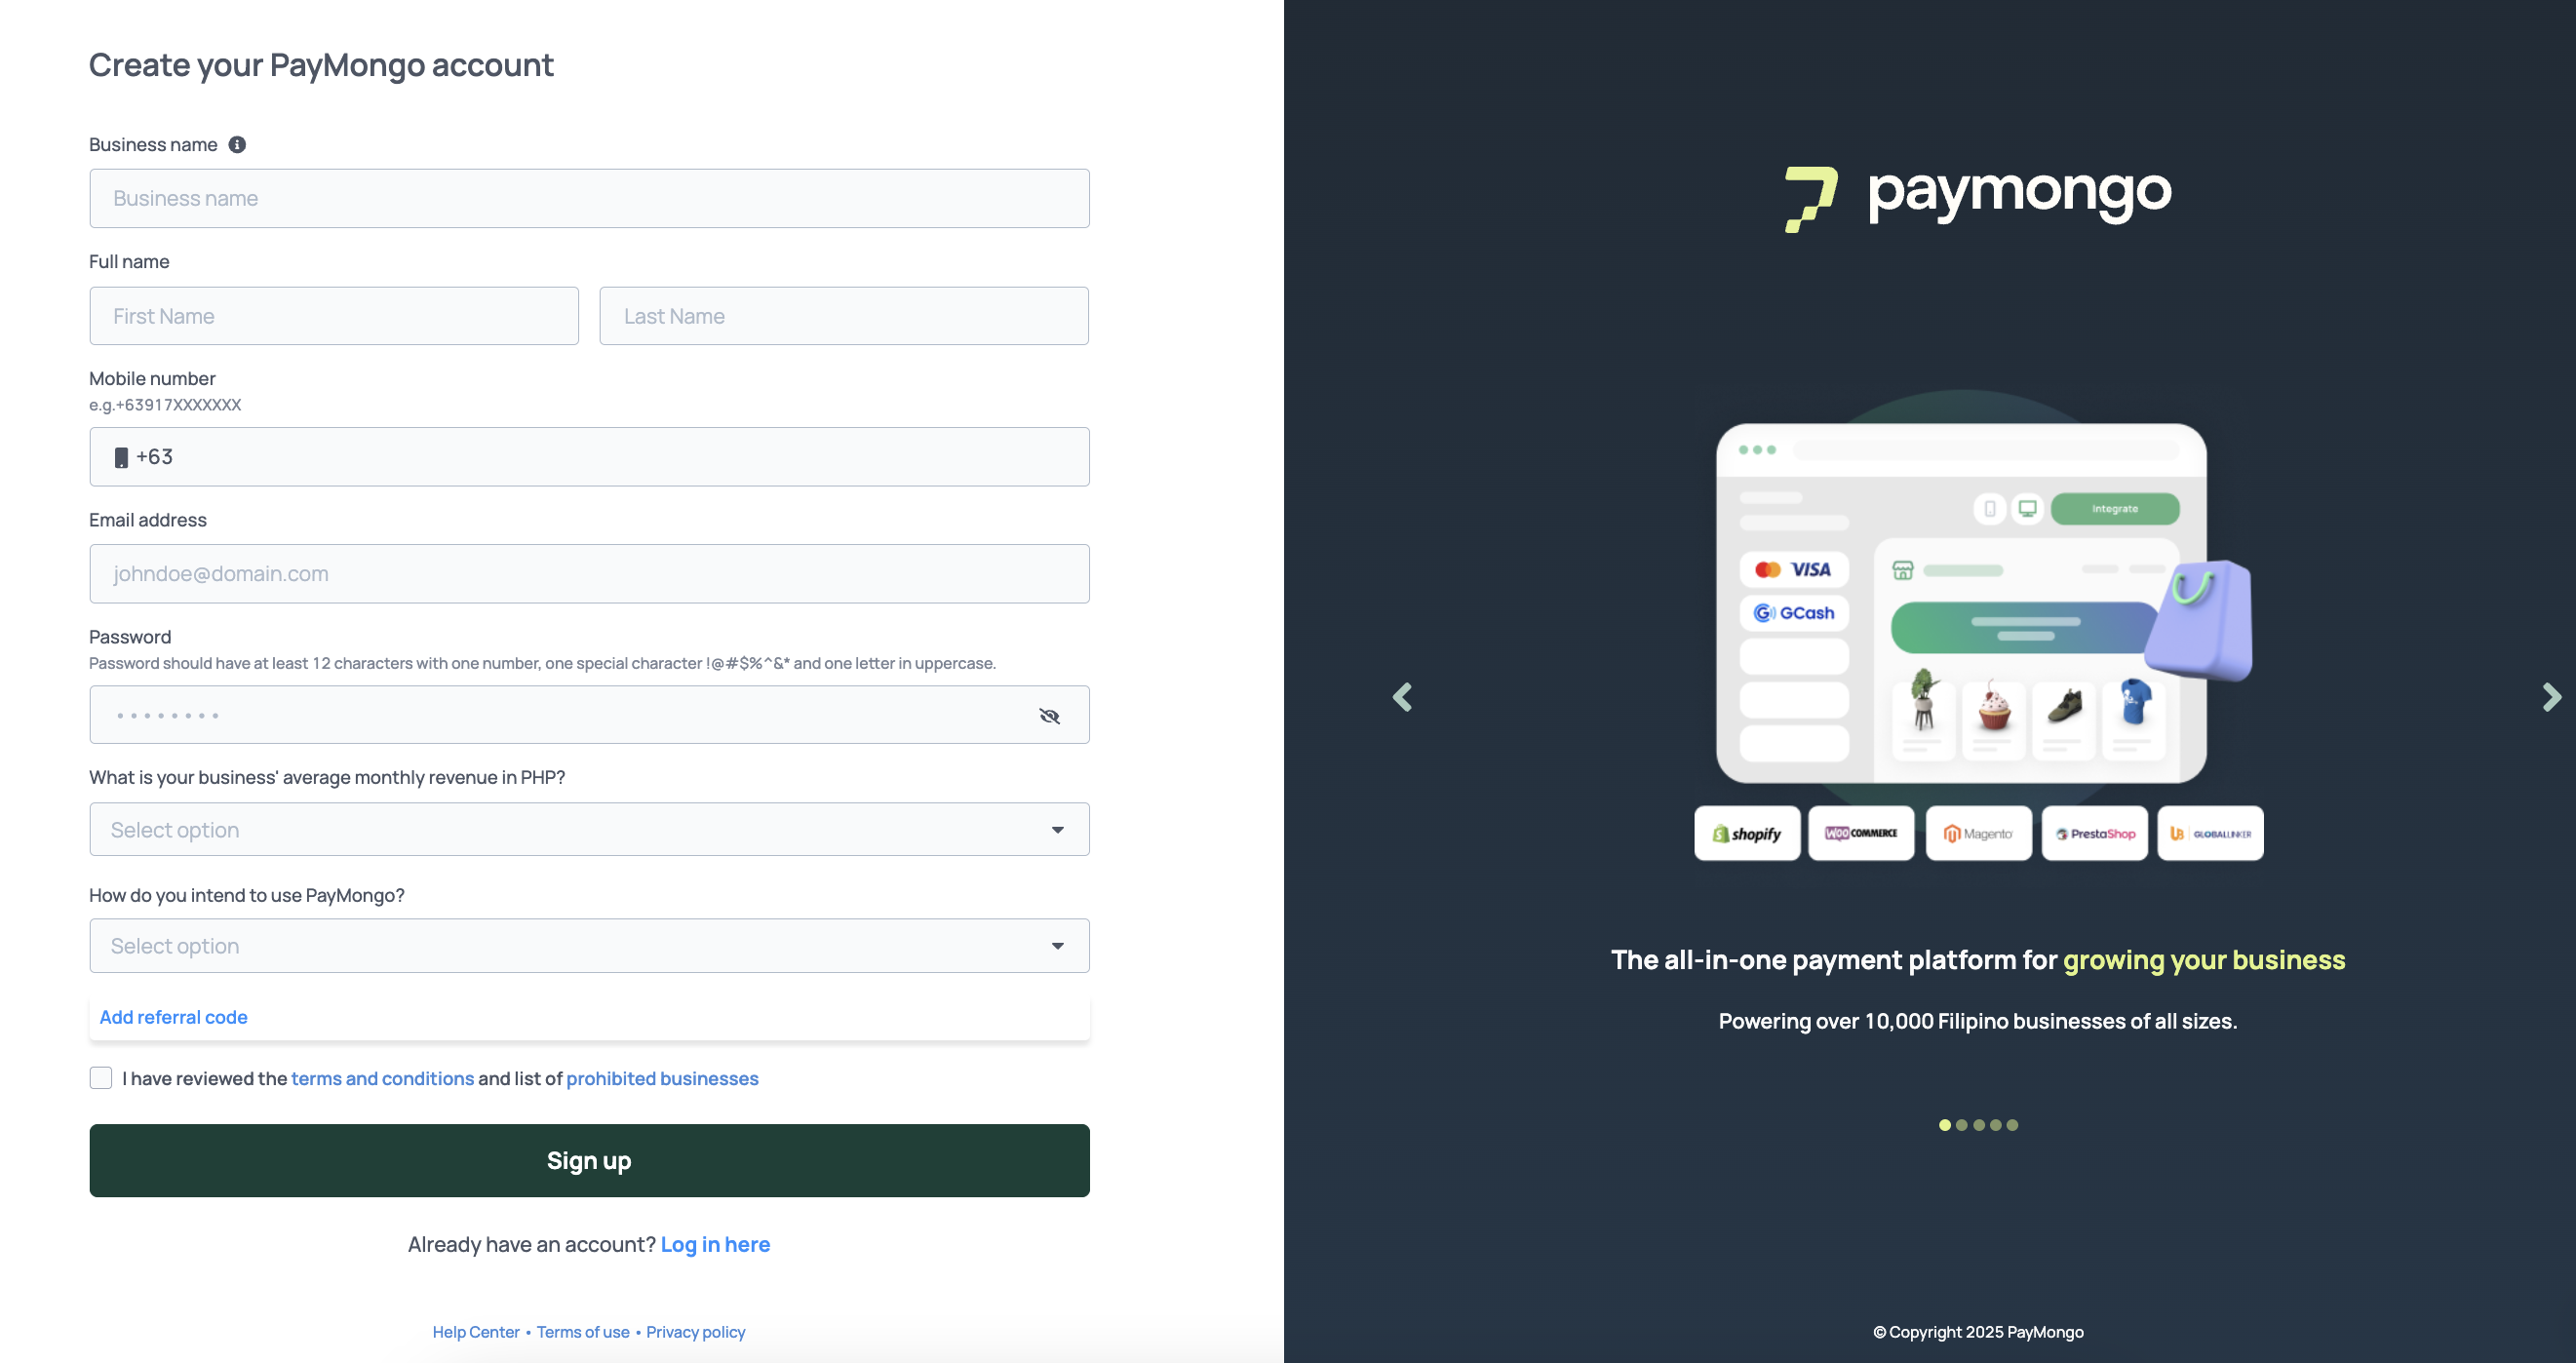
To get started, you will need to create an account on our website by with your business name, full name, phone number, email address, and password. You’ll also need to provide your average monthly revenue and tell us how you plan to use PayMongo.

Note: After submitting, you'll be directed to a bridge page to complete the next steps. This takes just 5 minutes!
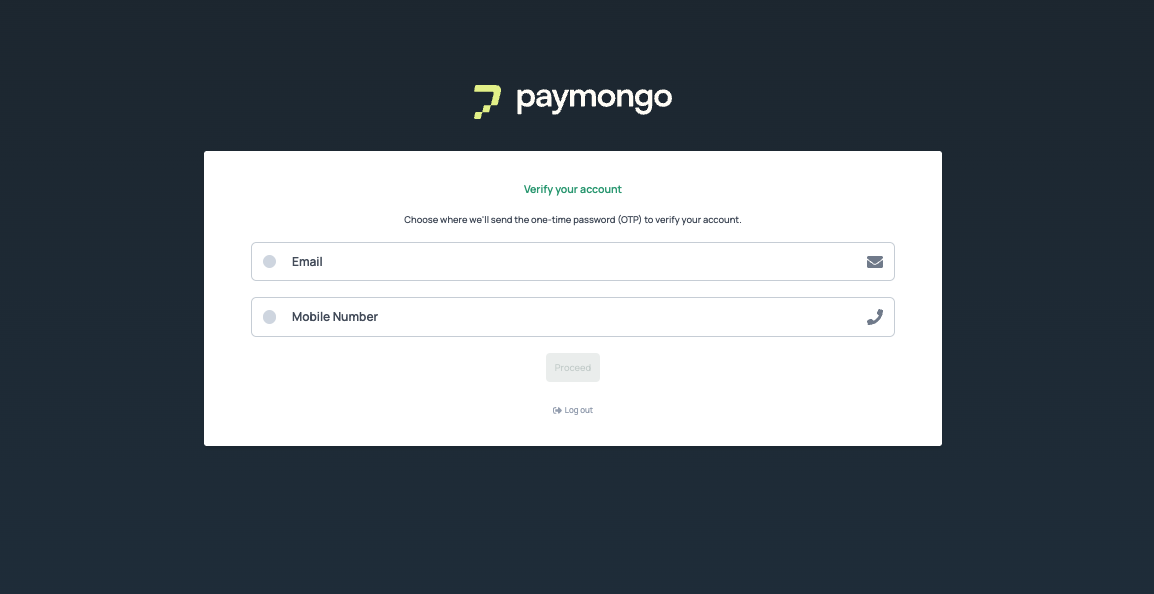
Before you can proceed to your PayMongo dashboard, you have to verify your account first! This is to make sure that you have access to the email or phone number to receive KYC questions, early access emails, and a lot more.
The verification should look something like this:

Verification Screen
For M1 (Basic Merchant)
Once you've completed the initial steps, your PayMongo account will be activated, and you'll be redirected to your dashboard. As a Basic Merchant, you'll have access to:
- Wallets: Manage your funds and send funds to other PayMongo wallets
- In-store QRPh: Accept payments via QRPh
For M2 (Fully Verified Merchant)
Want more features? You can upgrade to a Fully Verified Merchant (M2) right from your dashboard. The upgrade requires submission of:
- Valid government-issued ID
- Business registration documents (DTI, SEC, or BIR Certificate)
- Proof of business address
- Bank account details for withdrawals
Note that M1 accounts can only manage funds within the PayMongo ecosystem. To withdraw funds to external banks or e-wallets, you must upgrade to M2.
Updated about 2 hours ago
After creating an account, activate it on order to start accepting live payments!
